For 1990-2009 cars only
Removal Procedure
- Raise and support the vehicle. Refer to Lifting and Jacking the Vehicle in General Information.
- Remove tire and wheel assembly. Refer to Tire and Wheel Removal and Installation in Tire and Wheel.
- Remove the caliper (1).
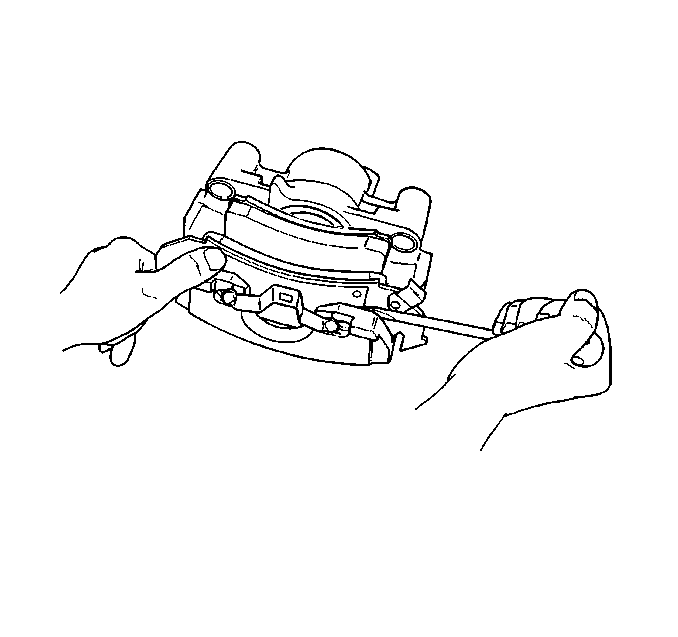
- Remove the outboard shoe and lining (3). Use a screwdriver to disengage the buttons on the shoe from the holes in the caliper housing.
- Remove the inboard shoe and lining (2).

Installation Procedure
- Before installing new shoes and linings, clean the outside surface of the boot. Use clean, denatured alcohol.
- Bottom the piston into the caliper bore. Use a C-clamp over the caliper and piston, tightening it slowly to press the piston into the bore. Be careful not to damage the piston or the boot.
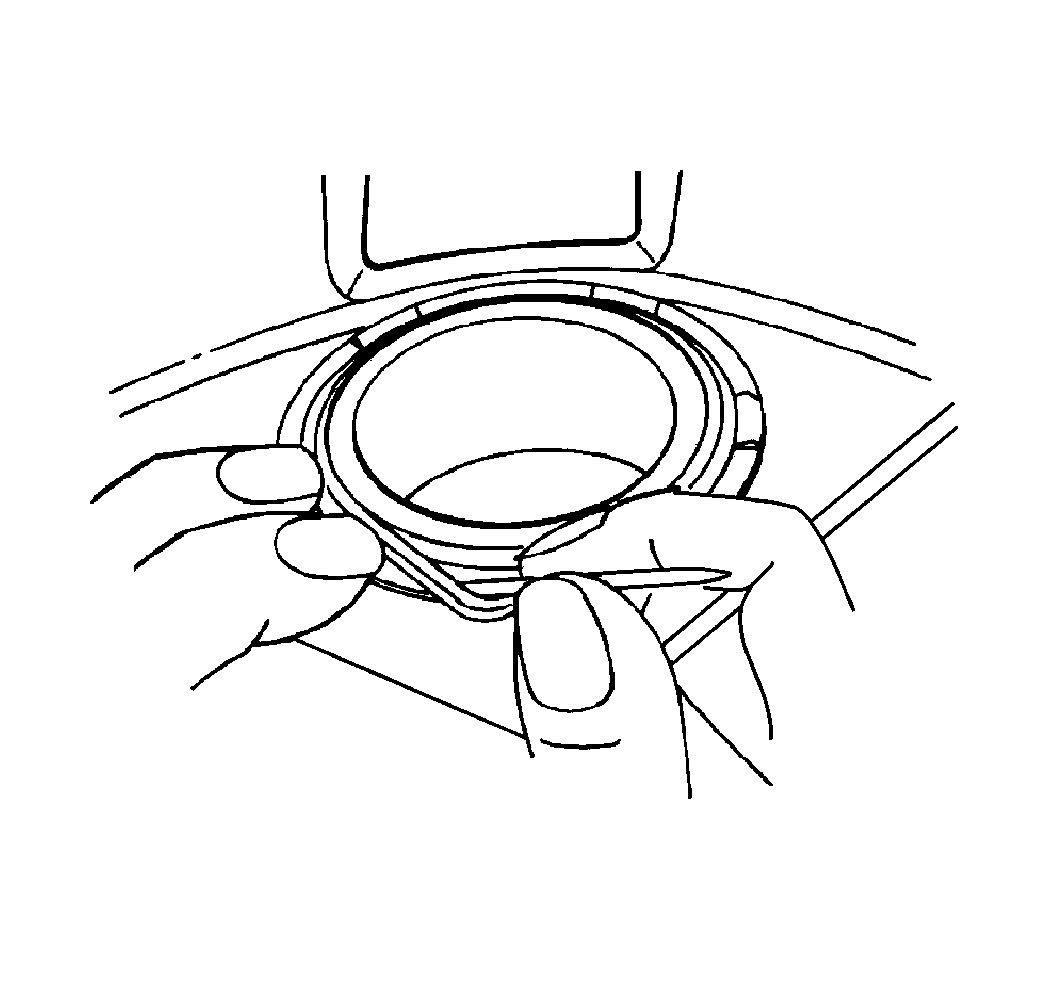
- After bottoming the piston, use a small plastic or wood tool to lift the inner edge of the boot next to the piston, and press out any trapped air.
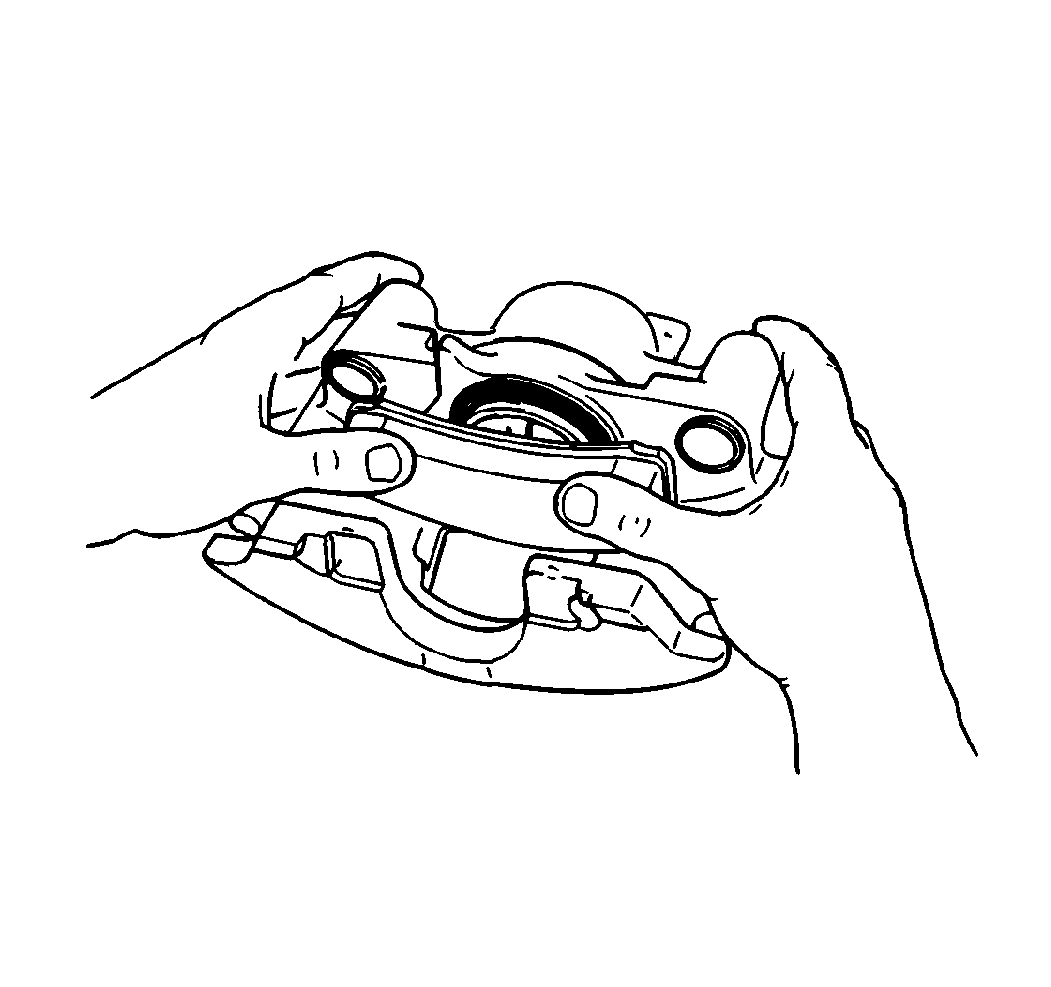
- Connect the inboard shoe and lining by snapping the shoe retainer spring into the piston. The shoe must lay flat against the piston. After installing the shoe and lining, check that the boot is not touching the shoe. If it is, remove the shoe and lining and re-seat or re-position the boot.
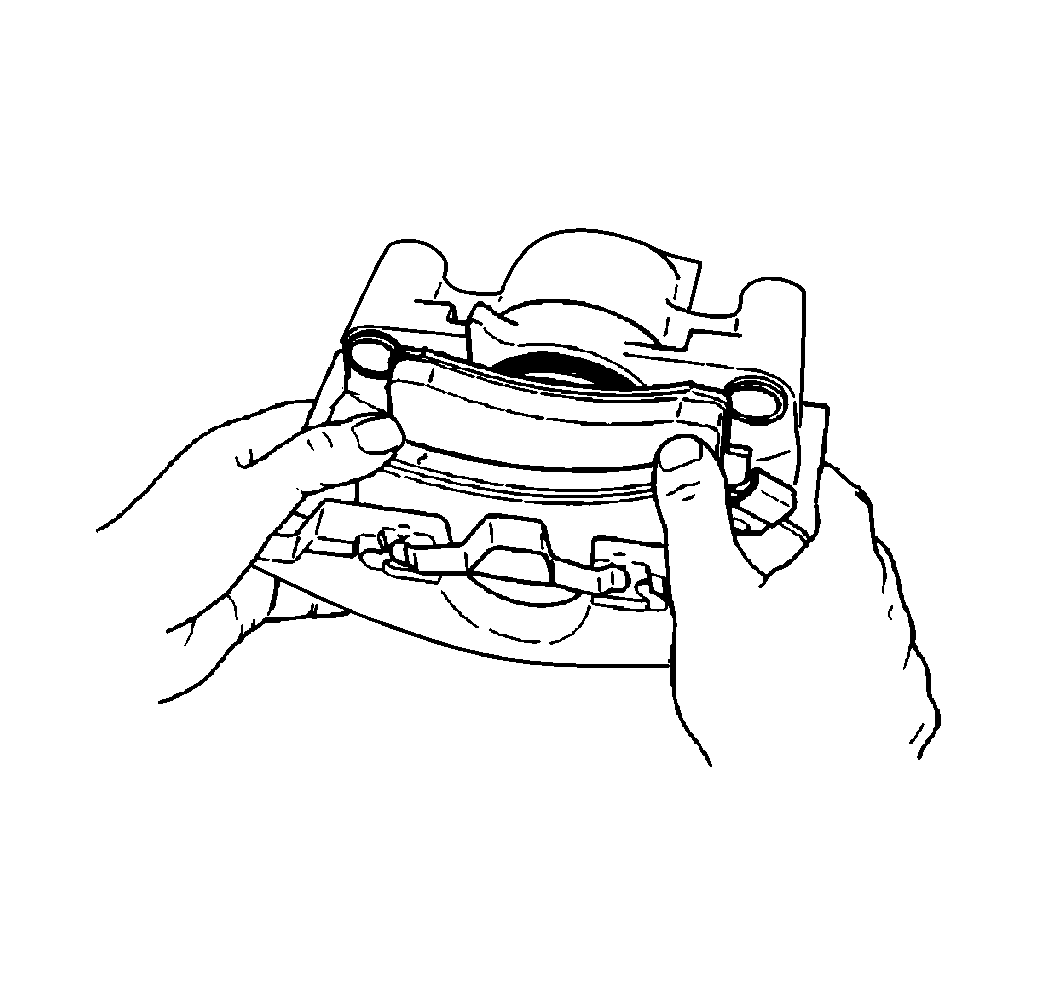
- Connect the outboard shoe and lining with the wear sensor at the trailing edge of the shoe during forward wheel rotation. The back of the show must lay flat against the caliper.
- Install the caliper.
- Replace tire and wheel assembly. Refer to Tire and Wheel Removal and Installation in Tire and Wheel.
- Lower the vehicle.
- Apply approximately 778 N (175 lb) force three times to the brake pedal to seat lining.
Important:
• The boot must lay flat. • Ensure the convolutions are tucked back into place.


