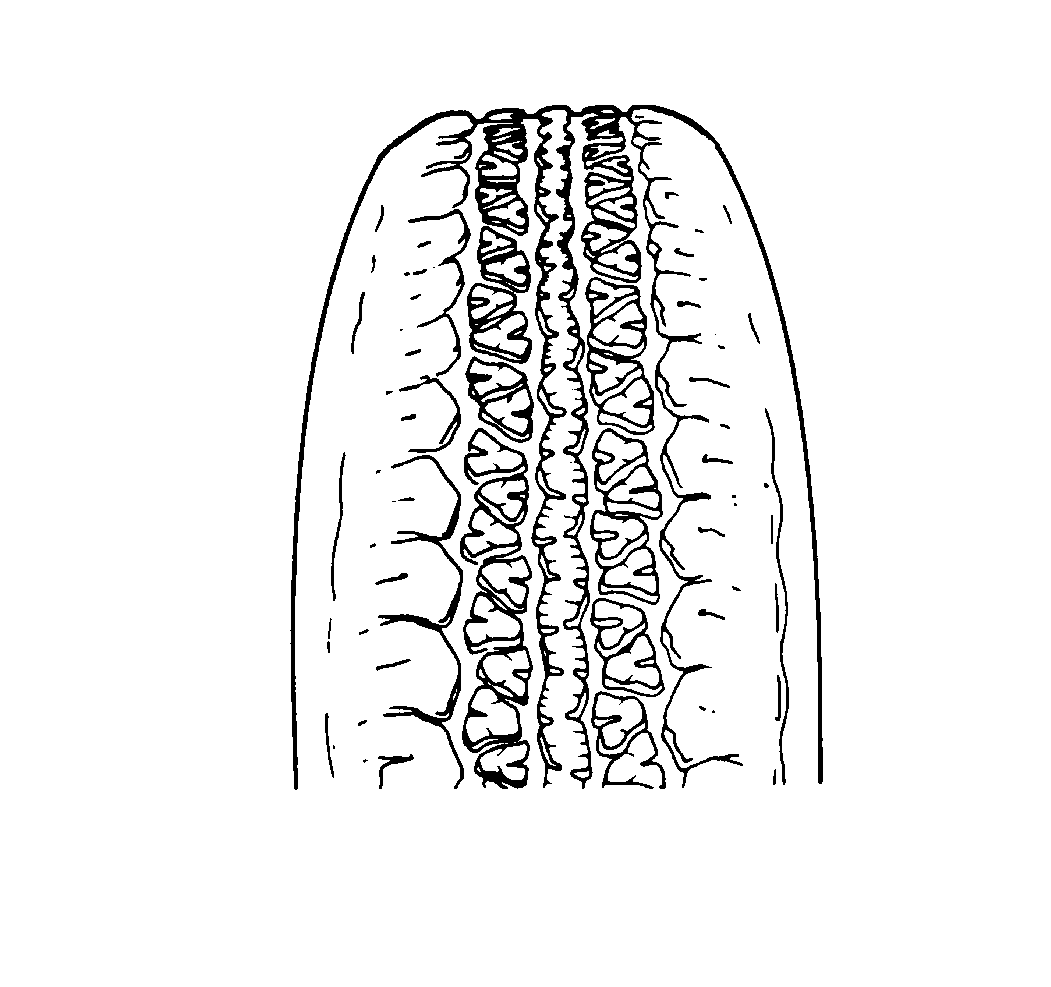
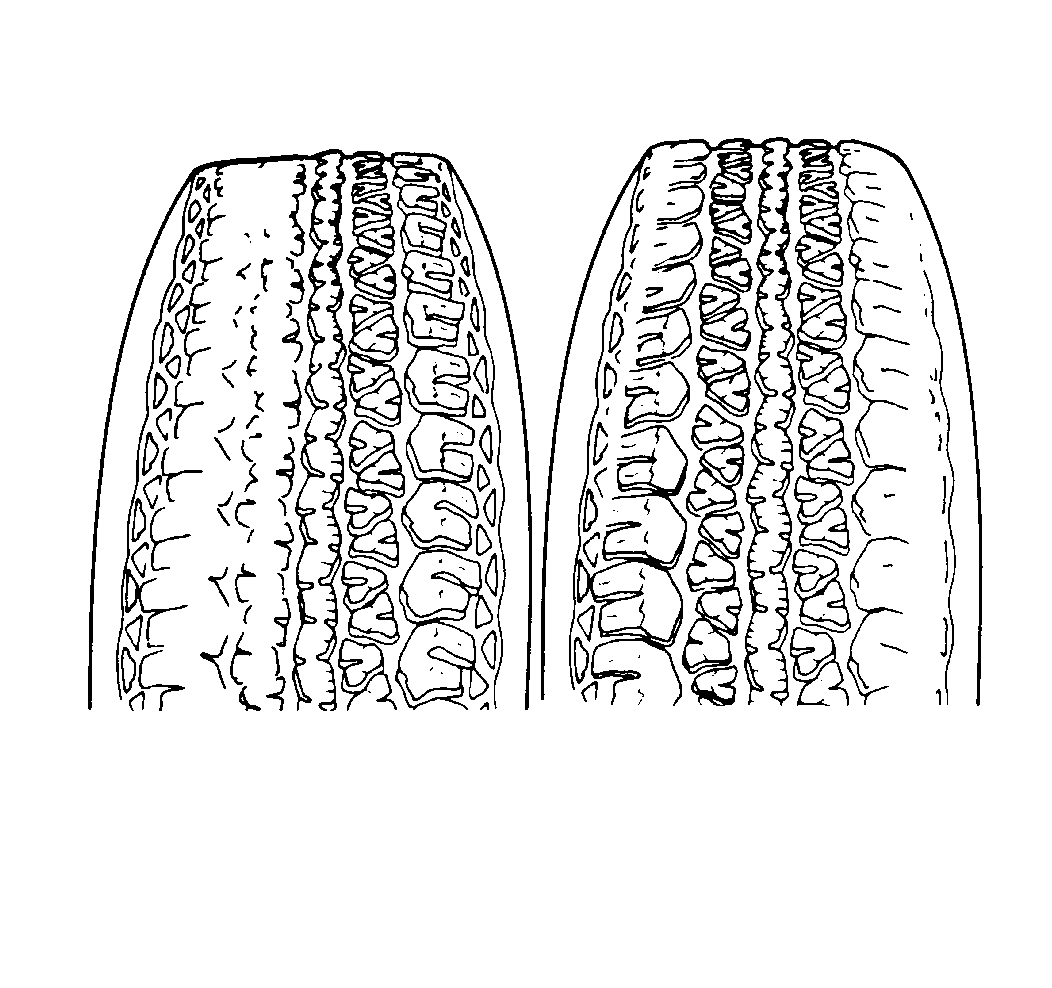
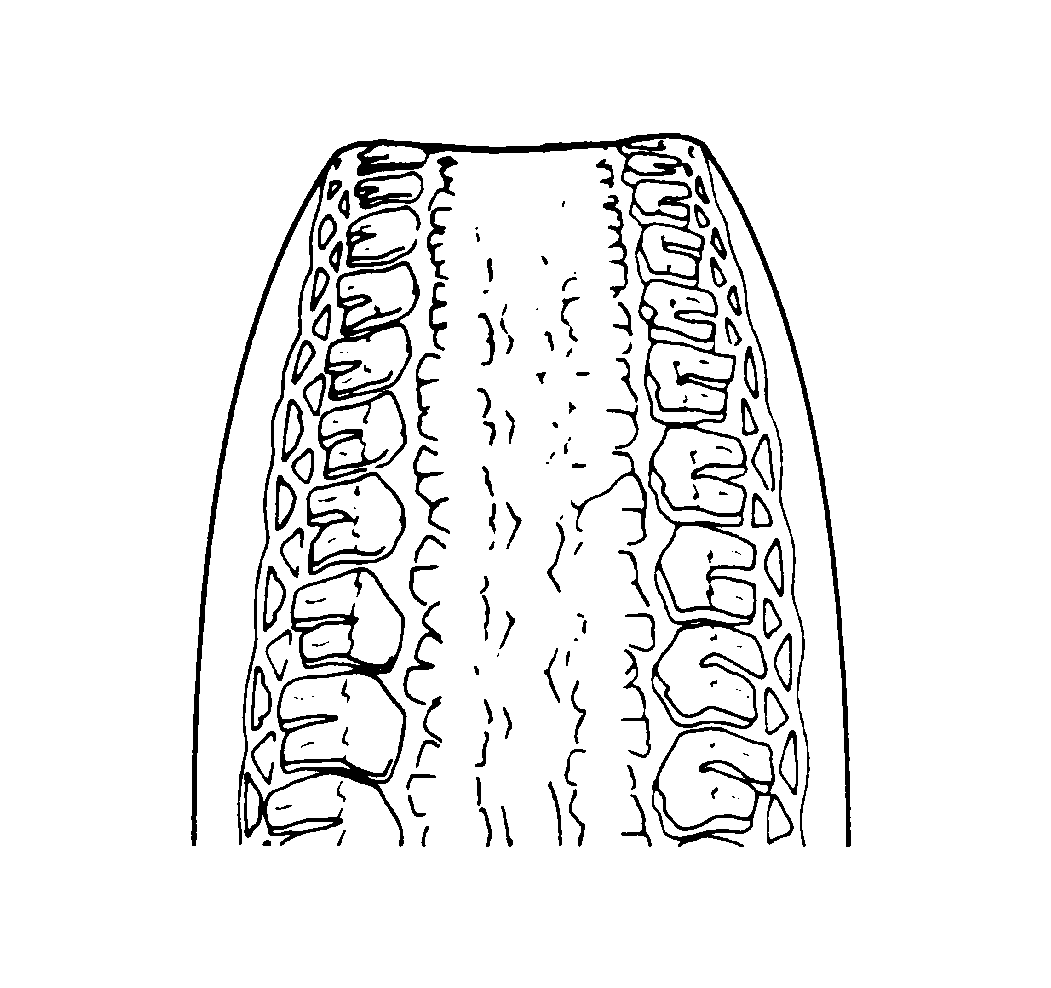
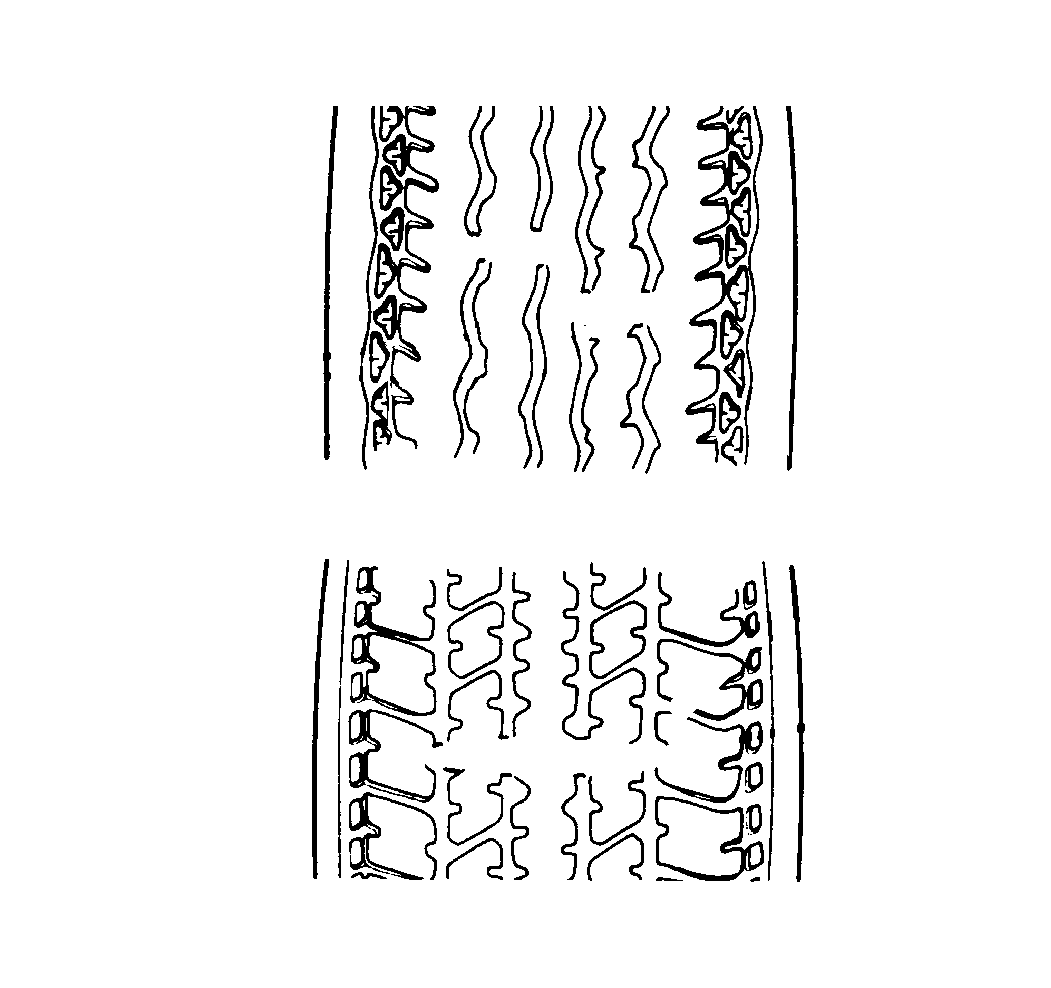
Abnormal or Excessive Tire Wear Wear
If abnormal or excessive tire wear exists, inspect the vehicle
for the following conditions:
| • | Incorrect tire inflation pressure |
| • | Tires not rotated at recommended intervals |
| • | Tire and wheel out of balance |
| • | Incorrect front or rear wheel alignment |
| • | Sagging or broken springs |
Abnormal or Excessive Tire Wear Tire Diagnosis

One of the following conditions
may cause the tires to wear prematurely and irregularly:
| • | Incorrect inflation pressures |
| • | Lack of regular rotation |

If the wheel alignment is changed in order to correct tire wear, always
reset the toe as close to zero degrees as the specification allows. Rotate
the tires if any of the following conditions exist:
| • | The front tire wear is different from the rear tire. |
| • | Wear is uneven across the tread of any tire |
| • | The left and right front tire wear is uneven. |
| • | The left and right rear tire wear is uneven. |

Check the wheel alignment if any the following conditions exist:
| • | The left and right side tire wear is uneven. |
| • | Wear is uneven across the tread of any tire |
| • | The tire treads have a scuffed appearance with feathered edges
on one side of the tread ribs or blocks. |

Stock tires have built-in
tread wear indicators in order to indicate when to replace the tires. The
indicators will appear as 12.7 mm (1/2 in) wide bands when
the tire tread depth becomes 1.6 mm (1/16 in) deep. When the
indicators appear in two or more grooves at three locations, replace the
tire.
Waddle is side-to-side movement at the front or rear of
the vehicle. Waddle is most noticeable in the low speed range: 8-48 km/h
(5-30 mph). Waddle may also appear as a ride roughness at 80-113 km/h
(50-70 mph).
Road test the vehicle in order to locate the faulty tire. Use the following
wheel/tire substitution procedure in order to isolate the faulty tire and
wheel:
- Drive the vehicle in order to determine if the waddle is coming
from the front or the rear.
- Install tire/wheel assemblies known to be good (from a similar
vehicle) in place of those on the end of the vehicle which waddles. If you
cannot isolate the waddle to the front or the rear, start with the rear
tires.
- Road test the vehicle again. If there is improvement, then install
the original tire/wheel assemblies one at a time until you find the faulty
tire. If there is no improvement, install tires that are known to be good
in place of all four. Then install the originals one at a time until you
find the faulty tire.
Waddle is usually related to excessive lateral runout of the tire or
the wheel. Use a dial indicator on the tire sidewall and on the rim flange
in order to determine if there is excessive lateral runout. Refer to Vibration
Diagnosis and Correction.
If balancing does not correct a high speed vibration, or
if the vibration occurs at low speeds, runout is the probable cause. Runout
may be located in the following components:
| • | The way the wheel attaches to the vehicle |
Use the following procedure in order to inspect for runout:
- Measure the free runout of the tire and wheel on the vehicle.
Use the following procedure:
| 1.1. | Measure the lateral runout of the tire and wheel on the vehicle.
(Use a dial indicator with a roller wheel, or a dial indicator with a button
end). |
| 1.2. | Measure radial runout (up-and-down) on the center tread rib. If
necessary, wrap tape tightly around the center tread/rib in order to improve
tire contact with the dial indicator. |
| 1.3. | Record the total indicator reading, and the locations of the high
point of runout. |
| 1.4. | Ensure that the total tire/wheel on-vehicle runout is less than
1.5 mm (0.060 in). If the lateral or radial runout exceeds the
limit, continue the inspection. |
- Mount the tire and wheel on a dynamic balance machine.
- Measure the tire-wheel runout. Record the amount of tire-wheel
runout and the high point locations.
| • | If the wheel exceeds specifications, replace the wheel. |
| • | If the tire and wheel radial or lateral runout exceeds 1.3 mm
(0.050 in) at the tire tread, go to Step 5. |
- Match mount the high radial runout point of the tire to the low
point of the wheel. If the runout is still not within specifications, remeasure
the runout on a dynamic balancing machine. Match mount the tire again.
- If the tire and wheel runout is within the limits when measured
off the vehicle, yet is not within limits when on the vehicle, rotate the
wheel on the vehicle by two wheel studs. Measure the runout. Try several
positions in order to find the best mounting position on the hub.
- If you still cannot reduce the tire and wheel runout, inspect
the wheel stud runout. Complete the following steps:
| 6.1. | Remove the tire and wheel from the vehicle. |
| 6.2. | Measure the wheel stud runout using a dial indicator. Zero the
indicator on one stud. Lift the button off the stud and flange in order to
position the next stud against the indicator button. |
| 6.3. | Record the runout on all the studs. The dial indicator should
read zero when repositioned on the first stud checked. If the runout exceeds
0.75 mm (0.030 in), replace the axle shaft or the hub. |


