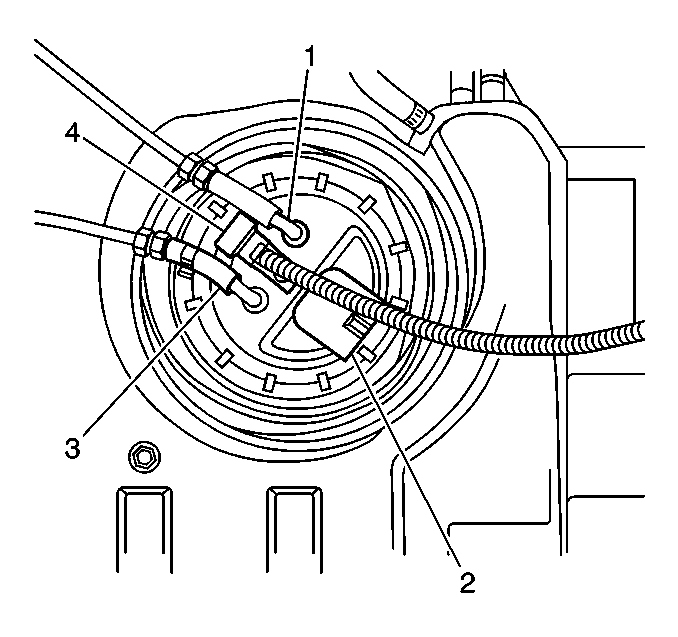
Removal Procedure
Caution: Gasoline or gasoline vapors are highly flammable. A fire could occur if an ignition source is present. Never drain or store gasoline or diesel fuel in an open container, due to the possibility of fire or explosion. Have a dry chemical (Class B) fire extinguisher nearby.
- Relieve the fuel system pressure. Refer to Fuel Pressure Relief .
- Drain the fuel tank. Refer to Fuel Tank Draining .
- Remove the fuel tank. Refer to Fuel Tank and Evaporation Emission Canister Replacement .
- Remove the air reference hose from the fuel tank pressure sensor.
- Disconnect the electrical connector from the fuel tank pressure sensor.
- Remove the fastener retaining the fuel tank pressure sensor and remove the sensor.

Installation Procedure
- Clean any contamination from the sensor mounting area.
- Install the fuel tank pressure sensor.
- Connect the electrical connector to the fuel tank pressure sensor .
- Connect the air reference hose to the fuel tank pressure sensor.
- Install the fuel tank. Refer to Fuel Tank and Evaporation Emission Canister Replacement .

Notice: Replacement components must be the correct part number for the application. Components requiring the use of the thread locking compound, lubricants, corrosion inhibitors, or sealants are identified in the service procedure. Some replacement components may come with these coatings already applied. Do not use these coatings on components unless specified. These coatings can affect the final torque, which may affect the operation of the component. Use the correct torque specification when installing components in order to avoid damage.
Tighten
Tighten the fastener to 8 N·m (71 lb in).
