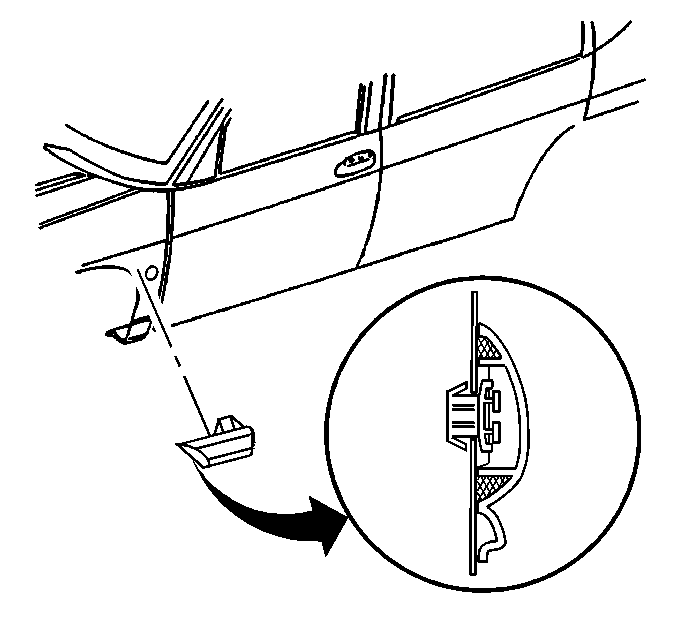
Removal Procedure

Important: Tape above and below the molding in order to prevent damage to the painted
surfaces when removing the molding. Replace the front fender center molding
after you have removed it. Paint the center molding prior to installation.
Refer to
Basecoat/Clearcoat Paint Systems
in Paint Coatings.
- Perform the following steps in order to remove the molding:
| 1.1. | Start at the rear of the molding. |
| 1.2. | Pull the molding away from the fender. |
| 1.3. | Use a plastic tool in order to pry the molding from the fender. |
- Use an oil-free naphtha or use isopropyl alcohol in order to clean
the door surfaces.
Installation Procedure
- Use a heat gun or use a heat lamp in order to warm the body panel
to a minimum temperature of 21°C (70°F).
- Peel the backing from the molding.

- Align the molding and
the clips with the door holes. Do NOT overlap the molding over the door edge
or over the door edge guard.
- Insert the center molding.
- Press the center molding firmly.


