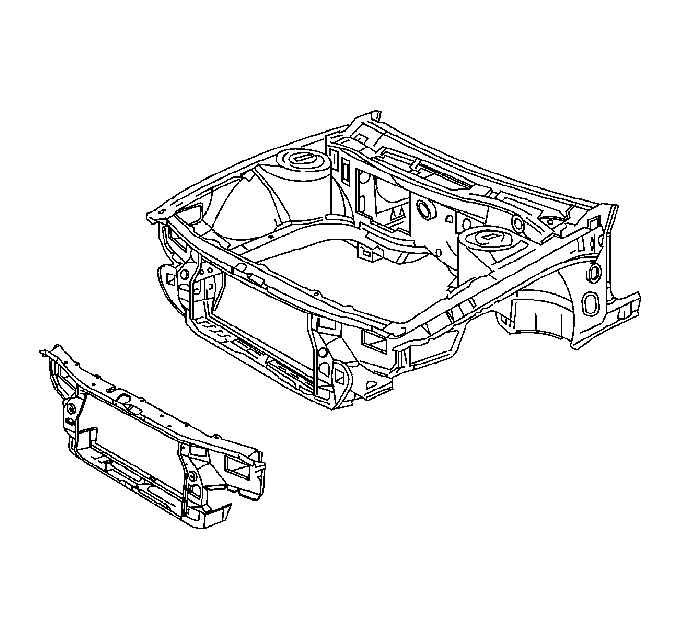
For 1990-2009 cars only
Removal Procedure
- Remove all related panels and components.
- Visually inspect and restore as much of the damage as possible to factory specifications.
- Remove the following as necessary:
- Locate, mark and drill out all factory welds. Note the number of welds for installation of the service assembly.
- Remove the damaged radiator support assembly.

Important: The radiator support is serviced as a complete assembly. It is suggested that the support be replaced as a complete assembly. It attaches to the front of the upper rails, to the left and the right-side aprons, and to the lower rails.
| • | Sealers |
| • | Sound deadeners |
| • | anti-corrosion materials |
Installation Procedure
- Prepare mating surfaces.
- Check for proper fit of the service radiator support assembly.
- Drill 8 mm (5/16 in) plug weld holes on the service part as noted from the original assembly.
- Position the service assembly.
- Check fit of body dimensions. Use three dimensional measuring equipment.
- Plug weld accordingly.
- Clean and prepare welded surfaces.
- Prime with two-part catalyzed primer.
- Install all related panels and components.

Important: Do not combine paint systems. Refer to paint manufacturer's recommendations.
