For 1990-2009 cars only
Removal Procedure
Important: The quarter panel is attached to the structure with factory welds. Due to the unique manner in which the top of the quarter panel attaches to the vehicle, a special sectioning procedure has been developed for improved serviceability.
- Remove all related panels and components including the rear window.
- Visually inspect and restore as much of the damage as possible.
- Remove the following as necessary:
- Locate, mark and drill out all necessary factory welds. Note the number of welds for installation of the quarter panel service assembly.
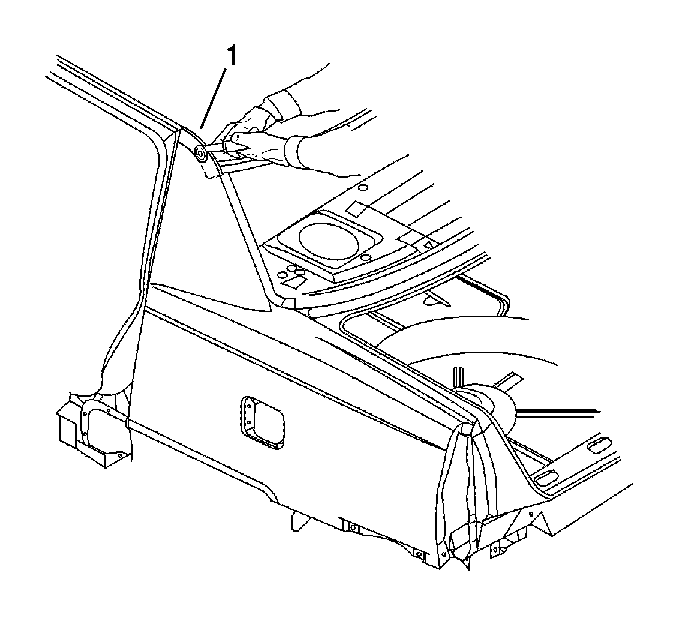
- Apply a strip of 25 mm (1 in) masking tape along the top edge of the quarter panel where it meets the roof.
- Cut along the bottom of the masking tape and remove the quarter panel.
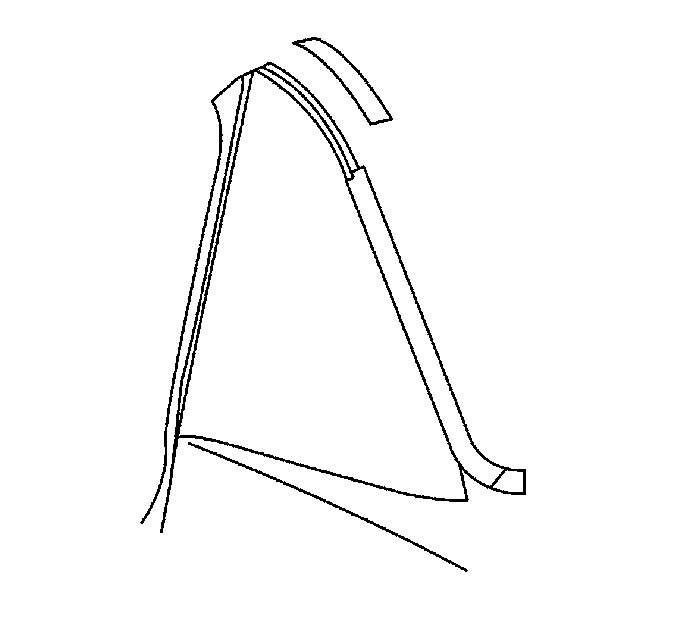
- Leave a 25 mm (1 in) tab attached to the roof (1).
- Bend the tab down slightly so that the service panel can fit properly.
- Remove factory air baffle material from baffle bracket. DO NOT REMOVE BRACKET.
| • | Sealers |
| • | Sound deadeners |
| • | Anti-corrosion materials |

Installation Procedure
- Trim the upper mounting flange on the service assembly so that it can fit over the 25 mm (1 in) tab left from the original panel.
- Drill 8 mm (5/16 in) weld holes on the service assembly, as necessary in the locations noted from the original assembly.
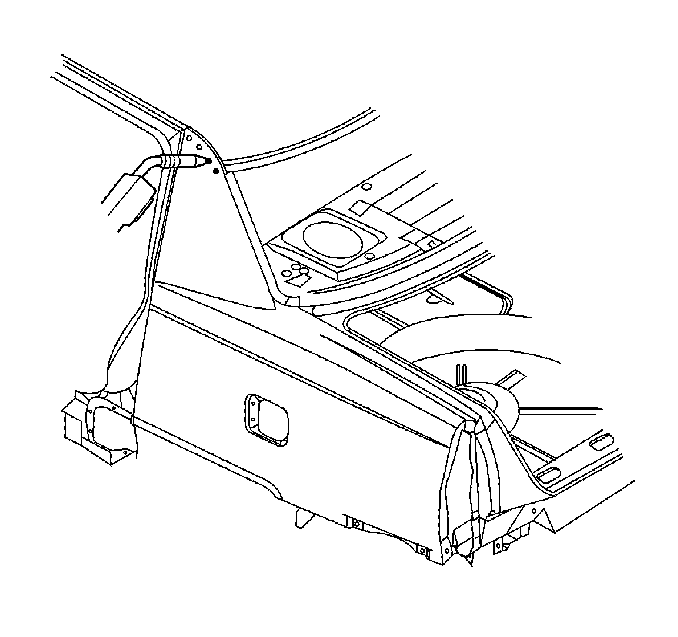
- Drill four weld holes along the top edge of the new quarter panel for attachment to the 25 mm (1 in tab.
- Prepare mating surfaces and position the new panel.
- Check for proper fit.
- Plug weld accordingly. Take care not to warp or distort the metal.
- Apply air baffle material from inside the vehicle.
- Use access hole above bracket location.
- Clean and prepare welded surfaces.
- Prime with two-part catalyzed primer.
- Apply sealers and anti-corrosion materials as necessary.
- Do not combine paint systems
- Install all related panels and components.

Important: Ensure that the fuel filler neck is properly sealed when replacing the left quarter panel. Use GM P/N 12399117 between the quarter panel and fuel filler neck.

