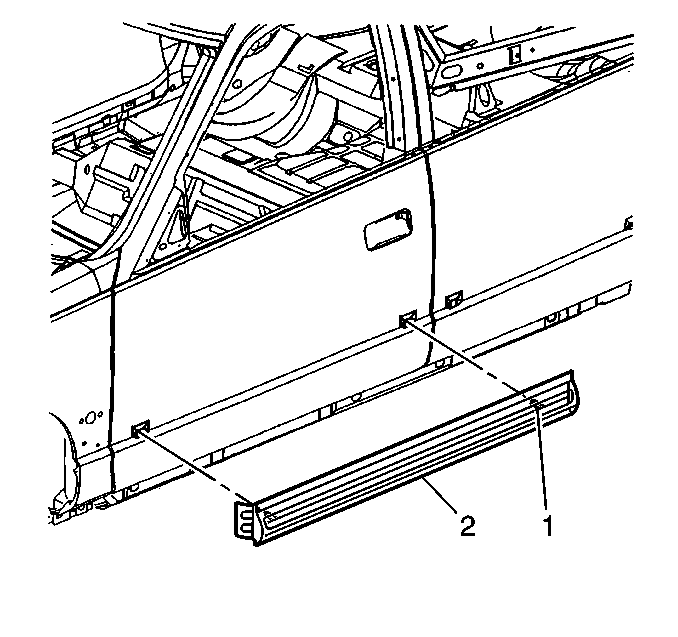
For 1990-2009 cars only
Removal Procedure
- Split the foam tape using a braided wire or a thin bladed tool inserted between the molding and the sheet metal. Start at the rear of the door.
- Remove the molding (2) from the door.
- Remove the old adhesive from the panel and the molding if you are reusing the molding. Use 3M General Purpose Adhesive Cleaner 08984 or an equivalent. 3M Scotch-Brite Adhesive Removal Discs on the body panels.
Important: Use care not to damage the paint.
Protect the surrounding surfaces if you use a bladed tool.

Important: Do not use rotating removal discs on the moldings. This generates excessive heat, which may cause molding damage.
Installation Procedure
- If you are reusing the molding (2), apply new adhesive tape to the molding (2).
- Align the molding (2).
- Remove the backing from the tape.
- Align and press the molding to the door:

If needed, mark the reference on the body with masking tape in order to aid alignment once the adhesive liner is removed.
| • | Wear clean gloves or use a clean towel while you perform this step. |
| • | Apply heavy hand pressure against the upper and the lower tape locations in order to assure proper wetout of the adhesive. |
| • | Rub along the entire length of the molding. |
