Tools Required
| • | Adhesive kit GM P/N 12346392 |
| • | Water hose without a nozzle |

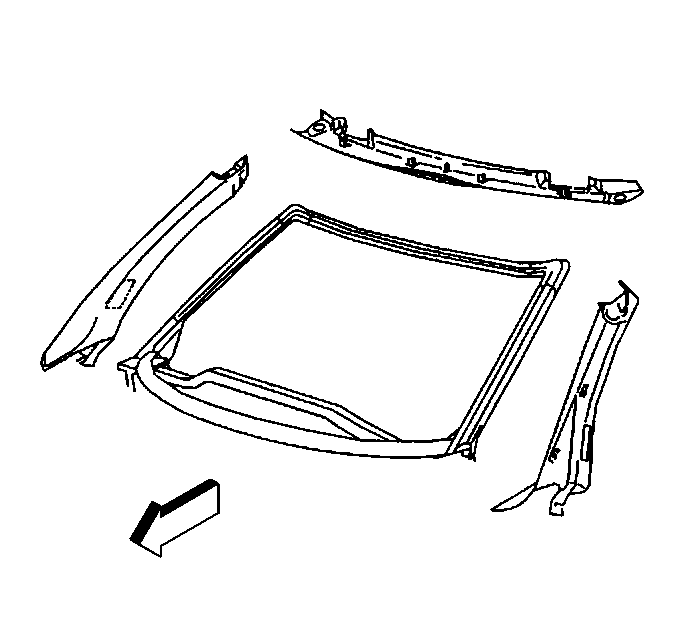
- Remove the window garnish
moldings if area of leak is hidden.
- Remove any auxiliary seals or reveal moldings if necessary to
uncover the urethane seal.

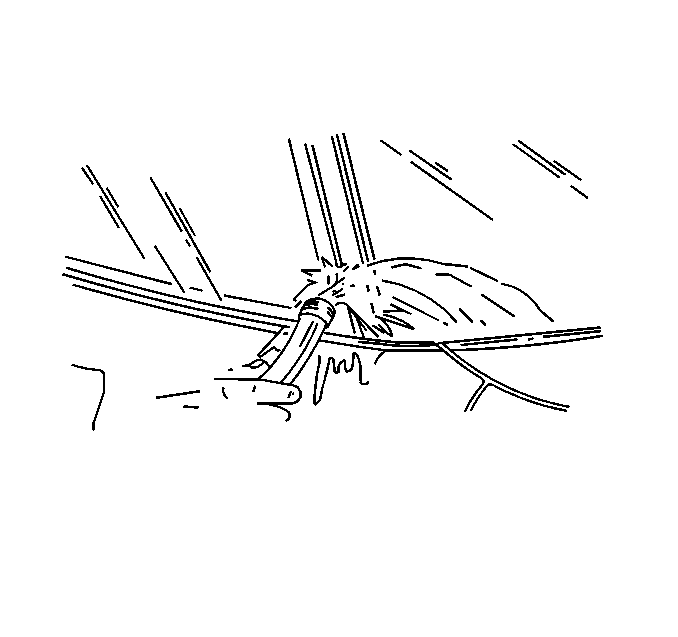
- Apply a small stream of
water while carefully pushing outward on the window in the area of the leak.
- Mark the extent of the leak area.

- Using a sharp knife, trim
off any uneven edge of urethane material at the leak point and 75-100 mm
(3-4 in) on each side of the leak point.
- Clean away any dirt from the leak area with water.
- Dry the leak area with an air hose.
- Apply primer if necessary.
| • | DO NOT apply primer to existing urethane. |
| • | Prime the clean glass surface with black primer #2 if the urethane
is not bonding to the glass. |
- Prime the bare pinch weld with black primer #3 if the urethane
is not bonding to the pinchweld.

- Apply new urethane to
the repair area.
- Work the urethane into the repair area using a flat-bladed tool.
- Water test the original leak area.
- Continue to work the adhesive into the leak area or apply additional
adhesive as needed.

- Install the window garnish
moldings if removed.


