Testing Procedure (On Vehicle)
Notice: Do not use pressure greater than 138 kPa (20 psi) to test the radiator. Damage to the radiator will result if a higher pressure is used.
Tools Required
| • | J 24460-01 Cooling System and Cap Pressure Tester |
- After the system has cooled, remove the surge tank pressure cap.
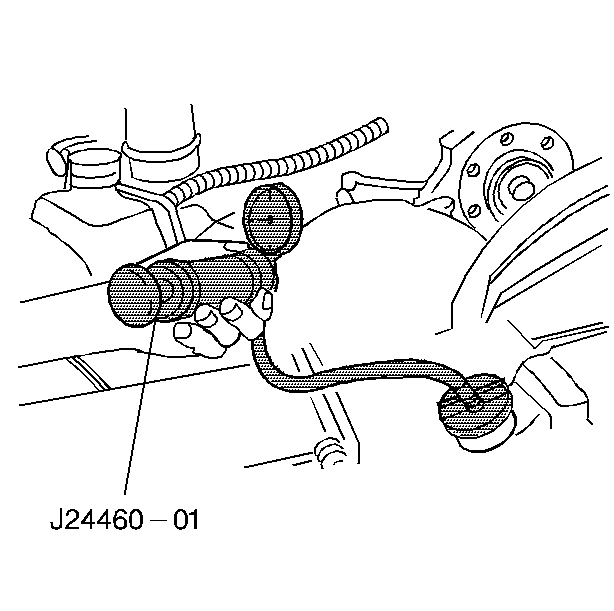
- Connect the J 24460-01 to the radiator.
- Apply normal system operating pressure. Do not exceed 138 kPa (20 psi).
- Watch the gauge needle for an indication of a leak. Examine all cooling system connections and components, including the radiator and the heater core, for leaking coolant.
- Tighten the hose connections or repair as required.
- In order to ensure the cap maintains the correct pressure, check the surge tank cap using the J 24460-01 .
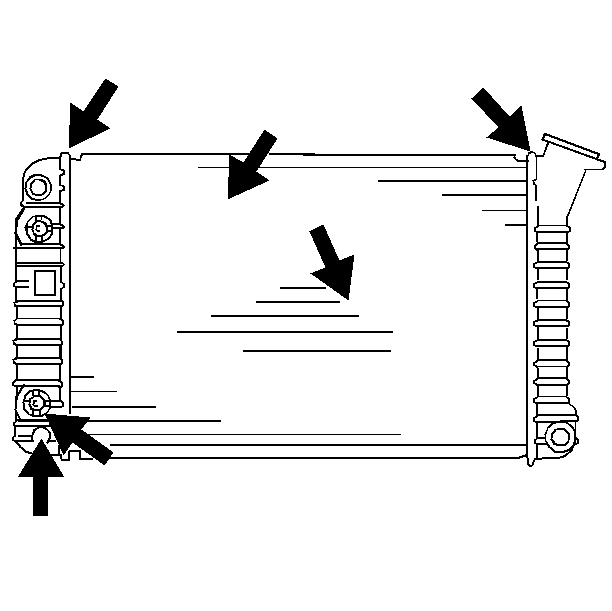
- If the radiator leaks during the pressure test, mark the leak area so the leak is found once the radiator has been removed from the vehicle.
Caution: Under pressure, the temperature of the solution in the radiator can be considerably higher, without boiling. Removing the radiator cap while the engine is hot (pressure is high), will cause the solution to boil instantaneously, with explosive force. The solution will spew out over the engine, fenders, and the person removing the cap. Serious bodily injury may result. Flammable antifreeze, such as alcohol, is not recommended for use at any time. Flammable antifreeze could cause a serious fire.


Testing Procedure (Off Vehicle)
Tools Required
J 24460-01 Cooling System and Cap Pressure Tester
- Remove the radiator from the vehicle. Refer to Radiator Replacement .
- Clean the radiator core so that the damaged area can be seen.
- Remove dirt and insects from the fins with a common water hose, without the nozzle. Do not exceed 138 kPa (20 psi) of pressure.
- Find the radiator core leaks by adding water to the radiator.
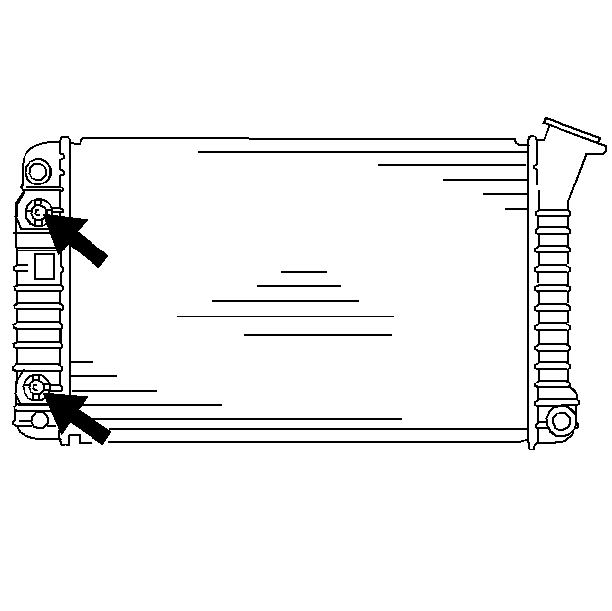
- Install test fittings, or rubber test caps, in the inlet and outlet necks. Seal the oil cooler fittings with metal plugs in order to protect the cooler and to keep fluid from running out.
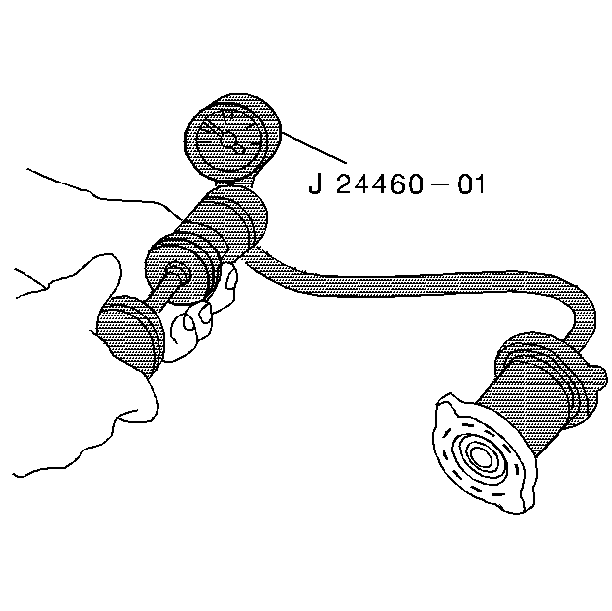
- Attach the J 24460-01 to the radiator.
- Gradually apply normal system pressure until 138 kPa (20 psi) is reached. Do not exceed 138 kPa (20 psi).
- Check the pressure gauge to see if there is pressure loss.
- In order to make sure that there are no small leaks, run water over the suspect area. Look for any bubbles. Using a mild detergent is helpful.
- If a large water tank is available, you can submerge the radiator. Then, check for air bubbles.
Notice: Do not use boil-out tanks that have been used for copper or brass radiators. The flux and caustic cleaners remaining in these tanks will attack the aluminum radiator causing failure. Use a separate tank containing clean water for servicing aluminum and plastic radiators.


