Removal Procedure
Caution: When you are carrying an undeployed inflator module:
• Do not carry the inflator module by the wires or connector on
the inflator module • Make sure the bag opening points away from you
- Turn OFF the ignition.
- Disable the SIR system. Refer to Disabling the SIR System .
- Remove the steering wheel inflator module (3). Refer to Inflatable Restraint Steering Wheel Module Replacement .
- Remove the steering wheel retaining nut (2).
- Remove the steering wheel (1) from the steering column shaft. Refer to Steering Wheel Replacement in Steering for complete procedure.
- The turn signal switch assembly must be in the "UP" position.
- Refer to Inflatable Restraint Steering Wheel Module Coil Disassemble - Off Vehicle in Steering for complete procedure.
- Remove the SIR connector (1) from the fused jumper assembly connector (2).
- Check steering column for accident damage. Refer to Steering Column Accident Damage Inspection - Off Vehicle in Steering.
- Remove the retaining ring.
- Remove the wire protector.
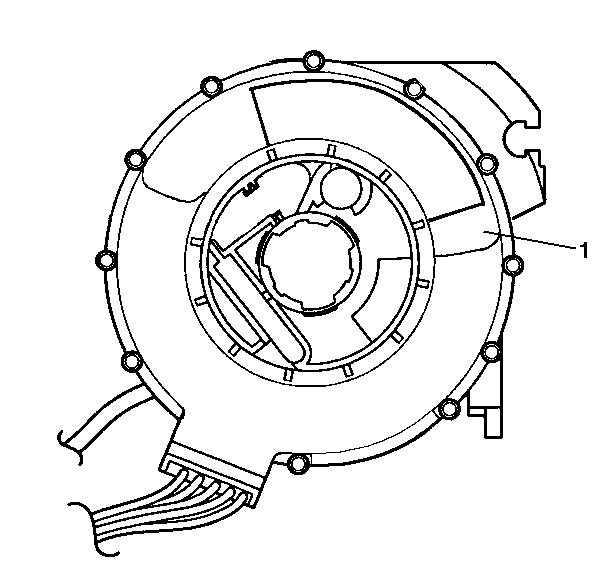
- Remove the SIR coil assembly.


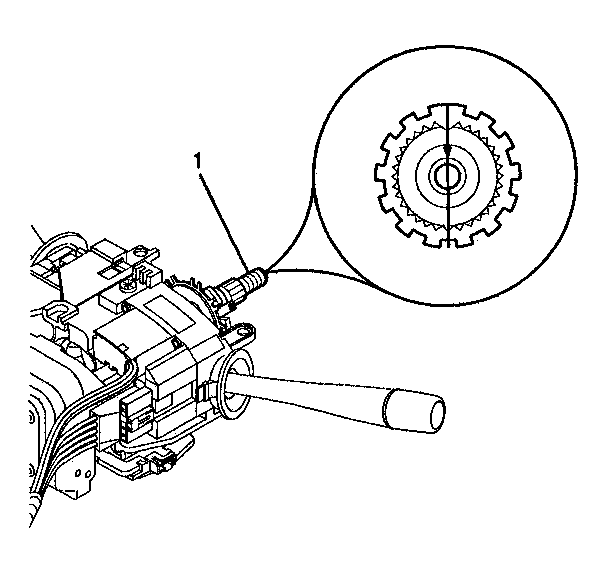
Important: The column must be in the 12 o'clock position.
To align the steering shaft assembly to the 12 o'clock position. Turn the key to the off/lock position. Pull the key out and turn the steering shaft until you hear a click.

Installation Procedure
- To install the inflatable restraint steering wheel module coil:
- The new SIR coil assembly will come pre-centered.
- If installing the existing SIR coil assembly, proceed to the next step.
- Follow the instructions on the notice (1) of the SIR coil assembly. Also refer to Inflatable Restraint Coil Centering - Off Vehicle in Steering for complete procedure.
- Align the steering column to the 12 o'clock position.
- Install the hanging SIR coil assembly onto the race and upper shaft assembly.
- The new SIR coil assembly will come precentered. Once installed, pull the tab and remove.
- Install the wire protector into the support bracket.
- Install the retaining ring.
- Install the SIR coil assembly connector (1) to the fused jumper assembly connector (2).
- Refer to Inflatable Restraint Steering Wheel Module Coil Assemble - Off Vehicle in Steering for complete installation procedure.
- Install the steering wheel (1).
- Install steering wheel nut (2) on to steering column shaft.
- Install the steering wheel inflator module (3). Refer to Inflatable Restraint Steering Wheel Module Replacement .
- Enable the SIR system. Refer to Enabling the SIR System .

| • | Make sure that the wheels are straight ahead. |
| • | Align the block tooth and the centering mark on the race and upper shaft assembly at the 12 o'clock position. |


Important: The column must be in the 12 o'clock position.


Notice: Use the correct fastener in the correct location. Replacement fasteners must be the correct part number for that application. Fasteners requiring replacement or fasteners requiring the use of thread locking compound or sealant are identified in the service procedure. Do not use paints, lubricants, or corrosion inhibitors on fasteners or fastener joint surfaces unless specified. These coatings affect fastener torque and joint clamping force and may damage the fastener. Use the correct tightening sequence and specifications when installing fasteners in order to avoid damage to parts and systems.
Tighten
Tighten steering wheel nut to 41 N·m (30 lb ft).
