For 1990-2009 cars only
Tools Required
J 41409 Body Molding Removal Tool
Removal Procedure
- Use the J 41409 between the molding and the sheet metal in order to remove the molding.
- Remove the old adhesive from the panel and the molding if you are reusing the molding.
- You may also use 3M® Scotch-Brite Adhesive Removal Discs on the body panels. Refer to 3M 07502 .

Important:
• Ensure that you protect the surrounding surfaces around the molding. • Use care not to damage the paint.
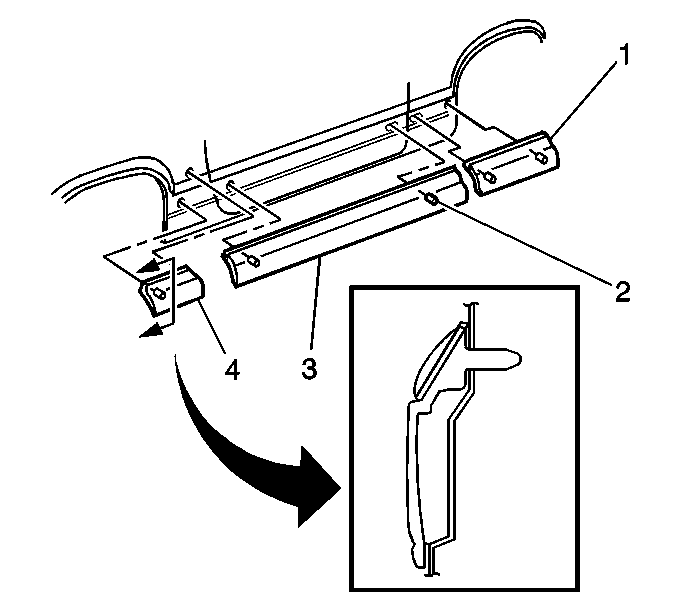
Carefully pry away the molding (4) from the body.
Important: Do not use rotating adhesive removal discs on the moldings. This generates excessive heat, which may damage the moldings.
Use 3M® General Purpose Adhesive Cleaner 08984 or an equivalent.
Installation Procedure
- Close the front door.
- If you are reusing the molding, apply new adhesive tape to the molding.
- Care must be taken to prevent the tape from coming in contact with the body before the pins are aligned.
- Peel the backing from the tape on the molding.
- Align and press the molding (4) to the body:

Important: Be careful not to touch the adhesive tape with your hands or allow to come in contact with any dirt or foreign material.
| 5.1. | Wear clean gloves or use a clean towel while you perform this step. |
| 5.2. | Apply moderate hand pressure against the molding at the tape locations in order to assure proper adhesive wetout. |
| 5.3. | Press along the entire length of the molding in order to secure. |
