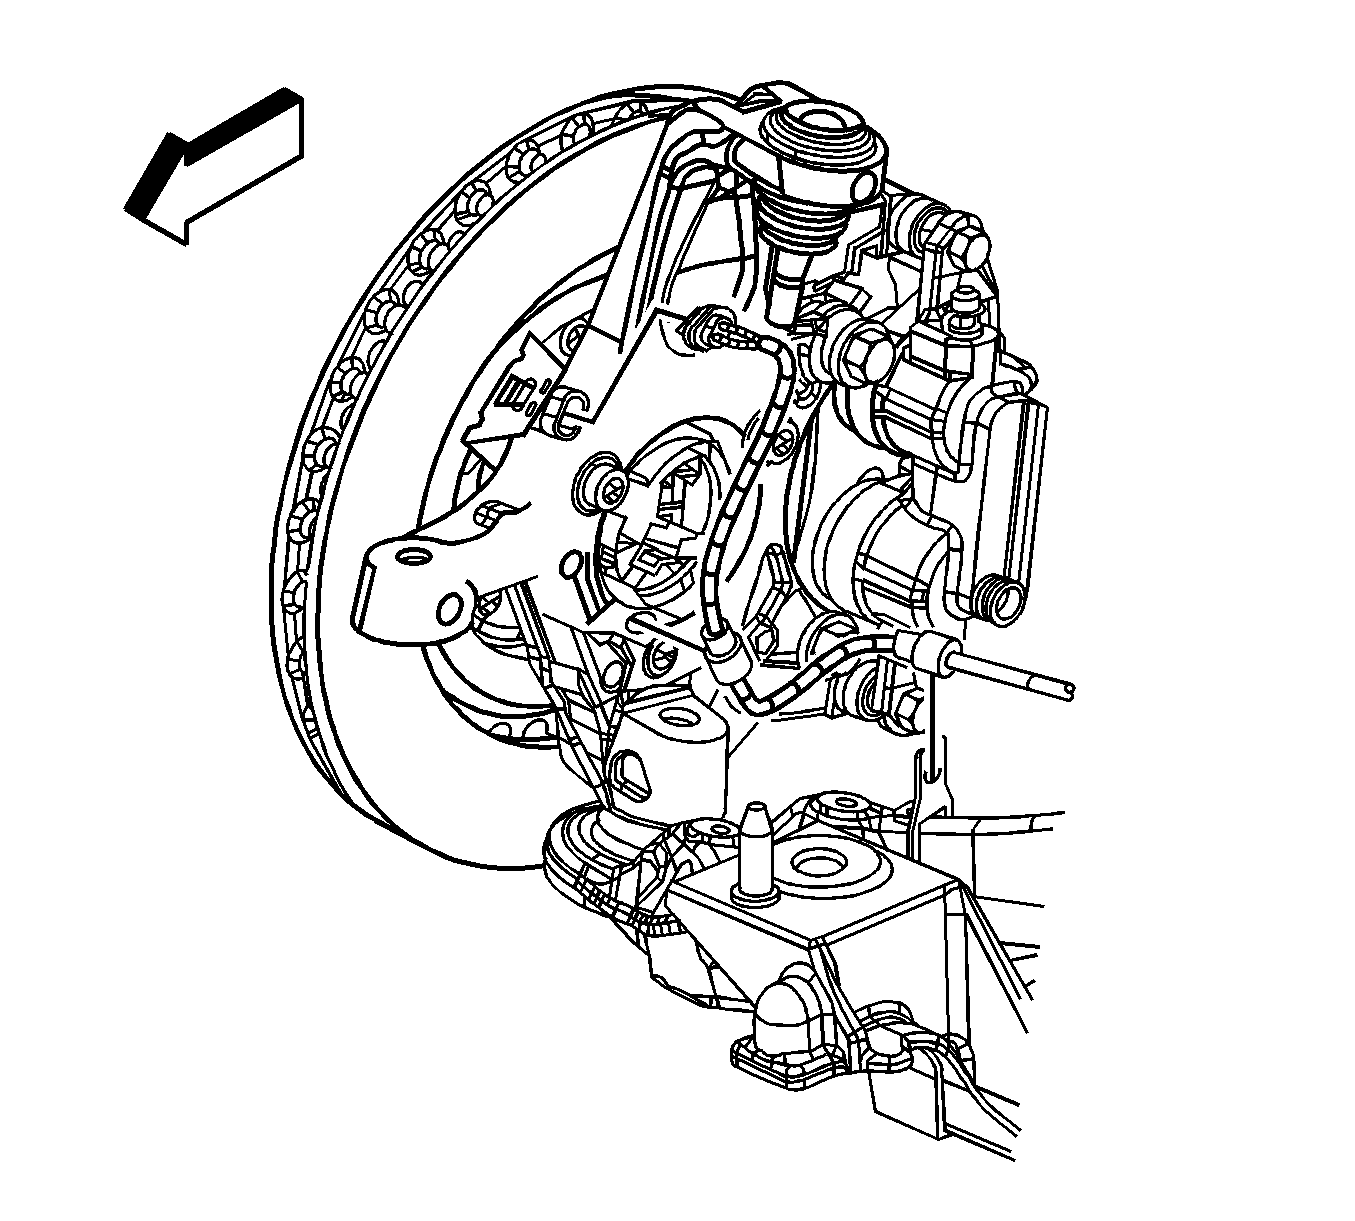
For 1990-2009 cars only
Removal Procedure
- Raise and support the vehicle. Refer to Lifting and Jacking the Vehicle in General Information.
- Remove the tire and wheel assemblies. Refer to Tire and Wheel Removal and Installation in Tires and Wheels.
- Disconnect the wheel speed sensors harness connectors.
- Disconnect the Inner tie rod end studs from the rear crossmember. Refer to Tie Rod Replacement .
- Disconnect the lower control arms from the crossmember. Refer to Rear Axle Lower Control Arm Replacement .
- Support the rear drive shafts and rear suspension knuckles.
- Remove the transverse spring. Refer to Rear Transverse Spring Replacement .
- Using a transmission jack, support the Crossmember.
- Remove the transaxle mount lower nuts. Refer to Transmission Mount Replacement in Rear Drive Axle.
- Disconnect all the electrical harness and connectors from the crossmember.
- Disconnect the brake pipes from the crossmember.
- Using a transmission jack, support the transaxle.
- Using hand tools only, remove the rear crossmember mounting nuts.
- Remove the crossmember from the vehicle.
- Discard the rear crossmember mounting nuts.

Installation Procedure
- Install the crossmember to the vehicle.
- Using hand tools only, install new rear suspension crossmember mounting nuts.
- Remove the transmission jack from the transmission pan.
- Connect all electrical harness and connectors to the crossmember.
- Connect the brake pipes to the retainers in the crossmember.
- Install the transaxle mount lower nuts. Refer to Transmission Mount Replacement in Rear Drive Axle.
- Install the transverse spring to the crossmember. Refer to Rear Transverse Spring Replacement .
- Install the lower control arms to the crossmember. Refer to Rear Axle Lower Control Arm Replacement .
- Install the inner tie rod end studs into the crossmember. Refer to Tie Rod Replacement .
- Connect the wheel speed sensors harness connector.
- Install the tire and wheel assemblies. Refer to Tire and Wheel Removal and Installation in Tires and Wheels.
- Lower the vehicle.
| • | Align the crossmember dowel pins to the holes in the frame rails. |
| • | Align the transaxle mount studs to the crossmember. |
Notice: Refer to Fastener Notice in the Preface section.
Important: Only use new crossmember mounting nuts.
Tighten
Tighten nuts to 110 N·m (81 lb ft).

