Measuring Non-System Balanced Pinion Flange Runout
Tools Required

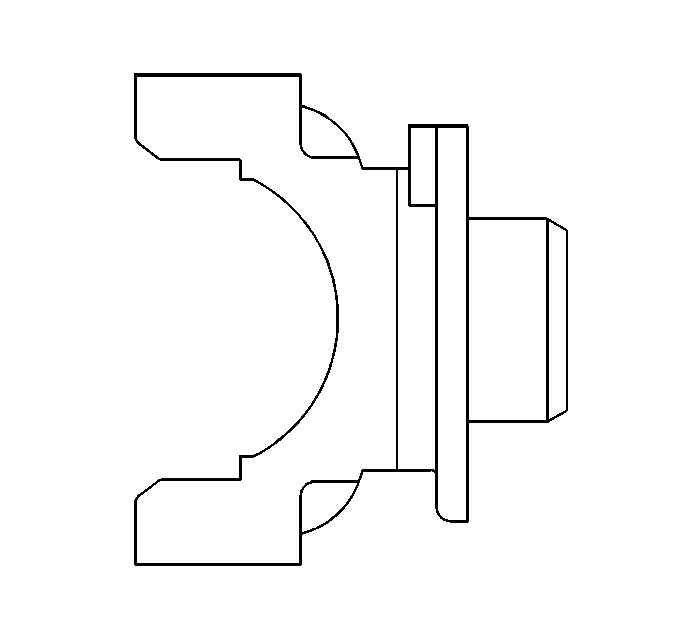
The pinion flange runout
compensation weight will be ocated on the face of the pinion flange dust slinger.
- Place the vehicle on a suitable hoist. Refer to
Lifting and Jacking the Vehicle
in General information.
- Remove the propeller shaft from the pinion flange.

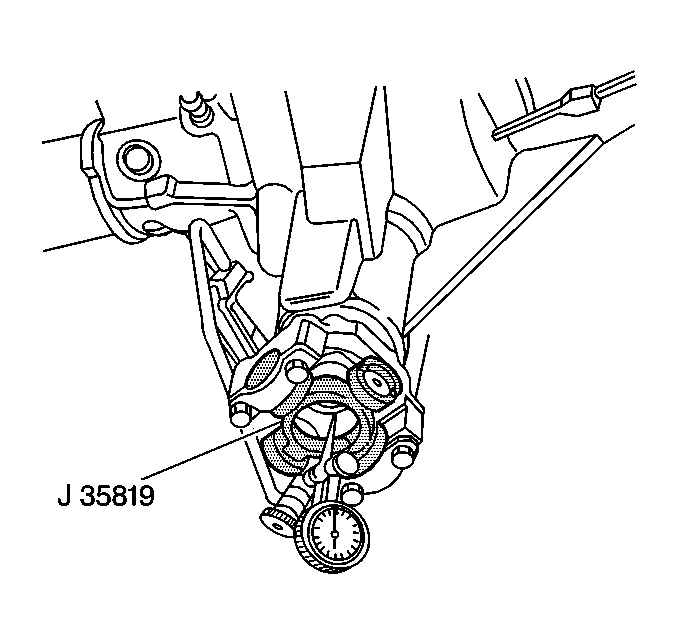
- Install the J 35819
Flange Runout Gauge
Important:
| • | All runout measurements provided are to be
used as guidelines. The measurements provided and their effect on vibration
correction may vary for each vehicle
|
| • | The dial indicator will have inverted readings. You are measuring
the inside diameter of the flange; you are not measuring the outside diameter.
The highest reading on the dial indicator is the low spot. The lowest reading
is the high spot. |
- Rotate the pinion shaft 360 degrees and zero the dial indicator
on the low spot.
- Rotate the pinion flange again and record the total runout.
- If the pinion flange runout is 0.15 mm (0.006 in)
or less, remove the runout compensation weight. Refer to Pinion Flange Runout Correction
- If the pinion flange runout is greater than 0.15 mm (0.006 in)
but less than 0.28 mm (0.011 in), and the runout compensation
weight is at or near the low spot, no further action is necessary. If the
runout compensation weight is not at or near the low spot, remove the runout
compensation weight. Refer to Pinion Flange Runout Correction
.
- If the pinion flange runout is greater than 0.28 mm (0.011 in)
but not greater than 0.38 mm (0.015 in), and the runout compensation
weight is at or near the low spot, no further action is necessary. If the
runout compensation weight is not at or near the low spot, remove the runout
compensation weight and re-index the pinion flange until the runout is 0.25 mm
(0.010 in) or less. Refer to Pinion Flange Runout
Correction
- If after removing the runout compensation weight or reindexing
the pinion flange, it is not possible to achieve runout of 0.25 mm
(0.010 in) or less, the pinion flange requires replacement.
- Remeasure the pinion flange runout after a new pinion flange has
been installed.
Measuring System Balanced Pinion Flange Runout
Tools Required

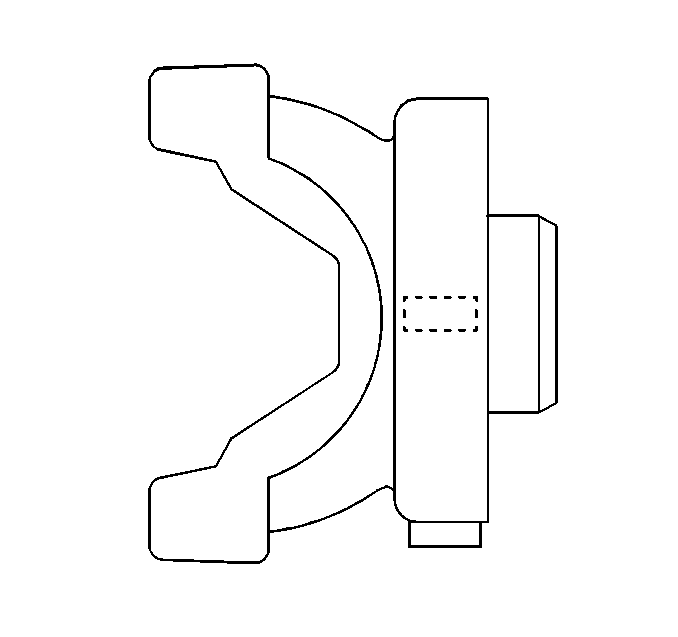
System balanced pinion
flange assemblies have a U-shaped deflector designed to hold a system balance
weight on the outside diameter.
- Place the vehicle on a suitable hoist. Refer to
Lifting and Jacking the Vehicle
in General information.
- Remove the propeller shaft from the pinion flange.

- Install the J 35819
Flange Runout Gauge
Important:
| • | All runout measurements provided are to be
used as guidelines. The measurements provided and their effect on vibration
correction may vary for each vehicle
|
| • | The dial indicator will have inverted readings. You are measuring
the inside diameter of the flange; you are not measuring the outside diameter.
The highest reading on the dial indicator is the low spot. The lowest reading
is the high spot. |
- Rotate the pinion shaft 360 degrees and zero the dial indicator
on the low spot.
- Rotate the pinion flange again and record the total runout.
- An acceptable balanced flange will have a measured runout between
0.00-0.38 mm (0.00-0.015 in). If a balanced flange
has more than 0.38 mm (0.015 in) runout, replace the flange
or reindex the flange 180 degrees on the pinion.
- Remeasure the pinion flange runout after the pinion flange has
been reindexed.
- If the runout is still unacceptable after the pinion flange has
been reindexed, the pinion flange requires replacement.
- Measure the runout of the propeller shaft and inspect the tolerance.
- If the tolerance is excessive, mark the position of the shaft
for future reference and rotate the shaft 180 degrees.
- Reinstall the shaft and reinspect the runout.
Important: If you replace or reindex a balanced flange, you must system balance
the rear axle again.
- If the tolerance is still excessive, the pinion flange requires replacement.
