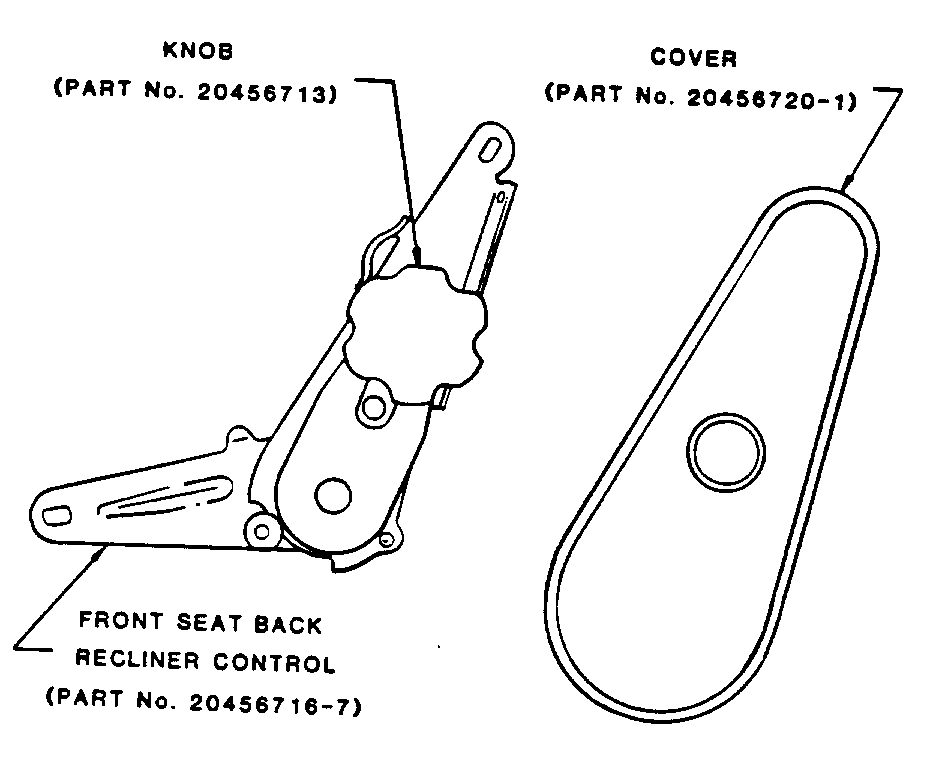
SEATBACK RECLINER CONTROL NEW RECLINER P/N'S

VEHICLES AFFECTED: All 'A' and 'B' Styles Equipped with Heavy Duty Bucket Seats (AR9) Police Car Option
If a condition is experienced where the seatback recliner control cannot be adjusted because the control has been ratcheted and the teeth are smooth, the condition may be corrected by replacing the seatback recliner control unit with the rotary unit used on all 'T' styles as follows:
1. Remove the recliner control cover.
2. Remove the screws securing the control unit to the seat assembly and remove the control.
3. Install the new seatback recliner control (Part No. 20456716-17) as shown in Figure 1.
NOTICE: Upper attaching bolt should be tightened to 15-20 N.m (11 to 15 ft-lbs). Lower attaching bolts should be tightened to 20 to 28 N.m (15 to 21 ft-lbs).
4. Install the new recliner cover (Part No. 20464414-15) as shown in Figure 1.
5. Install the new knob (Part No. 20456713) to recliner control as shown in Figure 1.
6. Check the recliner control for the proper operation.
7. Repeat the above operations on the opposite seat assembly.

General Motors bulletins are intended for use by professional technicians, not a "do-it-yourselfer". They are written to inform those technicians of conditions that may occur on some vehicles, or to provide information that could assist in the proper service of a vehicle. Properly trained technicians have the equipment, tools, safety instructions and know-how to do a job properly and safely. If a condition is described, do not assume that the bulletin applies to your vehicle, or that your vehicle will have that condition. See a General Motors dealer servicing your brand of General Motors vehicle for information on whether your vehicle may benefit from the information.
