Brake Caliper Replacement Front
Removal Procedure
- Remove 2/3 of the brake fluid from the master cylinder.
- Raise the vehicle. Refer to
Lifting and Jacking the Vehicle
in General Information.
- Support the vehicle with safety stands.
- Mark the relationship of the wheel to hub.
- Remove the tire and wheel assembly. Refer to
Tire and Wheel Removal and Installation
in Tires and Wheels.

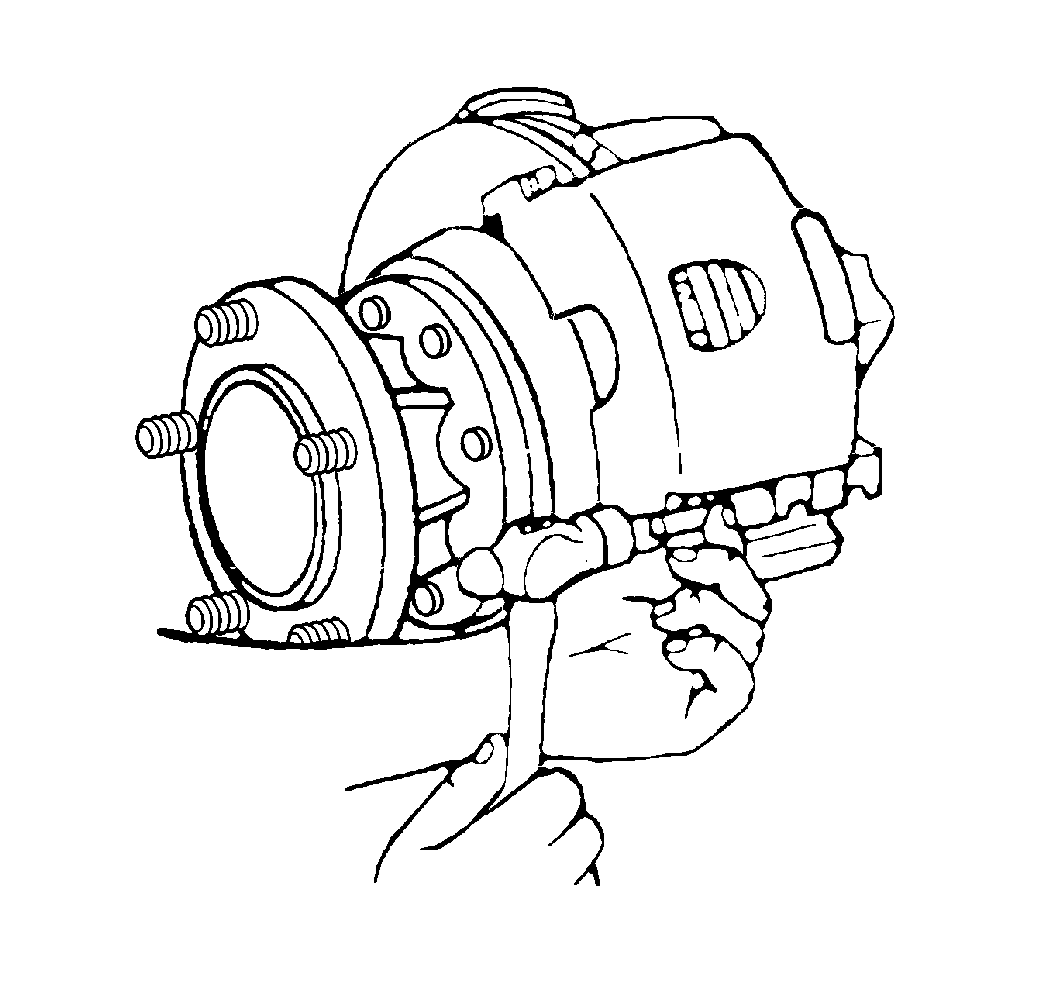
- Position a C-clamp and tighten until the piston bottoms in the bore.
- Remove the C-clamp.
- Remove the brake hose.
- Remove the screw.

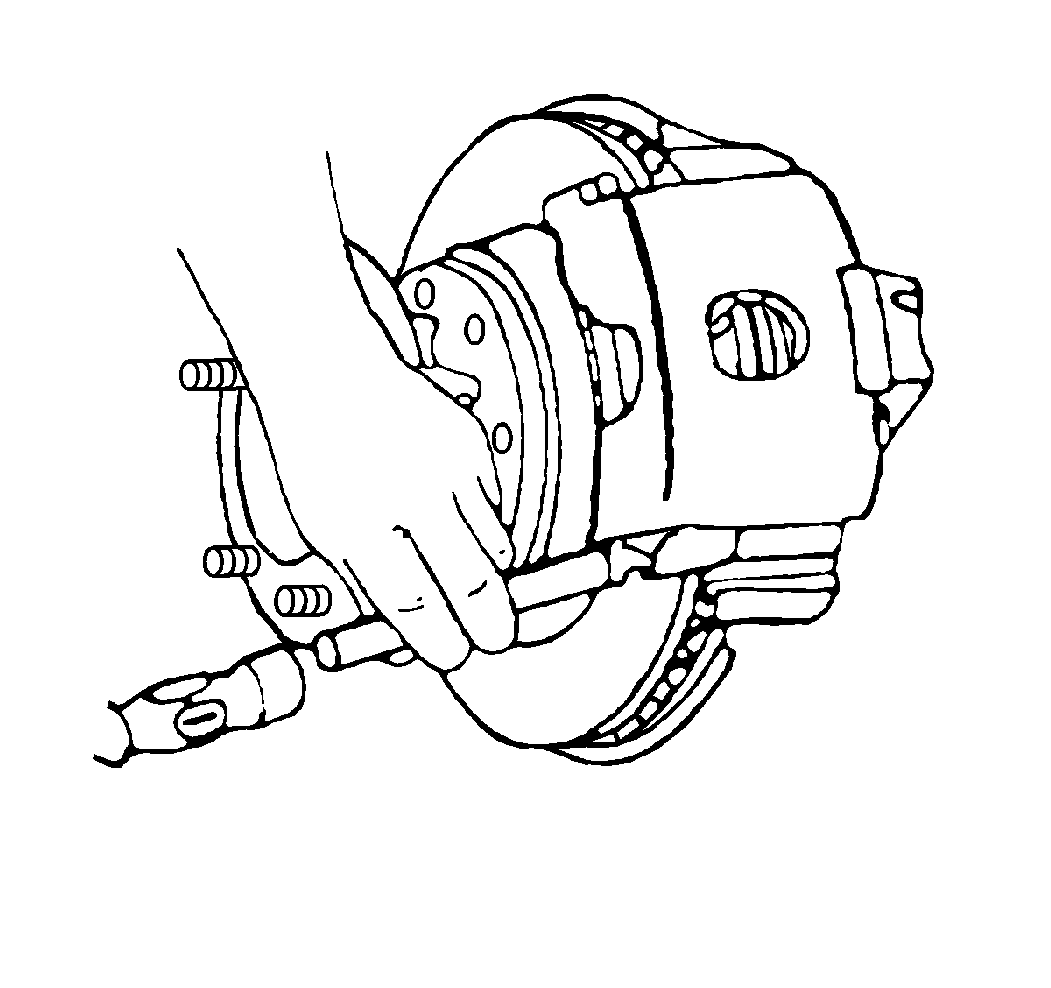
- Remove the support key using a brass punch and hammer.
- Remove the spring.
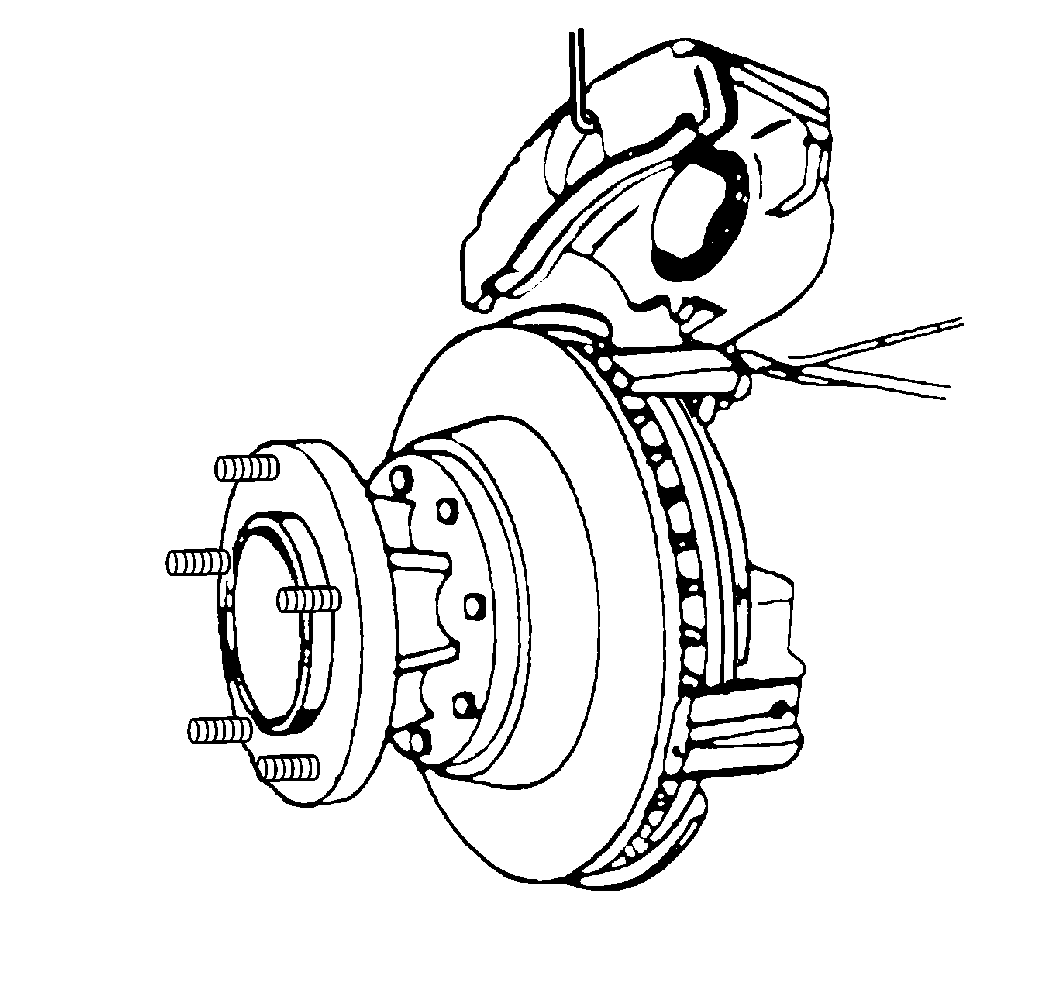
- Remove the caliper assembly.
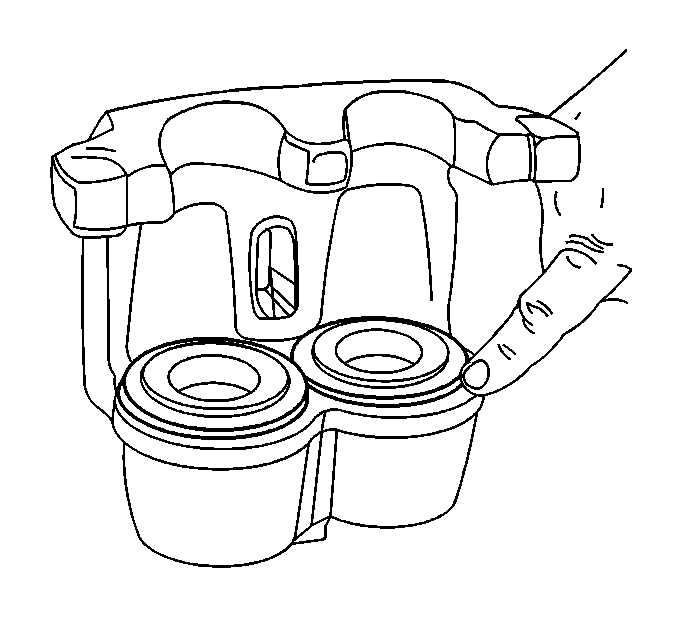
- Inspect the inside of the caliper assembly for signs of fluid
leakage. If any is found, refer to
Brake Caliper Inspection
.
- Clean the machined surfaces of the anchor plate and caliper with
a wire brush.
Installation Procedure
- Lubricate the caliper and anchor plate sliding surfaces with Delco
Silicone Lube GM P/N 18010909, or equivalent.
Notice: Make sure the brake hose is not twisted or kinked after
installation. Damage to the hose could result.
- Install the caliper assembly.
- Install the spring.

- Install the support key with a brass punch and hammer.
Notice: Use the correct fastener in the correct location. Replacement fasteners
must be the correct part number for that application. Fasteners requiring
replacement or fasteners requiring the use of thread locking compound or sealant
are identified in the service procedure. Do not use paints, lubricants, or
corrosion inhibitors on fasteners or fastener joint surfaces unless specified.
These coatings affect fastener torque and joint clamping force and may damage
the fastener. Use the correct tightening sequence and specifications when
installing fasteners in order to avoid damage to parts and systems.
- Install the bolt
into the circular cutout in the key.
Tighten
Tighten the bolt to 20 N·m (15 lb ft).
- Install the brake hose. Refer to the following procedures:
- Bleed the brake system. Refer to
Hydraulic Brake System Bleeding
.
- Install the tire and wheel assembly. Refer to
Tire and Wheel Removal and Installation
in Tires and Wheels.
Important: Before moving the vehicle, pump the brake pedal several times in order
to make sure the pedal is firm. Do not move the vehicle until a firm pedal
is obtained. Inspect the brake fluid level in the master cylinder
after pumping the brakes.
- Lower the vehicle.
Brake Caliper Replacement Rear
Removal Procedure
- Block the vehicle wheels.
- Drain approximately 2/3 of the brake fluid from the master cylinder.
| • | Drain brake fluid from the bleeder valve at the brake caliper. |
| • | Do not completely drain the reservoir. |
| • | Discard the drained brake fluid. |
- Raise the vehicle. Refer to
Lifting and Jacking the Vehicle
in General Information.
- Support the vehicle with safety stands.
- Remove the tire and wheel assembly. Refer to
Tire and Wheel Removal and Installation
in Tires and Wheels.
- Remove the brake caliper retainer screw.
- Remove the brake caliper retainer and brake caliper retainer spring
with a brass punch.

- Compress the brake caliper pistons.
| • | Use a C-clamp between the inner brake caliper housing and the
outer brake pad, or use screwdrivers in order to pry between the outer brake
caliper housing and the other brake pad. |
| • | Watch for possible fluid overflow at the reservoir during this
step. |
| • | The inner brake pad may stay on the brake caliper mounting plate. |

Notice: Do not allow calipers to hang from the flexible hoses. Doing so can
damage the hoses.
Important:
| • | Do not let the brake caliper hang from the brake hose. Suspend
the brake caliper with a wire or cord. |
| • | It is not always necessary to remove the brake hose from the brake
caliper when replacing the brake pad assemblies. |
| • | Clean the area around the brake hose on the brake caliper. |
| • | Cap or tape the fitting in order to prevent dirt from entering
the brake hose. |
- Disconnect the brake hose.
- Remove the brake caliper.
- Inspect the inside of the brake caliper for hydraulic fluid leaks.
Overhaul the brake caliper if leaks are found. Refer to
Brake Caliper Overhaul
.
- Inspect the piston seal for leaks and fluid around the following
components:

- Inspect the piston dust
boots for the following conditions:
- Overhaul the brake caliper if you find damage. Refer to
Brake Caliper Overhaul
.
- Inspect the V-way surfaces on the brake caliper.
- Inspect the support rail surfaces on the brake caliper mounting
plate.
- Replace the dust shields if the dust shields are loose.
- Inspect under the boots for leakage. Overhaul the brake caliper
if leakage is found. Refer to
Brake Caliper Overhaul
.
- Clean the following surfaces with a wire brush:
| • | The V-way surfaces of the brake caliper |
| • | The support rail surfaces on the brake caliper mounting plate |
- File smooth any deep nicks or gouges.

- Lubricate the brake caliper
V-way surfaces and the support rail surfaces with brake caliper slide lubricant
GM P/N 123776969 or equivalent.
Installation Procedure

Important: Never drive the pistons in with a mallet or metal tools. If the piston
cannot be pushed by hand, place a small block of wood over the pistons and
the boots. Use a C-clamp around the wood block and the brake caliper
housing in order to push in the pistons.
- Install the brake caliper pistons to the bottom of the bores.

- Install the brake caliper.
Notice: Make sure the brake hose is not twisted or kinked after
installation. Damage to the hose could result.
- Install the brake hose (if disconnected).
Notice: Use the correct fastener in the correct location. Replacement fasteners
must be the correct part number for that application. Fasteners requiring
replacement or fasteners requiring the use of thread locking compound or sealant
are identified in the service procedure. Do not use paints, lubricants, or
corrosion inhibitors on fasteners or fastener joint surfaces unless specified.
These coatings affect fastener torque and joint clamping force and may damage
the fastener. Use the correct tightening sequence and specifications when
installing fasteners in order to avoid damage to parts and systems.
- Loosely assemble
the brake hose nut to the brake caliper.
- Loosely assemble the brake hose bracket to the brake caliper.
Tighten
| • | Tighten the brake hose nut to 19 N·m (14 lb ft). |
| • | Tighten the brake hose bracket bolts to 32 N·m (24 lb ft). |
- Install the brake caliper retainer and brake caliper retainer
spring in the support rail.
- Adjust the brake caliper. Refer to
Brake Caliper and Anchor Plate Wear Adjustment
.
- Lubricate the brake caliper retainer and the brake retainer spring
with brake caliper slide lubricant GM P/N 12377969 or equivalent.

- Tap the brake caliper retainer and the brake caliper retainer spring
into place using a brass punch and a light weight hammer.
Important:
| • | The brake caliper retainer screw boss must fit in the circular
hole in the brake caliper retainer. |
| • | The brake caliper retainer screw may be reused only 4 times.
Replace the screw if the screw has been reused 4 times. |
- Install the caliper retainer screw.
Tighten
Tighten the brake caliper retainer screw to 40 N·m (29 lb ft).
- Fill the master cylinder with brake fluid. Refer to
Master Cylinder Reservoir Filling
.
Important: Pump the brake pedal several times in order to make sure the pedal is
firm and the brake pads are adjusted. Check the master cylinder fluid level
after pumping the brake pedal.
- If any pipes or hoses are disconnected, bleed the hydraulic brake system.
Refer to
Hydraulic Brake System Bleeding
.
- Install the tire and wheel assembly.
- Lower the vehicle.
- Remove the wheel blocks.


