Removal Procedure
Tools Required
| • | J 34730-1A Fuel Pressure Gauge |
| • | J 37088-A Tool Set, Fuel Line Quick Connect Separator |
Notice:
• Carefully remove the fuel rail assembly in order to
prevent damage to the injector electrical connector terminals and the injector
spray tips. Support the fuel rail after the fuel rail is removed in order
to avoid damaging the fuel rail components. • Prevent dirt and other contaminants from entering the open pipes
and passages. Cap the fittings and plug the holes when servicing the fuel
system.

An eight digit identification number is located on the fuel rail assembly. Refer to this model identification number if servicing or part replacement is required.
- Disconnect the negative battery cable.
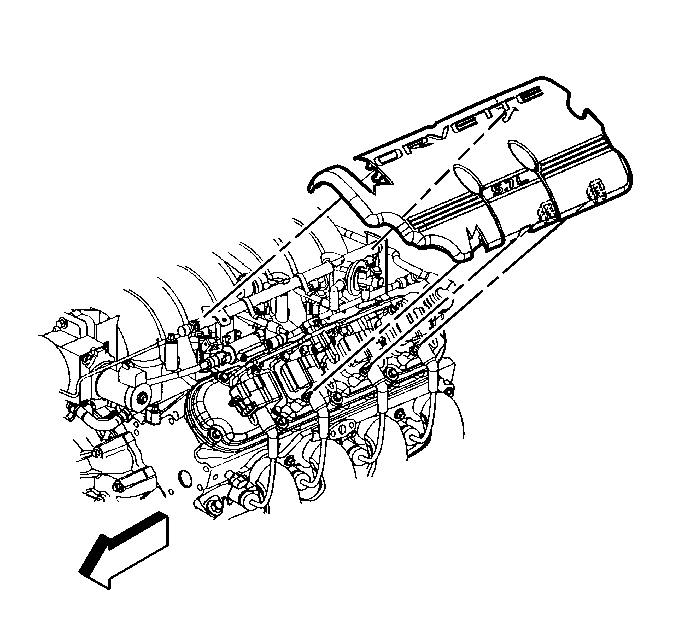
- Remove the left fuel rail cover.
- Relieve the fuel system pressure. Refer to the Fuel Pressure Relief .
- Remove the right fuel rail cover.
- Clean the fuel rail assembly with a spray type engine cleaner, GM X-30A or equivalent, if necessary. Follow the package instructions. Do not soak the fuel rail in liquid cleaning solvent.
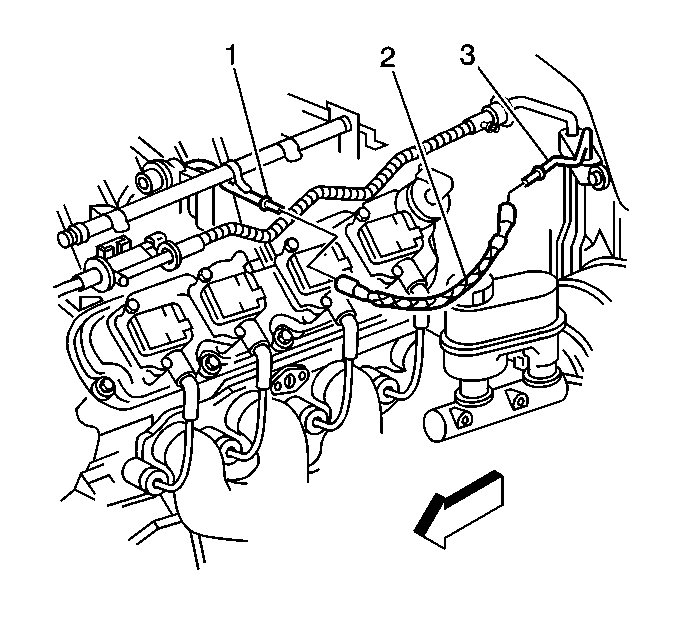
- Disconnect the fuel feed hose (2) from the fuel rail (1). Refer to Metal Collar Quick Connect Fitting Service .
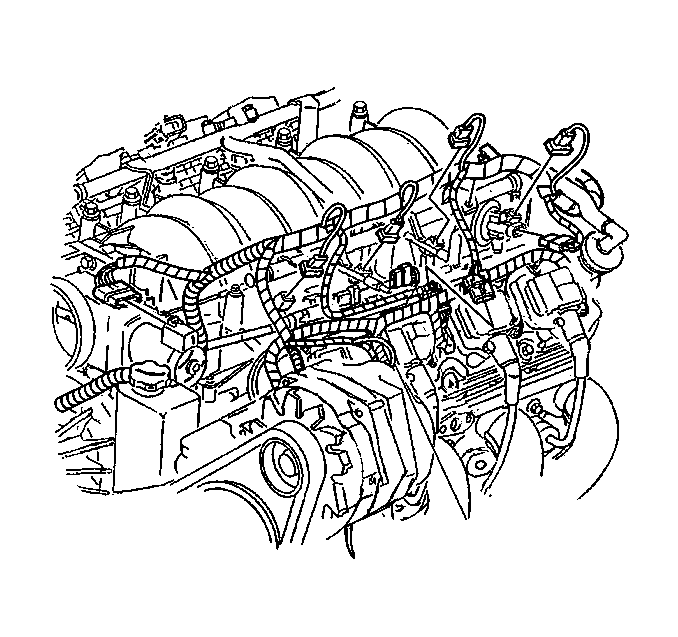
- Disconnect the fuel injector electrical connectors. Identify the connectors to their corresponding injectors in order to ensure the correct sequential injector firing order after reassembly.
- Note the location of the fuel rail ground strap (1) on the intake manifold. The fuel rail ground strap must be installed during assembly.
- Remove the fuel rail attaching bolts.
- Remove the fuel rail assembly.
- Remove the injector lower O-ring seal from the spray tip end of each injector.
- Discard the lower O-ring seals.

Caution: Unless directed otherwise, the ignition and start switch must be in the OFF or LOCK position, and all electrical loads must be OFF before servicing any electrical component. Disconnect the negative battery cable to prevent an electrical spark should a tool or equipment come in contact with an exposed electrical terminal. Failure to follow these precautions may result in personal injury and/or damage to the vehicle or its components.


Installation Procedure
- Note the location of the fuel rail ground strap (1) on the intake manifold. The fuel rail ground strap must be installed during assembly.
- Lubricate the new lower injector O-ring seals with clean engine oil.
- Install the new O-ring seals on the spray tip end of each injector.
- Install the fuel rail assembly to the intake manifold.
- Apply a 5 mm (0.020 in) band of GM P/N 12345382 threadlock or equivalent to the threads of the fuel rail bolts.
- Install the fuel rail attaching bolts.
- Connect the injector electrical connectors.
- Connect the fuel feed hose (2) to the fuel rail (1). Refer to Metal Collar Quick Connect Fitting Service .
- Tighten the fuel filler cap.
- Connect the negative battery cable.
- Inspect for leaks.
- Install the right fuel rail cover.
- Install the left fuel rail cover.
- Program the transmitters. Refer to Transmitter Programming/Synchronization in Keyless Entry.
- Perform the idle learn procedure. Refer to PCM Idle Learn Procedure .


Caution: The fuel rail stop bracket must be installed onto the engine assembly. The stop bracket serves as a protective shield for the fuel rail in the event of a vehicle frontal crash. If the fuel rail stop bracket is not installed and the vehicle is involved in a frontal crash, fuel could be sprayed possibly causing a fire and personal injury from burns.
Notice: Use the correct fastener in the correct location. Replacement fasteners must be the correct part number for that application. Fasteners requiring replacement or fasteners requiring the use of thread locking compound or sealant are identified in the service procedure. Do not use paints, lubricants, or corrosion inhibitors on fasteners or fastener joint surfaces unless specified. These coatings affect fastener torque and joint clamping force and may damage the fastener. Use the correct tightening sequence and specifications when installing fasteners in order to avoid damage to parts and systems.
Tighten
Tighten the fuel rail attaching bolts to 10 N·m (89 lb
in).

| • | Install each connector on the proper injector in order to ensure the correct sequential injector firing order. |
| • | Rotate the injectors as required in order to avoid stretching the injector wiring harness. |

| 11.1. | Turn the ignition switch ON for 2 seconds. |
| 11.2. | Turn the ignition switch OFF for 10 seconds. |
| 11.3. | Turn the ignition switch ON. |
| 11.4. | Check for fuel leaks. |


