Removal Procedure
Notice: To prevent leakage of oil filters, it is very important that you closely follow the installation instructions listed below or engine damage may result.
- Raise and suitably support the vehicle. Refer to Lifting and Jacking the Vehicle in General Information.
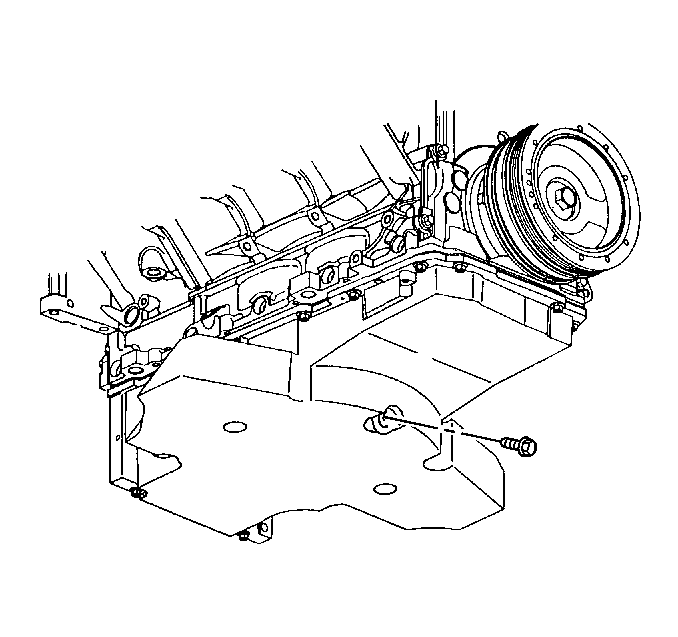
- Remove the engine oil drain plug and allow the oil to drain.
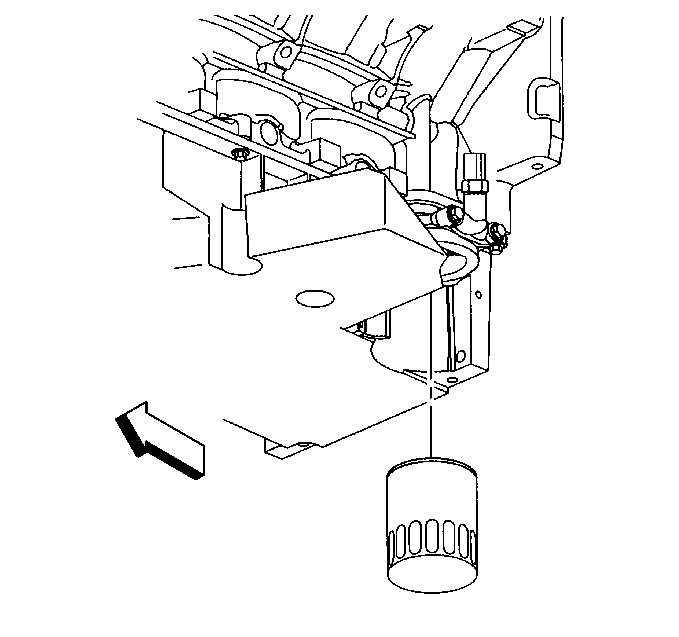
- Remove the engine oil filter by turning the oil filter counterclockwise and allow any remaining oil to drain.

Important: Be sure the vehicle is level during this entire procedure.
Important: In order to completely drain the oil from the oil pan internal baffling, the bottom of the oil pan must be level during the oil drain procedure.
Allow a MINIMUM of 7 MINUTES for the engine oil to fully drain, once the engine oil drain plug and the engine oil filter are removed.
Installation Procedure
- Clean the gasket sealing area on the engine oil filter mounting surface with a clean, dry cloth.
- Lightly oil the replacement engine oil filter gasket, use CLEAN oil.
- Install the filter by turning the engine oil filter clockwise.
- Wipe the engine oil drain plug with a clean, dry cloth.
- Install the engine oil drain plug.
- Fill the engine with the proper type and amount of NEW engine oil. DO NOT use any engine oil additives in Corvette engines. For information on the proper type of oil to use, refer to Fluid and Lubricant Recommendations in Maintenance and Lubrication.
- Run the engine for 3 minutes and thoroughly inspect the oil filter and the oil pan drain plug areas for leaks.
- Allow the engine to cool for a minimum of 3 minutes.
- Check the engine oil level.
- Top-off the engine oil to the full mark on the oil level indicator (dipstick).
- Lower the vehicle.

Notice: Use the correct fastener in the correct location. Replacement fasteners must be the correct part number for that application. Fasteners requiring replacement or fasteners requiring the use of thread locking compound or sealant are identified in the service procedure. Do not use paints, lubricants, or corrosion inhibitors on fasteners or fastener joint surfaces unless specified. These coatings affect fastener torque and joint clamping force and may damage the fastener. Use the correct tightening sequence and specifications when installing fasteners in order to avoid damage to parts and systems.
Important: Use a cap-type wrench, AC Delco OF17W or equivalent, or a strap-type wrench with swivel handle to insure proper installation.
Tighten
Tighten the engine oil filter to 30 N·m (22 lb ft).

Tighten
Tighten the engine oil drain plug to 25 N·m (18 lb ft).
Important: Allow a MINIMUM of 3 MINUTES for the NEW engine oil to fully fill the engine oil pan.
For information on the engine oil capacity, refer to Engine Mechanical Specifications .
