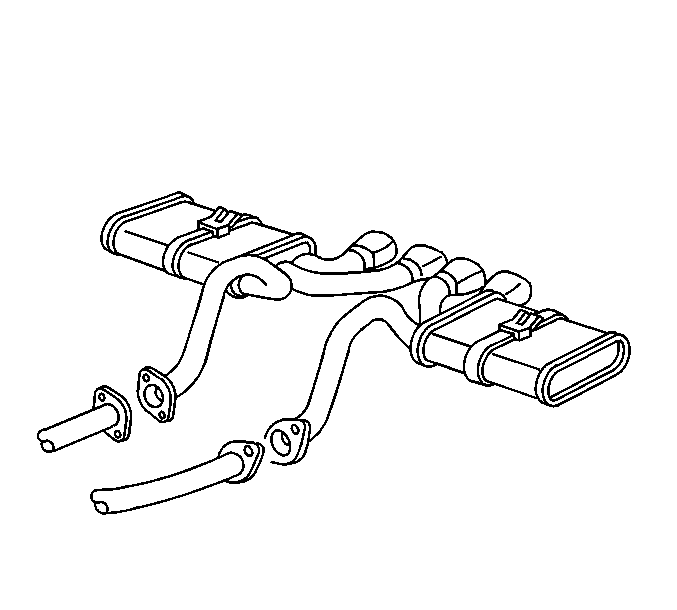
For 1990-2009 cars only
Removal Procedure
- Raise the vehicle and support. Refer to Lifting and Jacking the Vehicle in General Information.
- Remove the rear stabilizer shaft bolts, nuts and clamps.
- Position the stabilizer shaft downward.
- Remove the intermediate exhaust pipe to the rear exhaust pipe bolts.
- Remove the muffler from the muffler hanger.
- Remove the muffler from the vehicle.
- Wire brush the affected area to remove flaking and peeling paint.
- Apply compressed air to the repair area.
- Sand the affected area with 80 to 150 grit sandpaper to remove rust, dirt or other containments.
- Apply compressed air to the repair area.
- Clean the affected area with a wax and grease remover.
- Apply paint to the affected area. Follow the manufactures instructions.
- Allow the paint to dry.


Important: The exhaust system must be cold.

Caution: Wear safety glasses when using compressed air in order to prevent eye injury.
Installation Procedure
- Install the muffler to the vehicle. Refer to Muffler Replacement .
- Reposition the rear stabilizer shaft to the crossmember.
- Install the rear stabilizer shaft to the vehicle. Refer to Stabilizer Shaft Replacement in Rear Suspension.
- In a well ventilated area, start the engine and allow to idle for up to 30 minutes until the paint is cured.


Important: Some smoking will occur while curing the paint with the engine is running, be careful not to get the exhaust system wet during the first 30 minutes.
The paint can be cured while driving.
