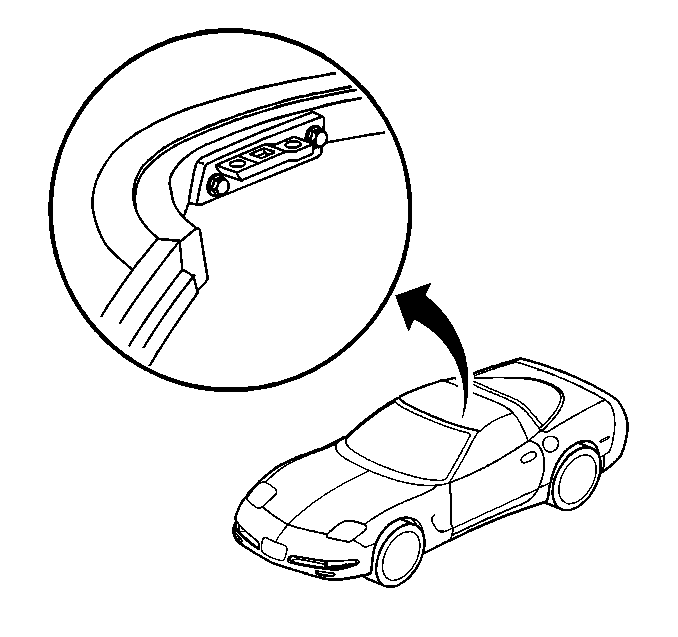
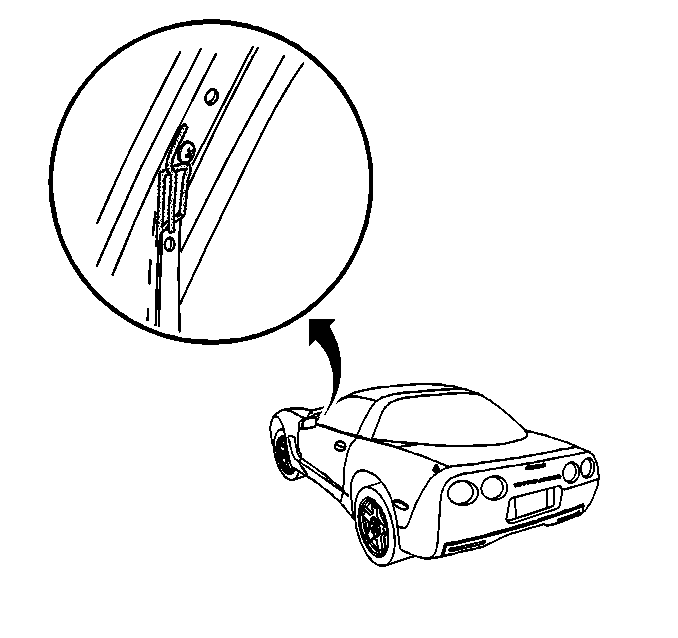
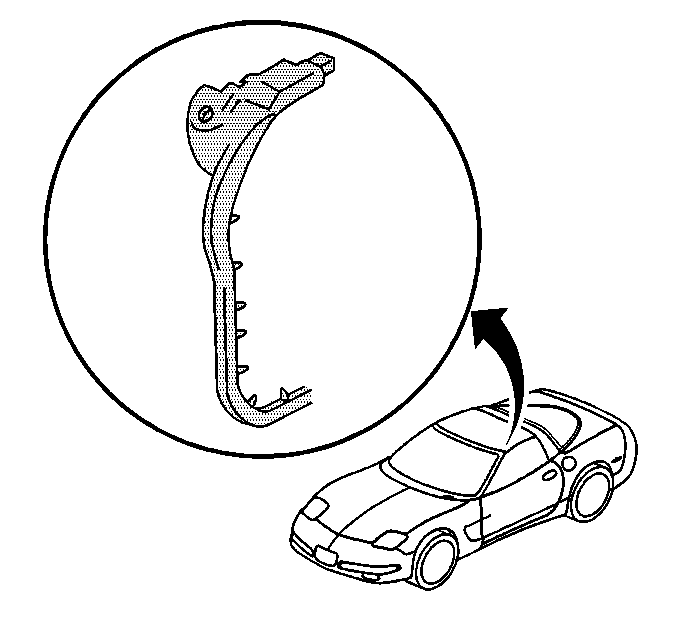
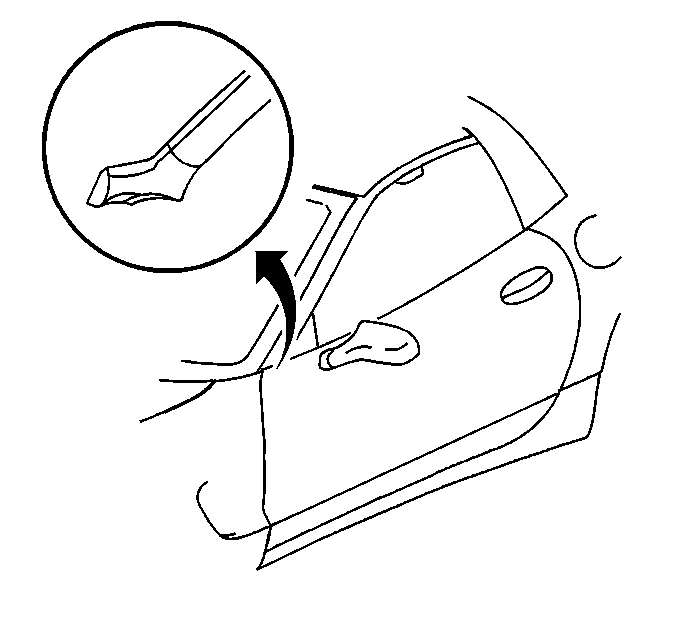
Drip from the Sunshade Attachment (Coupe and Convertible)

Possible Cause
There is not enough sealant under the windshield weatherstrip upper retainer.
Diagnosis
Preform a localized water test on the windshield weatherstrip from the center of the weatherstrip out to the upper corner.
Corrective Action
- Remove the windshield weatherstrip from the side retainer. Refer to Weatherstrip Replacement in Stationary Windows.
- Partly remove the windshield weatherstrip upper retainer.
- Clean the surface.
- Install a bead of sealant on the windshield header from 75 mm (3 in) beyond the latch striker the top of the side retainer.
- Install a glob of sealer across the top edge of the side retainer.
- Install the weatherstrip retainer and the weatherstrip.
Drip from the Roof at the Upper Corner of A-Pillar

Possible Cause
There is not enough contact pressure between the roof and the windshield weatherstrip.
Diagnosis
Preform a localized water test on the roof at the top of the windshield A-pillar weatherstrip.
Corrective Action
- Remove the roof lift off panel (coupe) or open the top (convertible).
- Loosen the latch striker bolts and adjust the roof latch striker downward to increase the contact pressure of the roof to the windshield weatherstrip.
- Tighten the Striker Bolts. Refer to Roof Lift Off Panel Front Latch Handle Replacement in Roof.
- Install the roof panel or close the convertible top.
Drip from the A-pillar Side Window Defroster Vent

Possible Cause
There is a lack of sealant between the windshield weatherstrip retainer and the A-pillar inner applique.
Diagnosis
Preform a localized water test on the roof at the top of the windshield A-pillar weatherstrip.
Corrective Action
- Remove the windshield side garnish molding. Refer to Windshield Side Garnish Molding Replacement in Stationary Windows.
- Partially remove the windshield side weatherstrip. Refer to Windshield Side Reveal Molding Replacement in Stationary Windows.
- Remove the windshield weatherstrip side retainer .
- Remove the reveal molding and applique.
- Clean all the surfaces.
- With a caulking gun seal all four sides of the upper tongue of the A-pillar applique bracket and apply a vertical strip of sealant 300 mm (6 in) long across the tongue onto the A-pillar.
- Install the reveal molding and applique.
- Install the weatherstrip retainer and the weatherstrip.
- Install the garnish molding.
Dripping from the bottom of the Windshield A-pillar onto the Door Trim Panel

Possible Cause
There is not enough contact pressure between the windshield weatherstrip and the door weatherstrip.
Diagnosis
Preform a localized water test on the windshield weatherstrip at the A-pillar.
Corrective Action
- Remove the fir tree fastener attaching the front lip of door weatherstrip.
- Insert a round foam stuffer 12 mm (½ in) diameter and 62 mm (1½ in) long into the pocket in the door weatherstrip.
- Work the stuffer down into the door weatherstrip to the edge of the door trim panel. This increases the contact pressure between the weatherstrips inboard of the A-pillar weatherstrip drain.
- Install the fir tree fastener to the front of the door weatherstrip.
Dripping from the Bottom of the Windshield Weatherstrip onto the Door Sill

Possible Cause
There is not enough sealant between the bottom of the windshield weatherstrip and the A-pillar.
Diagnosis
Preform a localized water test on the roof at the top of the windshield A-pillar weatherstrip.
Corrective Action
- Remove the windshield side garnish molding. Refer to Windshield Side Garnish Molding Replacement in Stationary Windows.
- With a caulking gun fill the gap between the A-pillar and the lower side of the weatherstrip with windshield sealant.
- Reinstall the garnish molding.
