At the Windshield Weatherstrip.
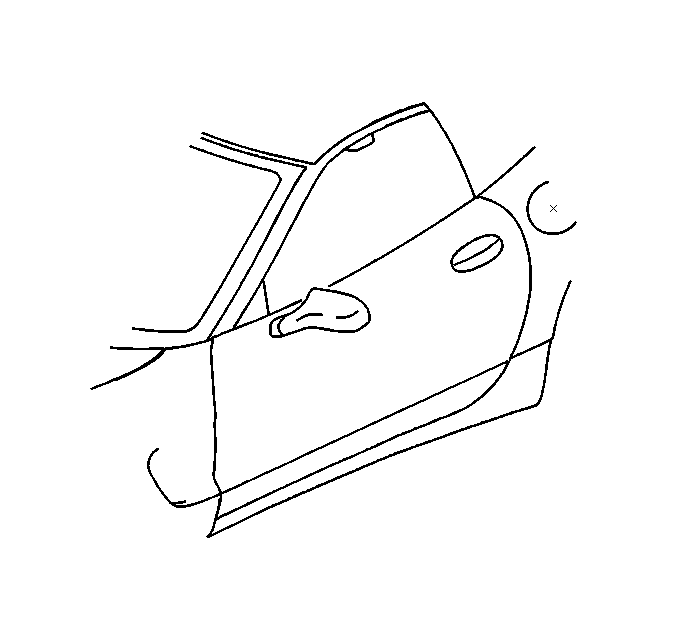
Possible Cause
There is not enough contact pressure between the window and the weatherstrip.
Diagnosis
Perform a localized water test. A large squeeze bottle can be used to spray water on the weatherstrip.
Corrective Action # 1
Adjust the front of window tip in to increase the contact pressure between the window and the weatherstrip.
- Open the door and remove the front lower access plug.
- Loosen the front lower regulator nut.
- Slide the regulator outward and tighten the nut.
- Replace the plug.
- Adjust the window rear tip in if necessary.
Correction # 2
Place a block of wood on the weatherstrip retainer and tap the retainer with a hammer bending the retainer slightly downward.
At the Top Rear of the Door Window (Coupe)
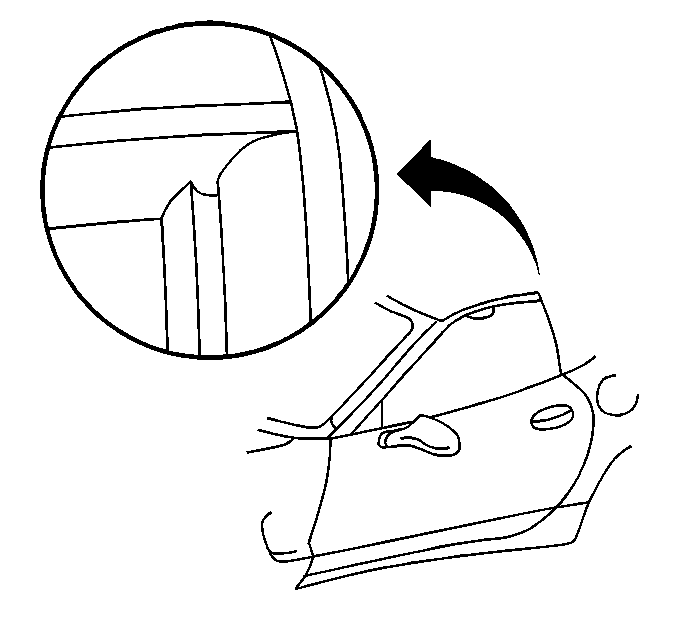
Possible Cause # 1
When the roof panel was re-installed the top of the B pillar weatherstrip rolled under.
Possible Cause # 2
There is not enough contact between the rear roof bow weatherstrip and the roof lift off panel weatherstrip.
Possible Cause # 3
There is not enough contact pressure between the window and the weatherstrips.
Diagnosis # 1
Visually check to see if the top of the B pillar weatherstrip is rolled under.
Diagnosis # 2
Visually check to see that the B pillar weatherstrip tightly overlaps the roof side weatherstrip.
Diagnosis # 1
Perform a localized water test. A large squeeze bottle can be used to spray water on the weatherstrips.
Corrective Action # 1
Un-roll the weatherstrip. Instruct the customer to check and un-roll the right and left weatherstrips, if necessary, after installing the roof.
Corrective Action # 2
Grasp the roof bow weatherstrip and slide it upward in the retainer so it tightly contacts the roof weatherstrip.
Corrective Action # 3
Adjust the window tip in to increase the contact pressure between the window and the weatherstrips.
At the Rear Edge of the Door Window (Coupe)
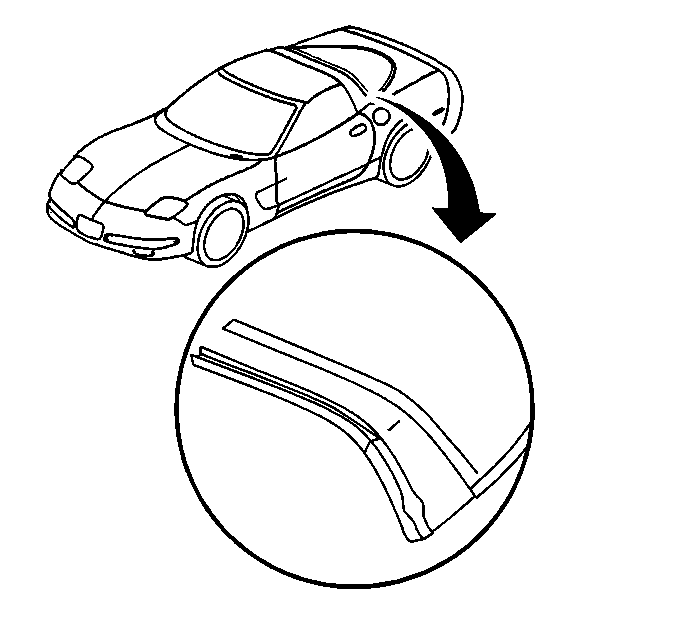
Possible Cause
There is not enough contact pressure between the window and the rear weatherstrip.
Diagnosis
Perform a localized water test. A large squeeze bottle can be used to spray water on the weatherstrips.
Corrective Action # 1
- Grasp the middle of the side of the roof bow weatherstrip with one hand and with the other hand pull the weatherstrip down in its retainer to form a slight bulge near the bottom of the weatherstrip.
- Grasp the middle of the rear roof bow weatherstrip and slide it upward in the retainer so it tightly contacts the roof weatherstrip.
- Perform a localized water test. If there is still a leak perform correction # 2
Corrective Action # 2
Adjust the window tip in to increase the contact pressure between the window and the weatherstrips.
At the Rear Edge of the Door Window (Convertible)
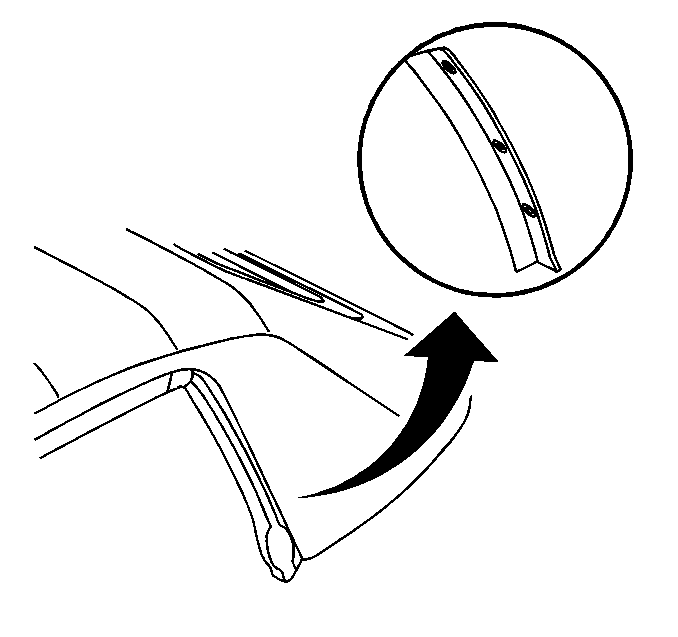
Possible Cause
There is not enough contact pressure between the window and the weatherstrip.
Diagnosis
Perform a localized water test. A large squeeze bottle can be used to spray water on the weatherstrips.
Corrective Action # 1
- Remove the roof rear side rail weatherstrip.
- Using hand tools only, loosen the retainer screws.
- Pry the retainer outward by inserting a flat bladed tool between the retainer and the rear side rail.
- Tighten the screws and install the weatherstrip.
- Grasp the middle of the weatherstrip with one hand and with the other hand pull the weatherstrip down in its retainer to form a slight bulge near the bottom of the weatherstrip.
- Check and align the rib on the top of the rear side rail weatherstrip with the rib on the roof weatherstrip.
- Perform a localized water test. If there is still a leak perform correction # 2
Corrective Action # 2
Adjust the window tip in to increase the contact pressure between the window and the weatherstrips.
The Bottom of the Rear Side Rail Weatherstrip (Convertible)
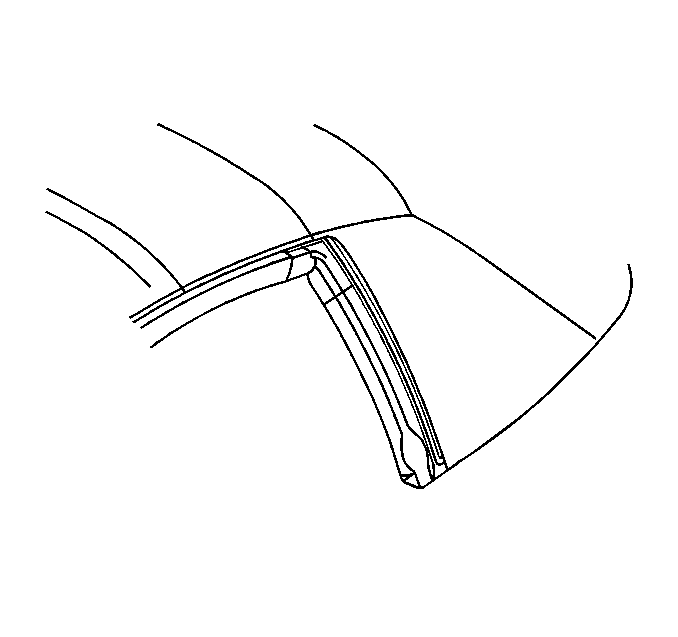
Possible Cause
There is not enough contact pressure between the window and the weatherstrip.
Diagnosis
Perform a localized water test. A large squeeze bottle can be used to spray water on the weatherstrip.
Corrective Action
- Grasp the middle of the weatherstrip with one hand and with the other hand pull the weatherstrip down in its retainer to form a slight bulge near the bottom of the weatherstrip.
- Grasp the rear side weatherstrip retainers lower forward edge and bend the retainer outward slightly.
- Check and align the rib on the top of the rear side rail weatherstrip with the rib on the roof weatherstrip.
Rear Roof Bow at the Lock Pillar (Coupe)
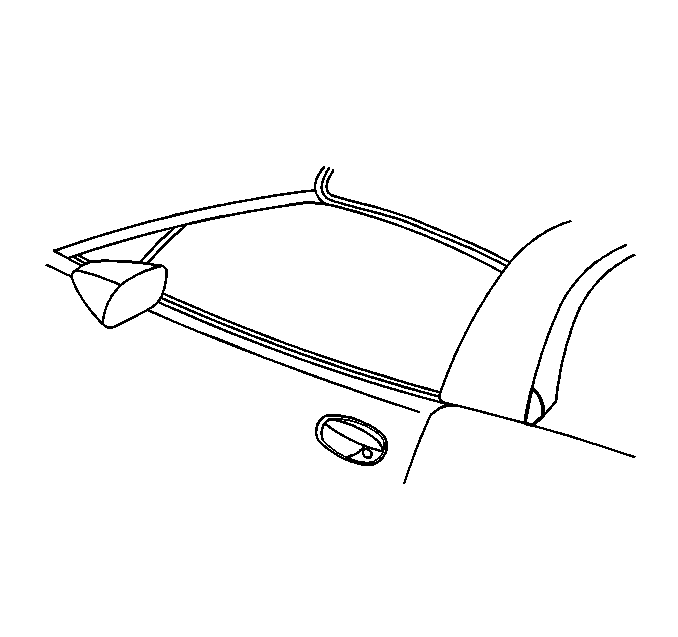
Possible Cause
The rear of the roof bow outer trim panel is not properly sealed.
Diagnosis
| • | Open the lift window and visually check for a opening at the bottom of the roof bow outer trim panel. |
| • | With the lift window closed perform a localized water test where the roof bow and the rear lift window meet. |
Corrective Action
Open the rear lift window and fill the opening at the bottom of the roof bow outer trim panel with windshield sealant.
Lock Pillar (Coupe)
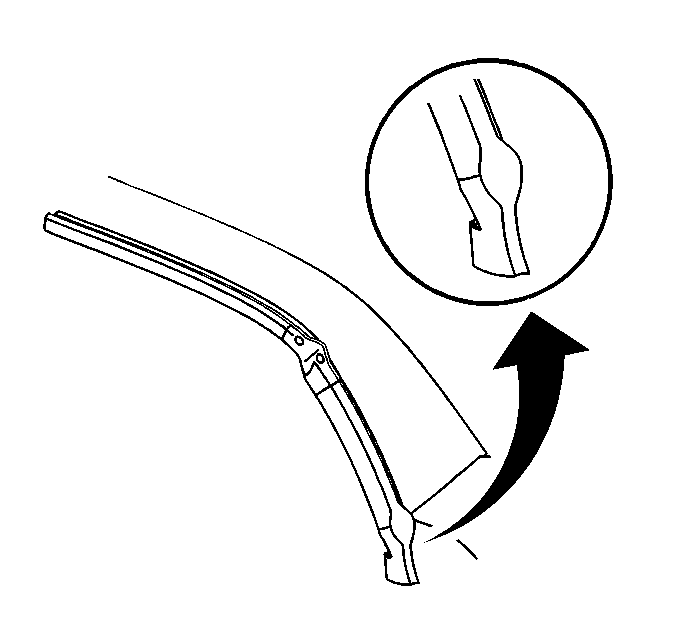
Possible Cause # 1
The bottom drain in the weatherstrip is obstructed.
Possible Cause # 2
The two sided sealing tape behind weatherstrip is not channeling the water to the drain hole.
Diagnosis
Open the door and insert water into the drain inside the weatherstrip. Use a large squeeze bottle to insert the water. Observe the water path out of the weatherstrip.
Corrective Action # 1
Clean the lower drain.
Corrective Action # 2
- Pull the bottom of the weatherstrip loose.
- Replace the two sided sealing tape that channels the water to the drain.
- Install the weatherstrip.
