Leak onto the Lock Pillar Trim at the Seat Belt Slot (Hard Top)
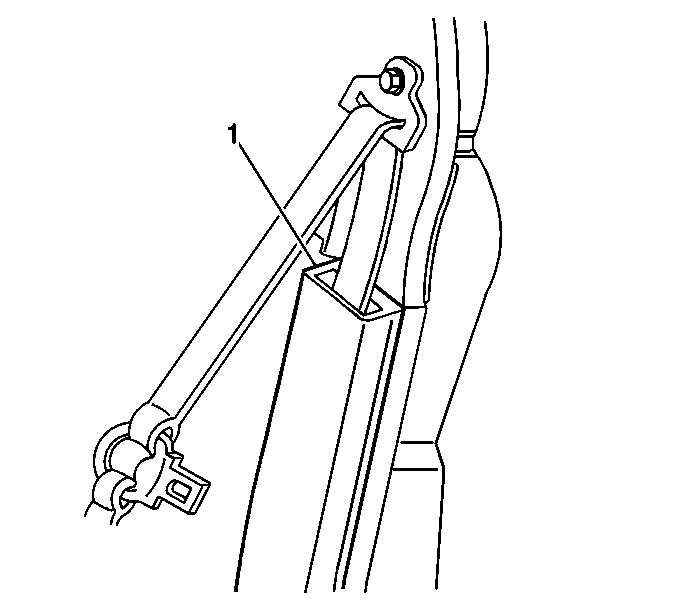
Possible Cause
There is a gap in the sealant under the weatherstrip retainer.
Diagnosis
Locally water test at the upper rear corner of the roof reveal molding.
Corrective Action
Reseal the weatherstrip retainer.
- Pull the top of the rear side trim panel from the lock pillar un-snapping the upper retainer.
- Slightly lower the headlining.
- Remove six inches of the weatherstrip from each of the retainers.
- Install a 38 mm (1½ in) long, 12 mm (½ in) wide, strip of black body sealant under the corner of the retainer.
- Apply weatherstrip adhesive to the outer side of the corner of the retainer.
- Install the weatherstrip.
- Install the upper corner of the headliner and the rear side trim panel.
Leak into a Rear Floor Side Stowage Pocket
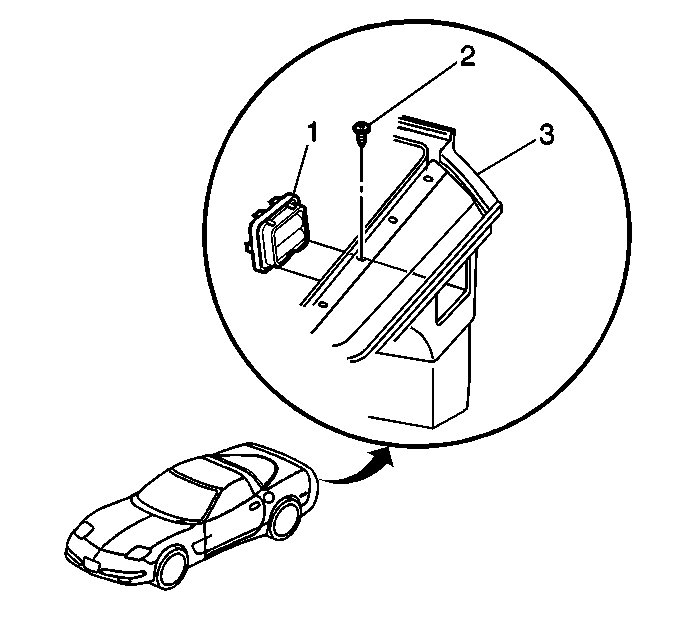
Possible Cause # 1
The pressure relief valve is not fully seated into side panel. (Left stowage pocket only).
Possible Cause # 2
A screw attaching the fascia to the surround panel is stripped.
Possible Cause # 3
There is a gap in the adhesive bonding between the stowage compartment panel and the surround panel.
Diagnosis Cause # 1
Remove the side carpet and visually inspect the pressure relief valve for proper installation.
Diagnosis Cause # 2
Check for a stripped screw. Locally water test along the forward upper edge of the fascia.
Diagnosis Cause # 3
Remove the taillamps and spray water along the rear compartment to surround panel seam.
Corrective Action Cause # 1
Push the pressure relief valve into the side panel until it is fully seated.
Corrective Action Cause # 2
- Remove the stripped screw. Save the washer.
- Fill the screw hole with weatherstrip sealant.
- Install the original screw washer onto a new longer screw such as a rear taillamp screw and install the screw into the stripped hole.
- Remove the taillamp for access.
- Install a speed nut to the bottom of the new screw and tighten the screw.
- Install the taillamp.
Corrective Action Cause # 3
- Remove the taillamp for access.
- Fill the seam between the rear compartment and the surround panel with weatherstrip sealant.
- Install the taillamp.
Leak into a Rear Floor Stowage Pocket
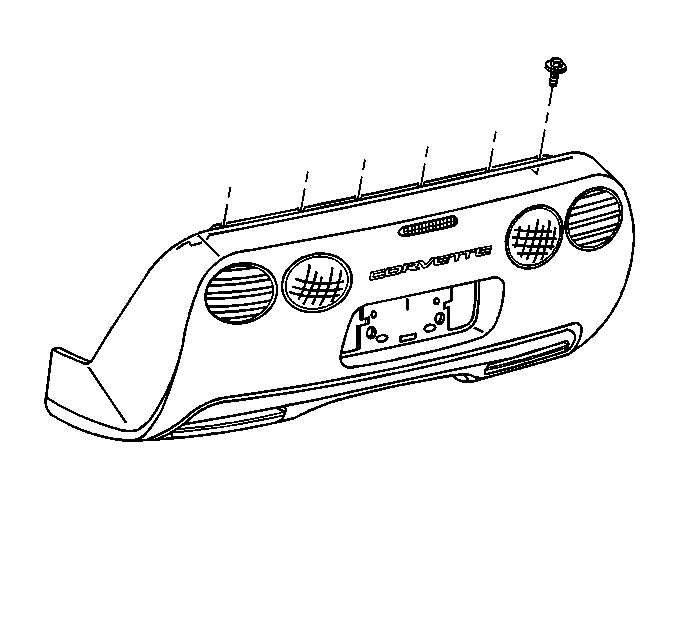
Possible Cause
A screw attaching the fascia to the surround panel is stripped.
Diagnosis
Locally water test along the forward upper edge of the fascia.
Corrective Action
- Remove the stripped screw. Save the washer.
- Fill the screw hole with weatherstrip sealant.
- Install the original screw washer onto a new longer screw such as a rear taillamp screw and install the screw into the stripped hole.
- Remove the taillamp for access.
- Install a speed nut to the bottom of the new screw and tighten the screw.
- Install the taillamp.
Leak into the Rear Storage Compartment Near the Radio Speaker
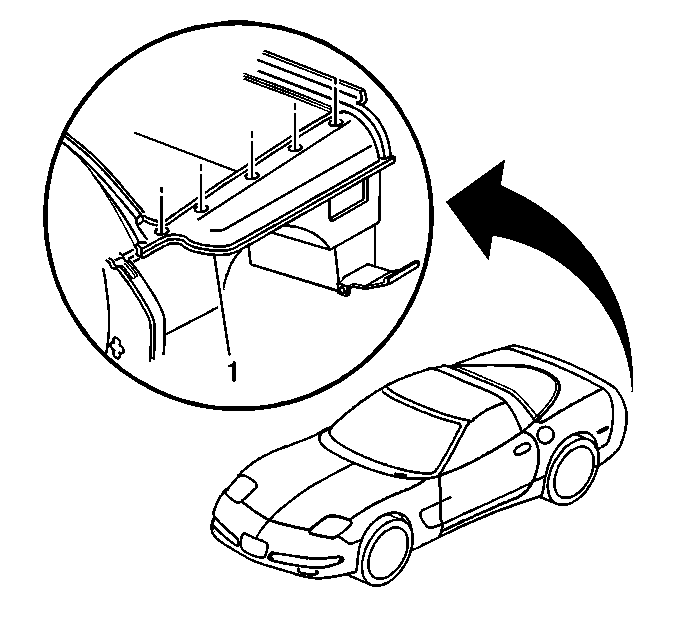
Possible Cause
There is a gap in the adhesive bonding between the stowage compartment panel and the surround panel.
Diagnosis
Locally water test along the forward upper edge of the quarter panel.
Corrective Action
- Remove the quarter panel.
- Fill the seam between the stowage compartment panel and the surround panel with weatherstrip sealant.
- Install the quarter panel.
Dripping from a Closed Lift Window onto a Radio Speaker
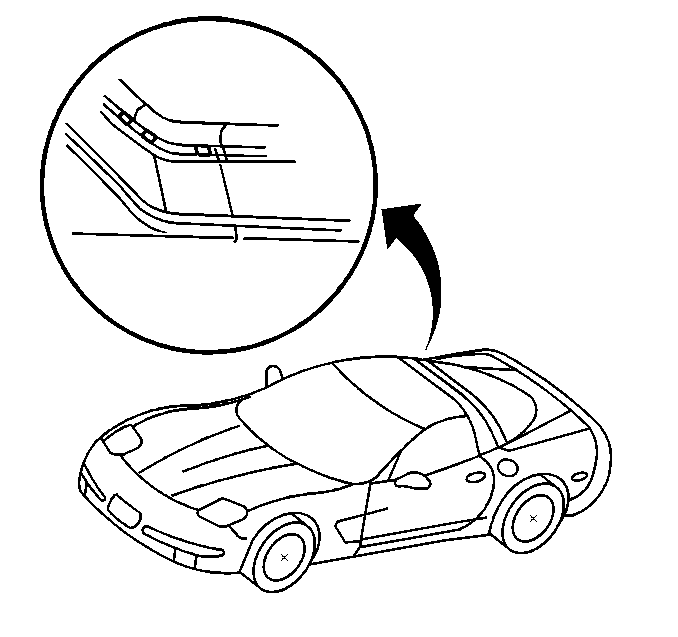
Possible Cause
There is not enough contact pressure between the weatherstrip and the lift window.
Diagnosis
Locally water test along the forward edge of the weatherstrip.
Corrective Action
- Remove the 9.5 mm (3/8 in) round foam insert stuffer from the slot in the forward lower corner of the lift window opening weatherstrip. (Carefully slit the weatherstrip to aid in removal)
- Insert a 12.5 mm (1/2 in) insert stuffer into the slot to build up the weatherstrip for more tension to the lift window panel.
- Using Locktite™ glue the slit together.
