Liftgate Handle (Rear Touch Pad) Inoperative or Does Not Open Liftgate (Verify Rear Touch Pad Electrical Functionality/Replace Rear latch Actuator, If Necessary)

| Subject: | Liftgate Handle (Rear Touch Pad) Inoperative or Does Not Open Liftgate (Verify Rear Touch Pad Electrical Functionality/Replace Rear Latch Actuator, if Necessary) |
| Models: | 2006 Chevrolet HHR |
| Built Up to and Including VIN Breakpoint 6S517174 |
Condition
Some customers may comment that the liftgate handle (rear touch pad) is inoperative or does not open the liftgate.
Cause
This condition may be caused by an inoperative liftgate (rear) latch actuator.
Correction
- Verify the customer concern. Press the "Unlock" button on the key fob twice and press the rear touch pad.
- Open the hood and look at the underhood fuse block. Check fuse #10 ("L-GATE/S-ROOF") and be sure that it is in the correct location and that it is the correct rating. Visually inspect the fuse to verify that it is not open; replace the fuse if necessary. Also check relay #18 ("L/GATE Release") to be sure it is securely seated. Refer to Underhood Fuse Block Label on vehicle to locate the fuse and relay and to determine correct fuse rating.
- If the fuse was replaced or the relay was re-seated, test the rear touch pad. Close the liftgate, lock the vehicle, and press "Unlock" button on the key fob twice. Press the rear touch pad again.
- Manually open the liftgate. Refer to Opening the Liftgate When There is an Electrical Failure.
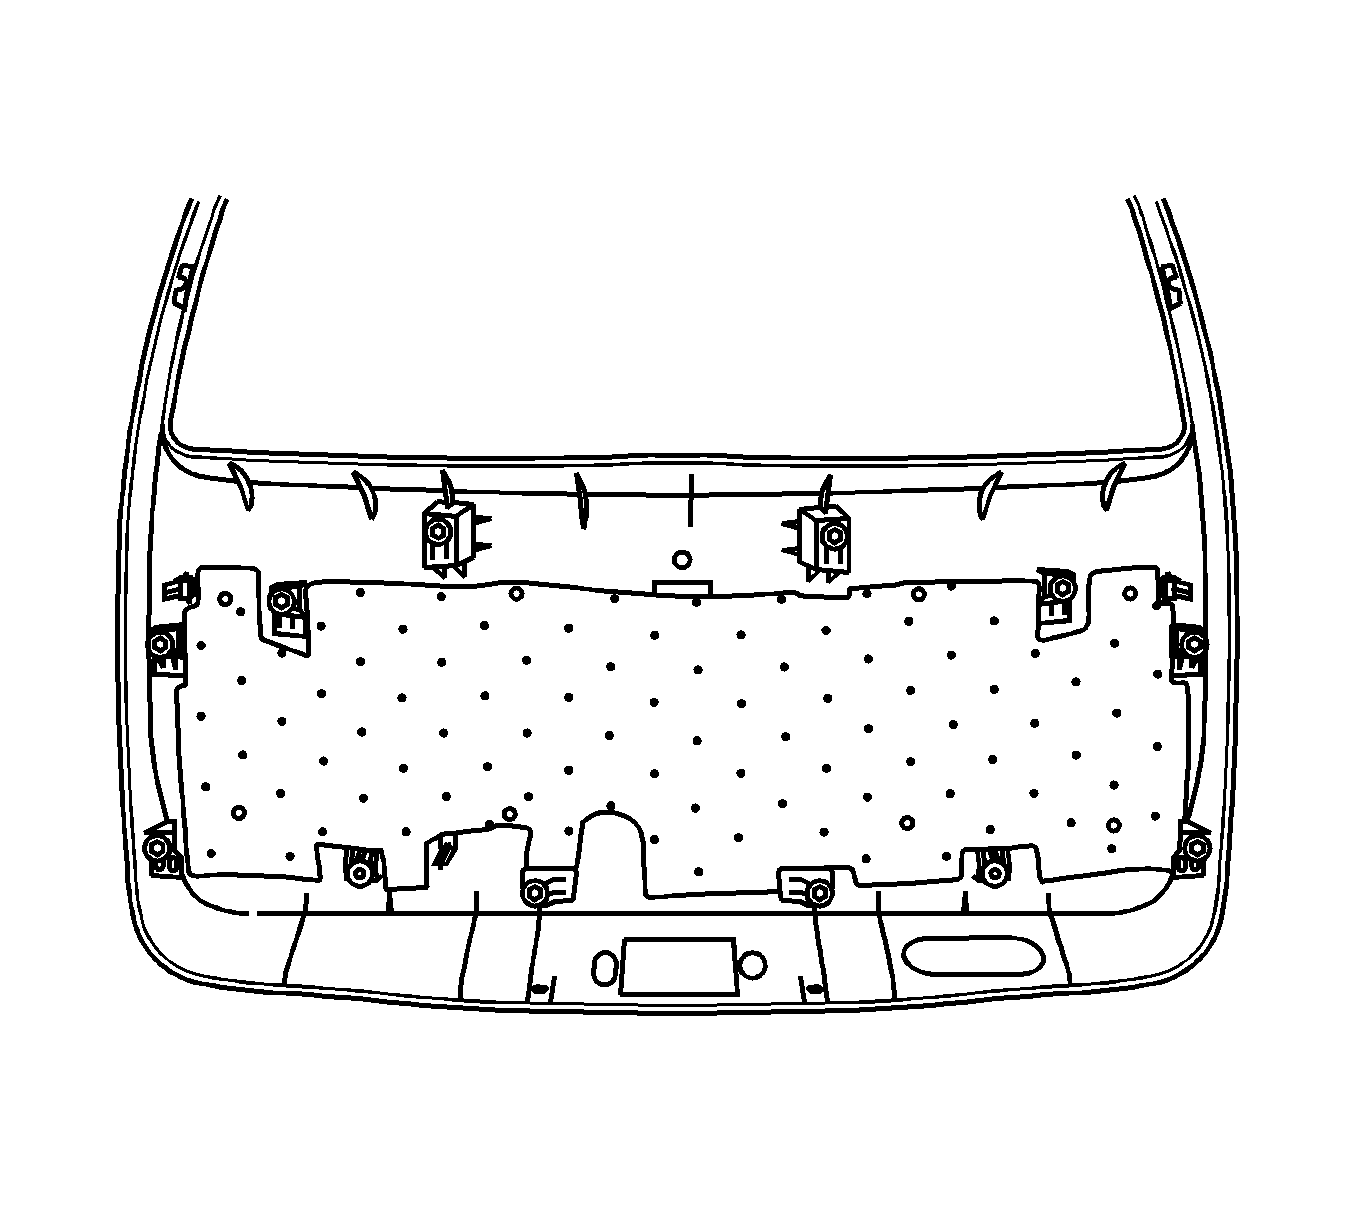
- Remove the liftgate interior trim panel to access the latch. Refer to Trim Panel Replacement - Liftgate.
- Unplug the actuator electrical connector.
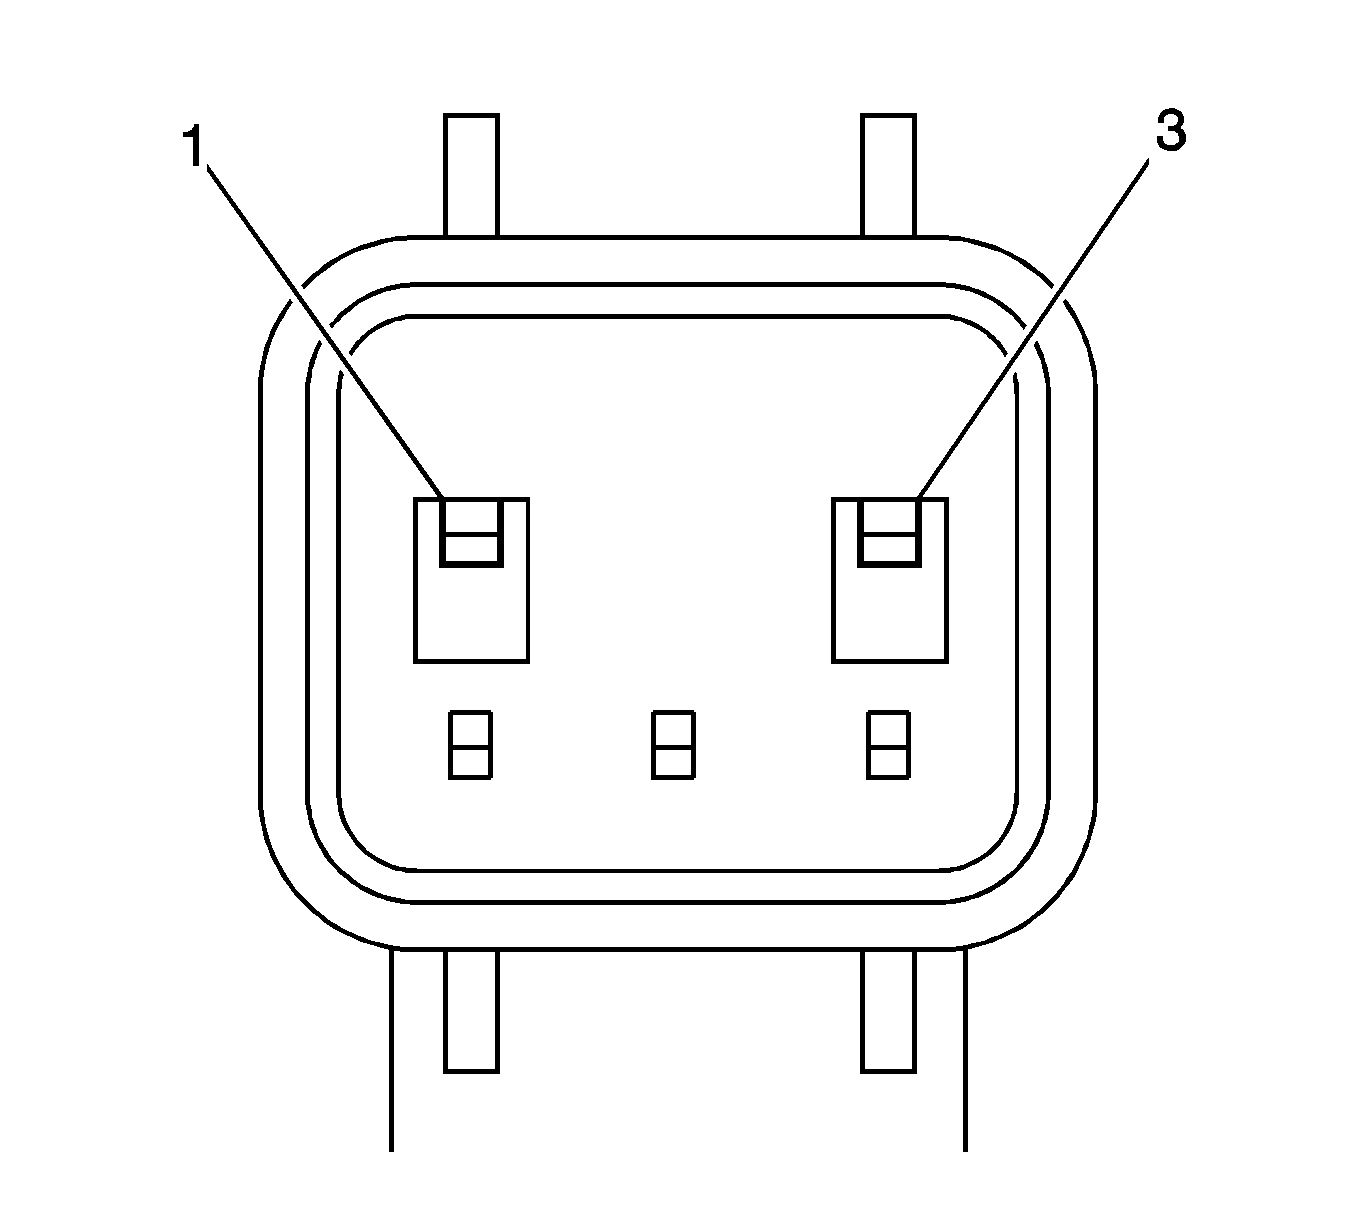
- Connect a test light between terminals 1 and 3 of the actuator harness.
- Press the touch pad and watch to see if the light illuminates for 1 second with each press of the touch pad.
- If the light illuminates, replace the rear latch actuator assembly. Refer to Latch Replacement - Liftgate.
- Prior to reinstalling the liftgate interior trim panel, verify repair. Close the liftgate, lock the vehicle, then press the "Unlock" button on the key fob twice and press the rear touch pad. The liftgate should open.
- Install the liftgate interior trim panel. Refer to Trim Panel Replacement - Liftgate.
| • | If the liftgate opens, close the liftgate, lock the vehicle, and repeat. If the liftgate opens again, instruct the customer on normal lock/unlock function (all doors must be unlocked to open liftgate). |
| • | If the liftgate does NOT open, proceed to Step 2. |
Notice: Do not insert any additional "spare" fuses into the underhood fuse block. Inserting a fuse into an empty cavity may cause components or systems to malfunction.
Notice: Check fuse cavity #11 and verify that it is empty (no fuse installed). A fuse in this location will cause the liftgate latch to malfunction or become inoperative.
| • | If the liftgate opens, close the liftgate, lock the vehicle, and repeat. If the liftgate opens again, repair is complete and no further service is required. |
| • | If the liftgate does NOT open, proceed to Step 4. |
Notice: Follow SI procedures to manually open the liftgate. Other methods may result in damage to the liftgate.
| • | Remove the upper trim finish panel first. |
| • | Remove the pull cup at the base of the main liftgate interior trim panel. |
| • | Carefully remove the main liftgate interior trim panel. |

Important: The NEW actuator/latch assembly will come with a long 0.305 m (1 ft) plastic strip hooked up to the manual release on the actuator assembly. This is to be removed from the latch before it is installed into the rear lift gate.
| • | If the liftgate does NOT open, refer to Liftgate Release Inoperative diagnostics. |
| • | If the liftgate opens, repair is verified. Proceed to Step 11 to reinstall the liftgate interior trim panel. |

| • | Before installing the main liftgate interior trim panel, make sure all retainers are properly seated in their brackets. |
| • | Do not apply force with any hard-edged object. |
Parts Information
Part Number | Description | Qty |
|---|---|---|
15858590 | LOCK, L/GATE (INCLS ACTUATOR) | 1 |
Warranty Information
For vehicles repaired under warranty, use:
Labor Operation | Description | Labor Time |
|---|---|---|
N1720 | Fuse - Replace | Use published labor operation time |
B5880 | Tailgate lock rod and/or Latch |
