For 1990-2009 cars only
Removal Procedure
- Open the rear compartment.
- Remove the rear compartment sill plate. Refer to Rear Compartment Sill Trim Plate Replacement .
- Remove the rear compartment convenience net and retainers, if equipped. Refer to Compartment Convenience Net Replacement - Rear .
- Remove the OnStar® vehicle communication unit (VCU) if equipped. Refer to OnStar Vehicle Communication Unit Replacement in Cellular Communications.
- Remove the rear seat back. Refer to Rear Seat Back Replacement in Seats.
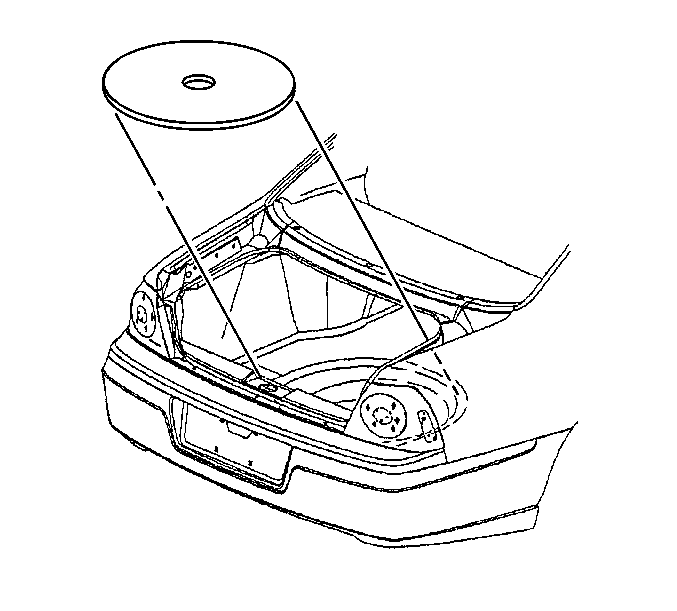
- Remove the spare tire cover from the rear compartment.
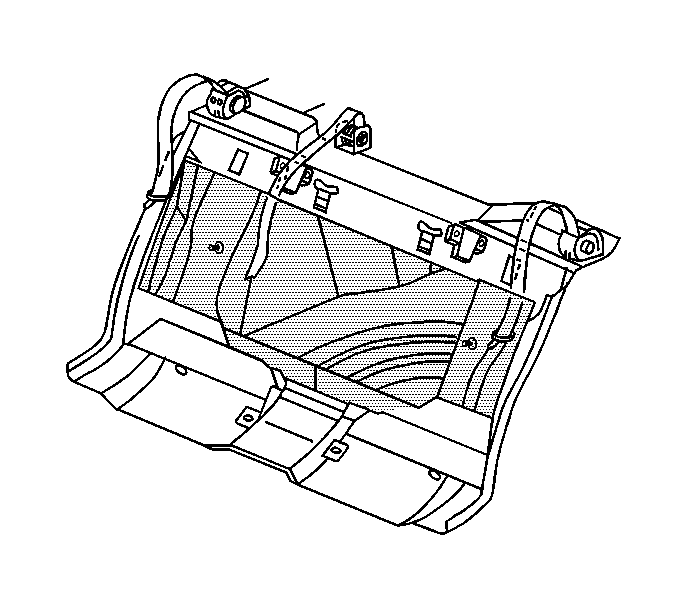
- Remove the push-in retainers from the rear compartment trim panel.
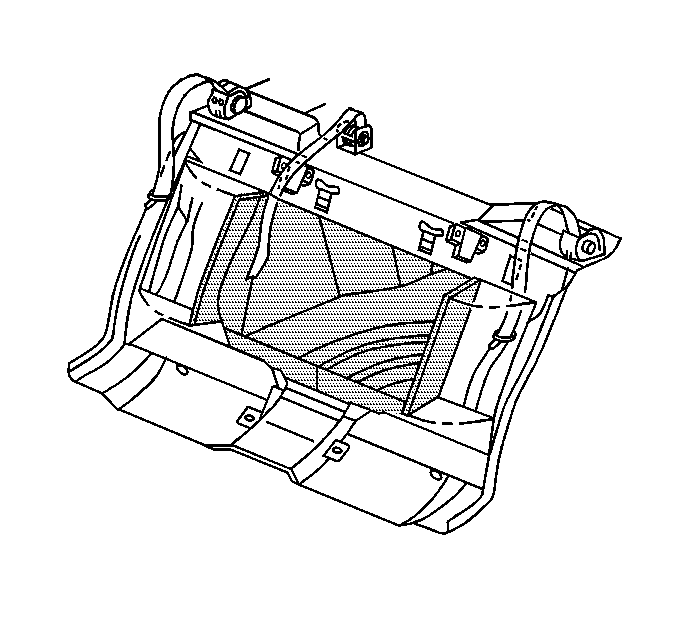
- Pull back the rear compartment trim panel from the rear seating area.
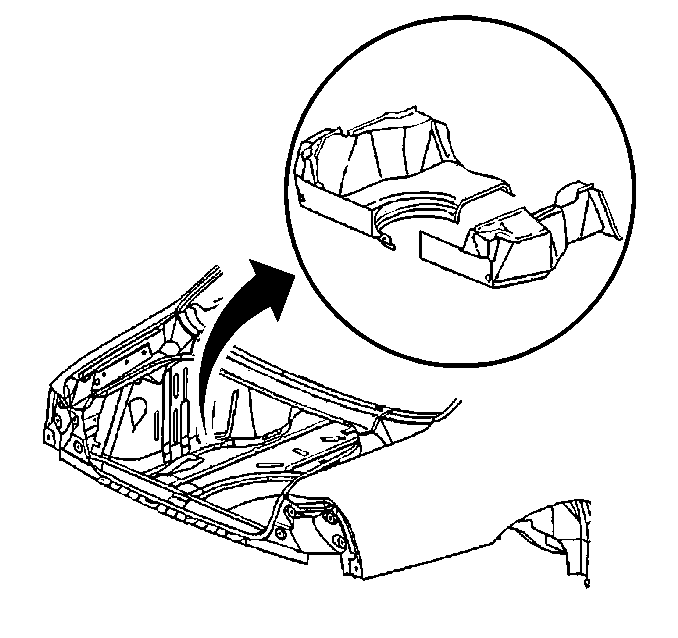
- Remove the rear compartment trim panel from the rear compartment.


Installation Procedure
- Install the rear compartment trim panel to the rear compartment.
- Pull back the rear compartment trim panel to the rear seating area.
- Press the rear compartment trim over the rear shock tower studs.
- Install the push-in retainers to the rear compartment trim panel.
- Install the spare tire cover to the rear compartment.
- Install the rear seat back. Refer to Rear Seat Back Replacement in Seats.
- Install the OnStar® vehicle communication unit (VCU) if equipped. Refer to OnStar Vehicle Communication Unit Replacement in Cellular Communications.
- Install the rear compartment convenience net and retainers, if equipped. Refer to Compartment Convenience Net Replacement - Rear .
- Install the rear compartment sill plate. Refer to Rear Compartment Sill Trim Plate Replacement .
- Close the rear compartment.


