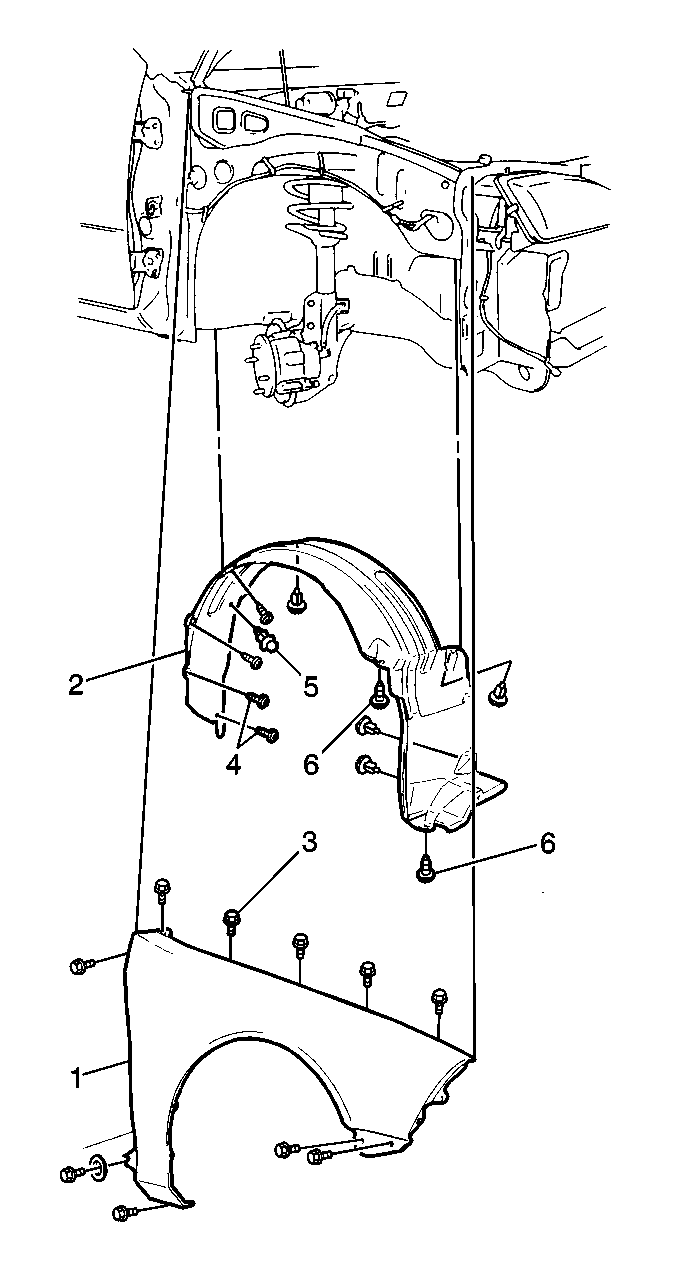
Removal Procedure
- Remove the hood latch. Refer to
Hood Primary and Secondary Latch Replacement
.
- Raise and suitably support the vehicle. Refer to
Lifting and Jacking the Vehicle
in General Information.

- Remove the left front tire and wheel assembly. Refer to
Wheel Removal
in Tires and Wheels.
- Remove the following components from the frame.
| • | The left front wheelhousing (2) |
- Remove the following components from the left side of the instrument
panel:
| 5.2. | The hood latch release handle |
- Remove the hood latch release cable from the hood latch release
handle.

- Attach a piece of mechanic's
wire (1) to the hood latch release cable (2). This will aid
in the removal and installation of the release cable.
- Remove the release cable from the vehicle.
- Remove the mechanic's wire (1) from the release cable (2).
Leave the mechanic's wire in the vehicle. This will aid in cable installation.
Installation Procedure

- Attach the mechanic's
wire (1) to the new hood latch release cable (2).
- Guide the hood latch release cable into the vehicle with the mechanic's
wire.
- Remove the mechanic's wire (1) from the release cable (2).

- Install the cable to the
hood latch release handle. Secure the release handle to the instrument panel
with 1 retaining screw.
- Install the left front wheelhousing (2). Secure the wheelhousing
with the following components:
- Install the left front tire and wheel assembly. Refer to
Wheel Installation
in Tires and Wheels.
- Lower the vehicle.
- Install the hood latch. Refer to
Hood Primary and Secondary Latch Replacement
.


