For 1990-2009 cars only
Repair Procedure
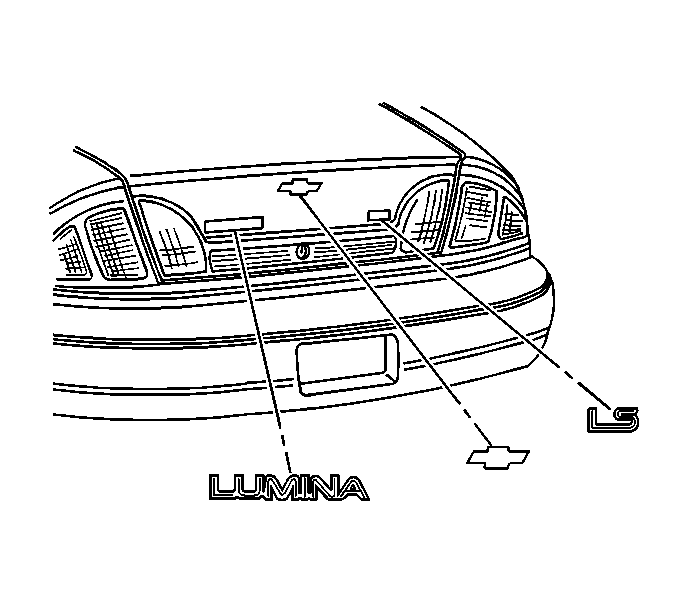
- Heat to remove the rear compartment lid emblem(s) using a heat gun 152 mm (6 inches) from surface.
- Remove the rear compartment lid emblem(s) using a plastic flat-bladed tool.
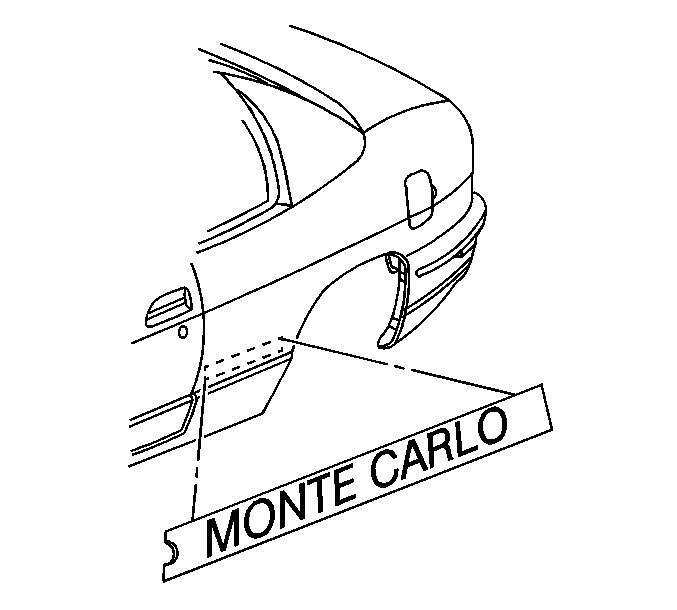
- Heat to remove the body side emblem using a heat gun 152 mm (6 inches) from surface.
- Apply heat using a circular motion for about 30 seconds.
- Remove the body side emblem using a plastic flat-bladed tool.
- Remove all adhesive from body panel(s) using 3M Scotch Brite molding adhesive remover disk 3M P/N 07501 or equivalent.
- Clean the body panel using Varnish Makers and Painters (VMP) naphtha.

Apply heat using a circular motion for about 30 seconds.
Important: Be careful not to damage the paint.

Important: Be careful not to damage the paint.
Installation Procedure
- Clean the area where the emblems will be mounted.
- Dry the areas thoroughly.
- Heat the area to a temperature of 27°-41° C (80°-105° F).
- Ensure that the temperature of the emblems is within 29°-32° C (85°-90° F). Place the emblems, with the adhesive side down, on a surface and use a heat gun to warm up.
- Remove the protective liner from the back of the emblems.
- Apply the nameplate or emblems to the rear compartment lid body surface.
- Apply the body side emblem to the body surface.
- Apply equal pressure along the emblems in order to uniformly bond the items to the body surface.
Important: Apply emblems in an environment that is free from dust or other dirt that could come in contact with the sticky backing. This may cause improper adhesion.
Use a suitable solvent, such as mixture of 50 percent alcohol and 50 percent water or an equivalent mixture, in order to clean the areas.

Important: Position emblem(s) 20 mm from the edge of the applique and centered in the upper black border of the applique.

