- Apply a thin coat of oil to the J 34853
.

- Use the J 34853
in order to install the oil seal to
the crankshaft.

- Use the J 34853
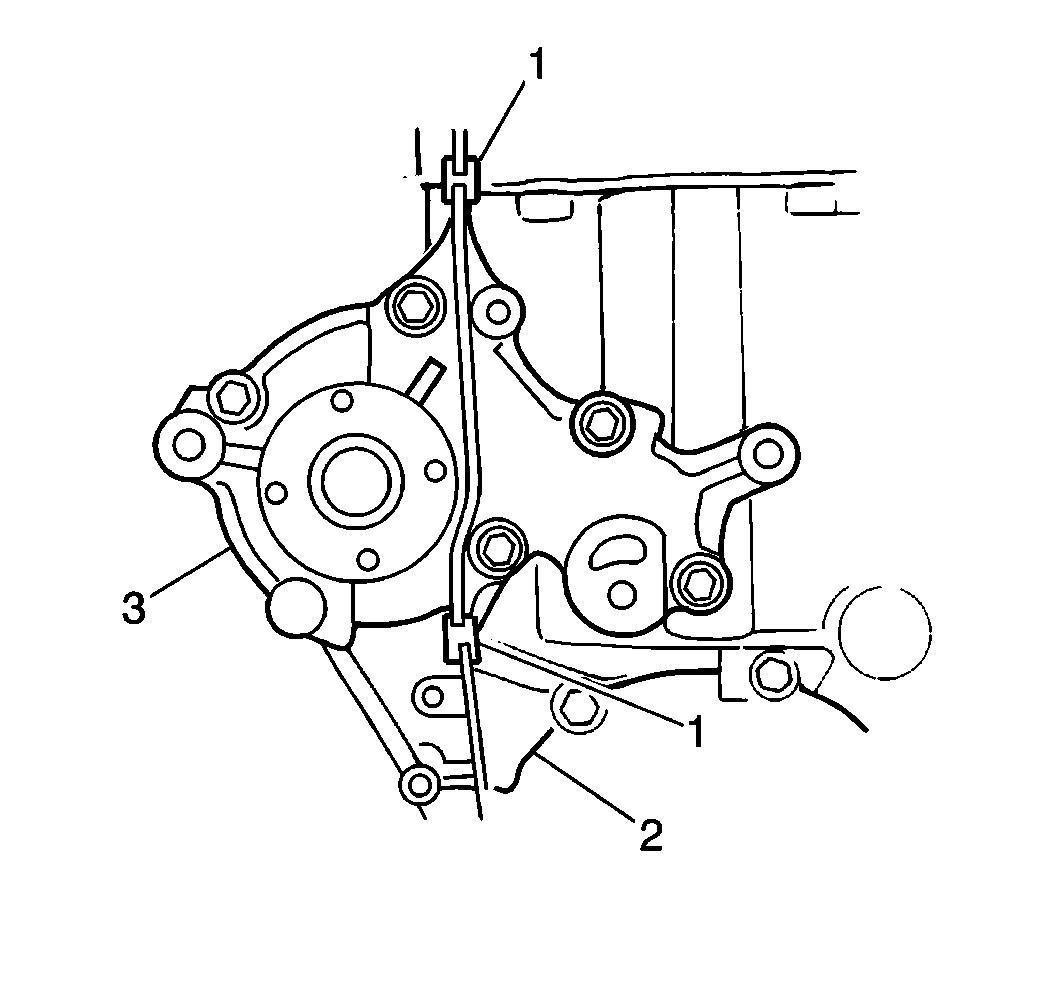
in order to install the two guide
pins and the oil pump assembly (3).

Notice: Use the correct fastener in the correct location. Replacement fasteners
must be the correct part number for that application. Fasteners requiring
replacement or fasteners requiring the use of thread locking compound or sealant
are identified in the service procedure. Do not use paints, lubricants, or
corrosion inhibitors on fasteners or fastener joint surfaces unless specified.
These coatings affect fastener torque and joint clamping force and may damage
the fastener. Use the correct tightening sequence and specifications when
installing fasteners in order to avoid damage to parts and systems.
- Secure the oil pump
assembly with the seven bolts.
Tighten
Tighten the oil pump bolts to 11 N·m (97 lb in).
- Inspect the oil seal lip to ensure the oil seal lip is not upturned.
- Remove the J 34853
.
- Raise and support the vehicle. Refer to
Lifting and Jacking the Vehicle
in General Information.

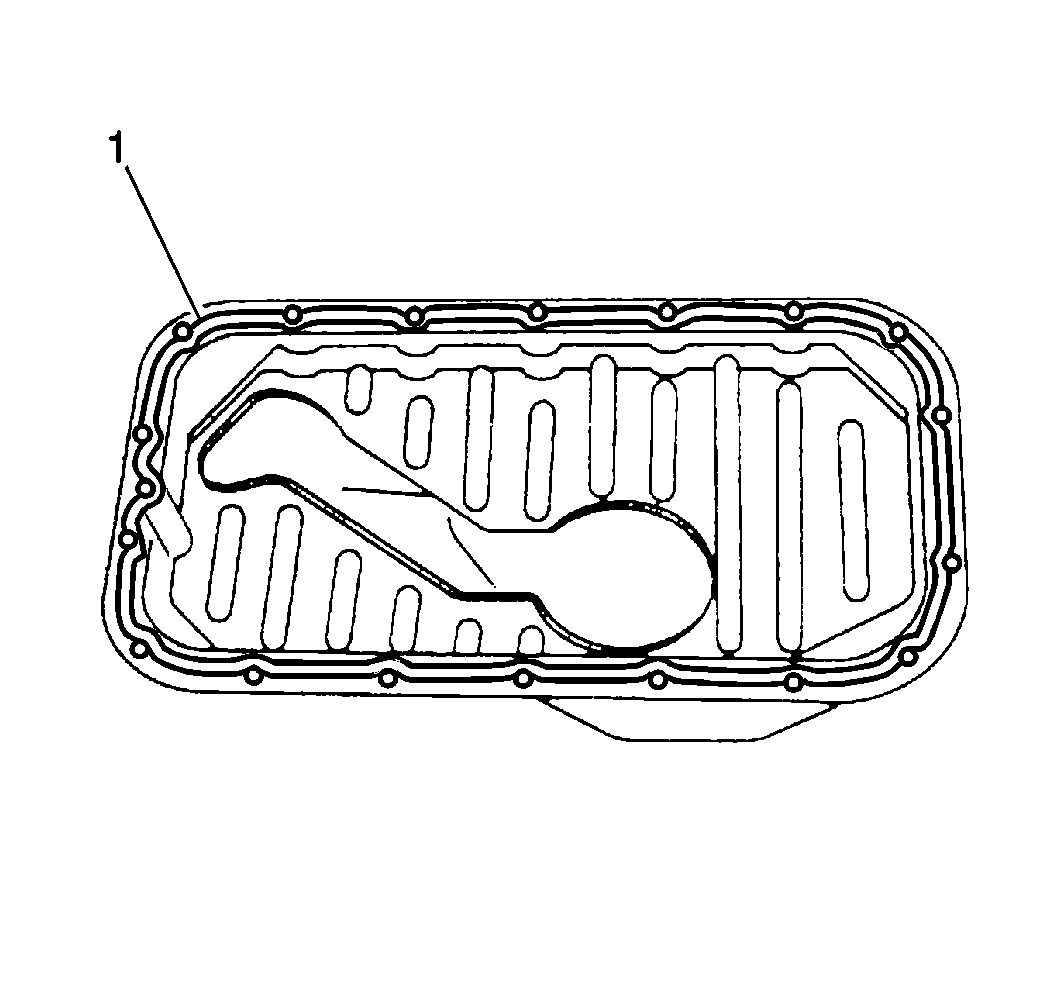
- Apply a gasket paste to
the engine oil pan mating surface (1) in a continuous bead. Use GM P/N 1050026
or the equivalent.
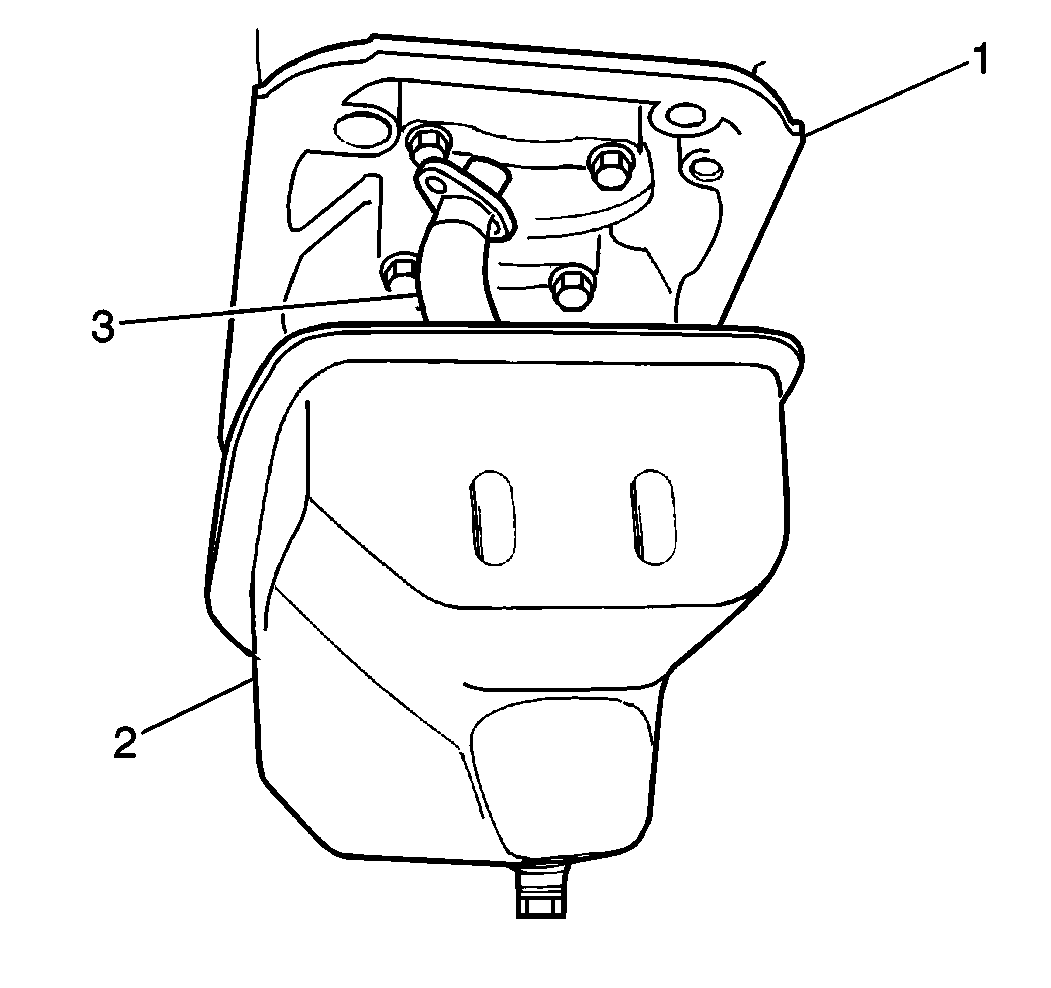
- Install the oil pump strainer to the engine oil pan.

- Install the oil pump strainer
(3) to the cylinder block (3). Secure with the oil pump strainer bolt and
the oil pump strainer bracket bolt.
Tighten
Tighten the oil pump strainer bolt and the oil pump strainer bracket
bolt to 11 N·m (97 lb in).
- Install the engine oil pan to the cylinder block. Secure the engine
oil pan with sixteen bolts and two nuts.
Tighten
Tighten the engine oil pan nuts and bolts to 11 N·m (97 lb in).
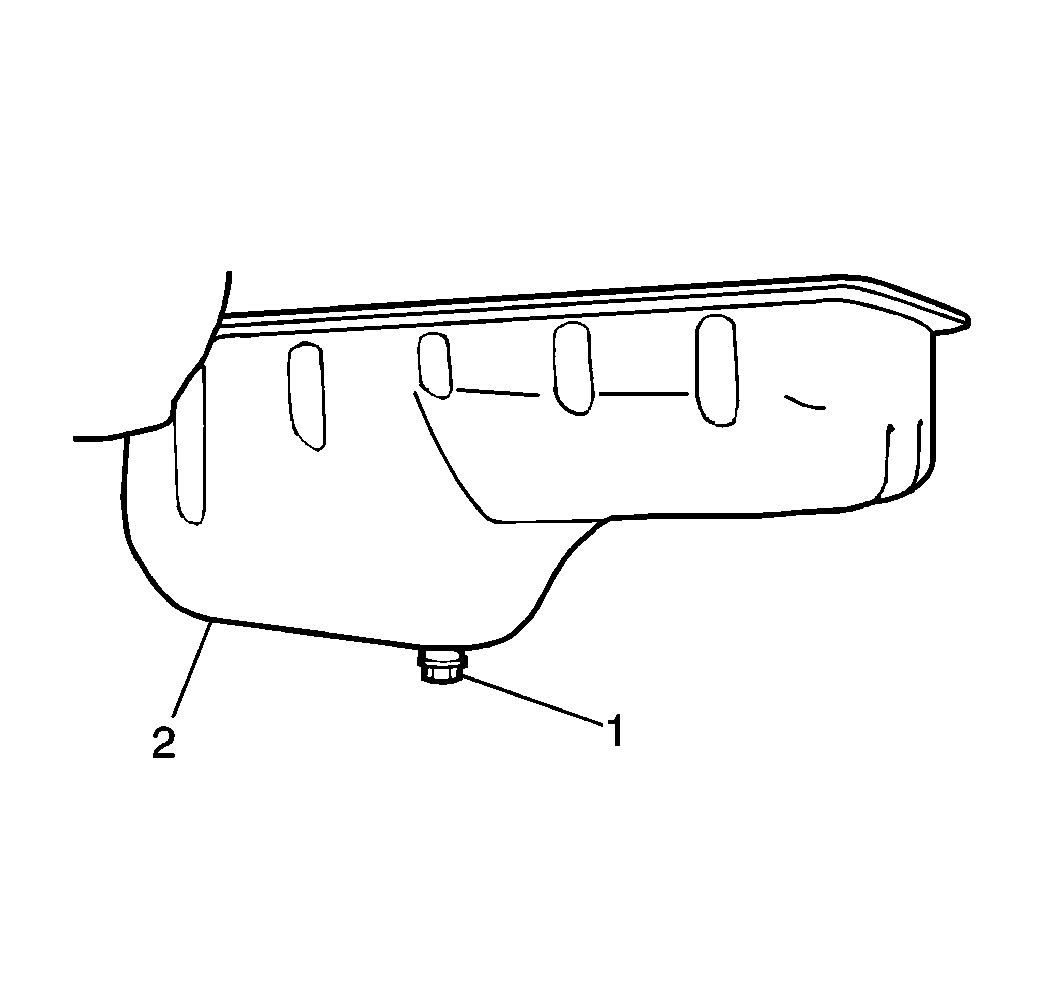
- Install the engine oil drain plug and the gasket to the engine
oil pan (2).
Tighten
Tighten the engine oil drain plug to 35 N·m (26 lb ft).
- Install the clutch housing lower plate for manual transmission
equipped vehicles. Refer to Manual Transmission.
- Install the torque converter housing lower plate for automatic
transmission vehicles. Refer to Automatic Transmission.
- Install the front differential assembly to the chassis in four-wheel
drive model vehicles. Refer to Front Axle.
- Install the front skid plate if equipped. Secure the front skid
plate with four bolts.
Tighten
Tighten the front skid plate bolts to 55 N·m (40 lb ft).
- Lower the vehicle
- Install the crankshaft timing belt gear. Secure the timing belt
gear with one bolt.
Tighten
Tighten the crankshaft timing belt gear to 110 N·m (81 lb ft).
- Install the guide tube with a new O-ring and the oil level indicator
to the cylinder block. Secure the guide tube with a new O-ring and the oil
level indicator with one bolt.
Tighten
Tighten the guide tube bolt to 14 N·m (10 lb ft).
Install the following components:
| • | The timing belt outside cover |
- Install the following, if vehicle equipped. Refer to HVAC.
- Refill the engine oil to the specifications. Refer to
Approximate Fluid Capacities
in Maintenance and Lubrication.
- Evacuate and charge the A/C system if the vehicle is equipped.
Refer to HVAC.
- Start the engine after the installation is complete.
- Check for normal oil pressure.


