Removal Procedure
Caution: When working with any type of glass or sheet metal with exposed or rough edges, wear approved safety glasses and gloves in order to reduce the chance of personal injury.
- Remove the air inlet grille from the vehicle. Refer to Air Inlet Grille Panel Replacement in Body Front End.
- Tape the body surface around the window in order to prevent damage.
- Remove the inside rearview mirror from the vehicle. Refer to Inside Rearview Mirror Replacement .
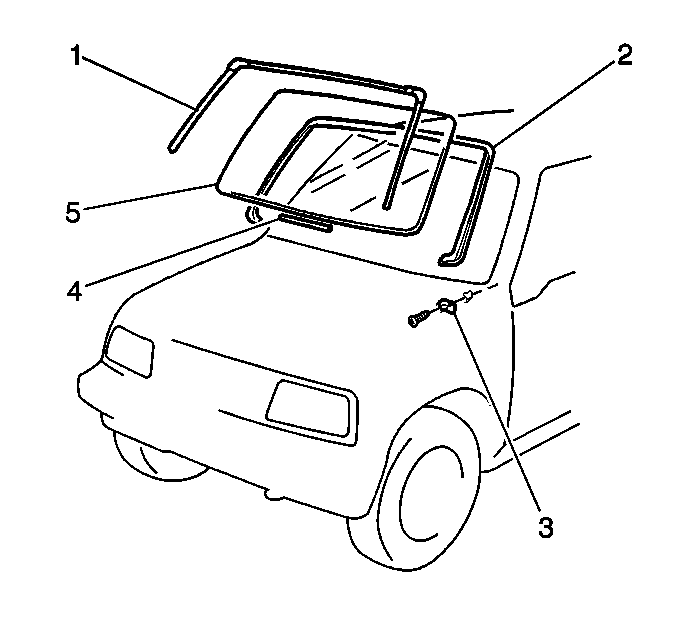
- Pull the windshield reveal molding (1) from the windshield (5).
- Remove the windshield reveal molding (1) from the vehicle.
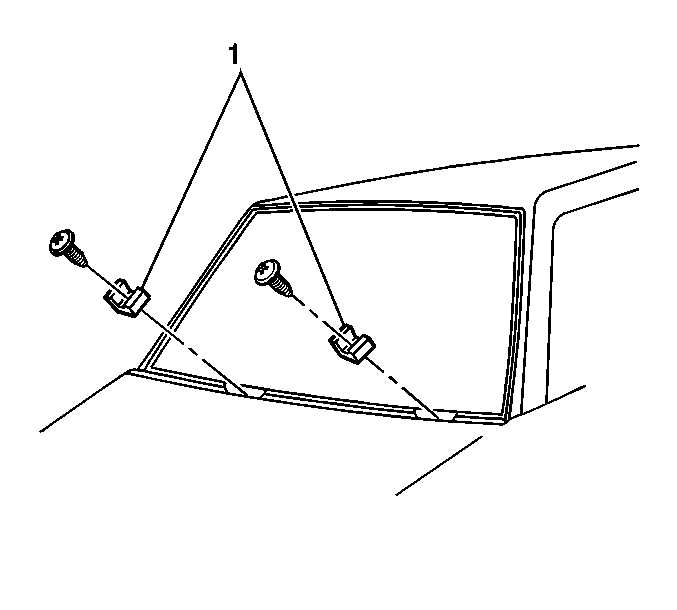
- Remove 1 screw from each windshield stopper (1).
- Remove the stoppers (1) from the vehicle.
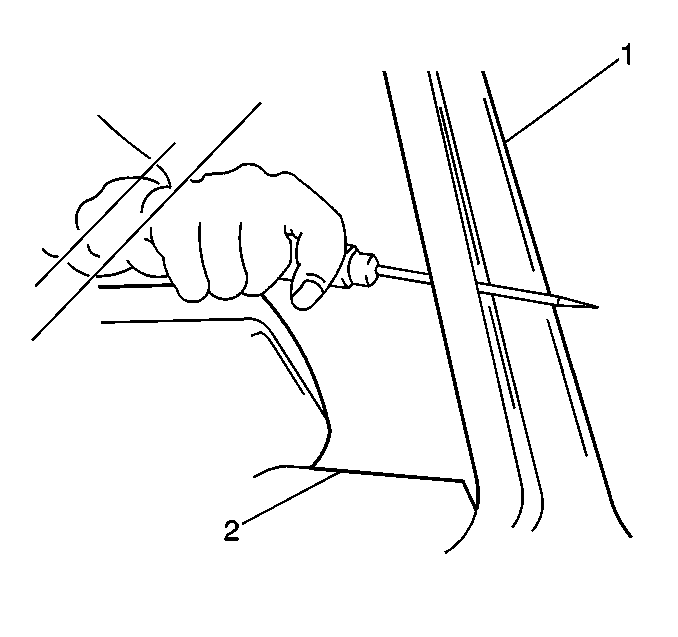
- Punch a hole through the adhesive with an eyeletter between the windshield side pillar (1) and the window (2).
- Slip piano wire through the hole.
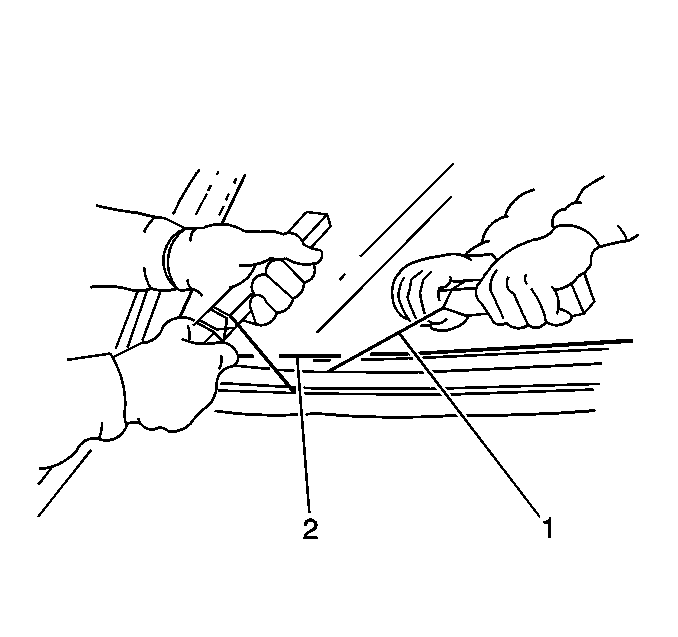
- Twist the ends of the piano wire (1) around the wood dowels.
- With a second technician, cut the adhesive all around the windshield (2) with the piano wire (1).
- Remove the windshield (2) from the vehicle.
- Remove the rubber dam from the windshield opening.
- Clean a knife with alcohol or petroleum distillate in order to remove any dirt or oil.
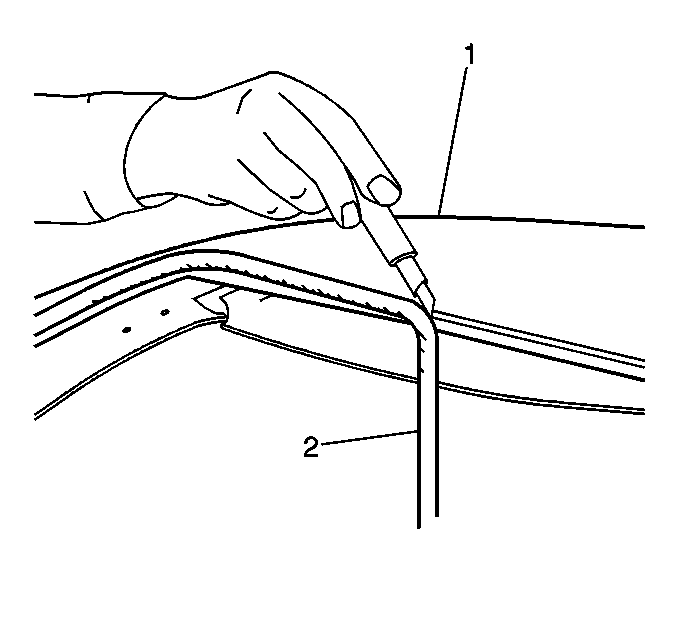
- Use the knife in order to trim the remaining adhesive (2) to a uniform thickness.
- Clean any loose material from the windshield opening.
- If you are reusing the windshield, remove all urethane from the windshield.
Installation Procedure
- Clean around the edge of the inside surface of the window where adhesive will be applied with a clean, alcohol-dampened cloth.
- Install the 2 windshield stoppers (1) to the vehicle. Secure each windshield stopper (1) with 1 screw.
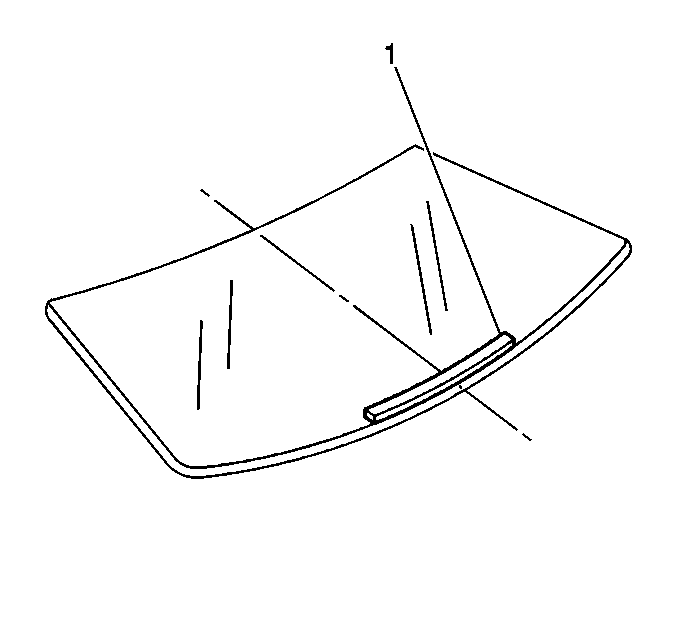
- Peel paper from one side of the new windshield spacer (1).
- Attach the windshield spacer (1) to the windshield.
- Place the windshield to the body of the vehicle.
- Position the window so that the distance between the body and the windshield are even.
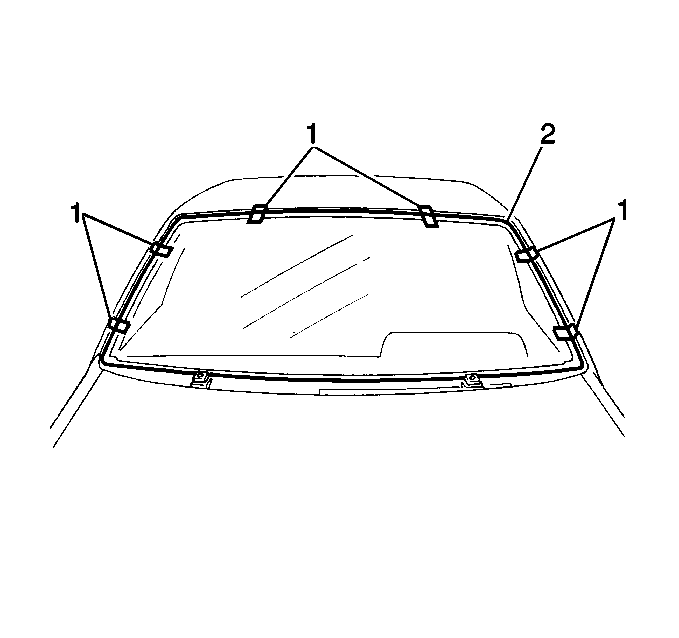
- Use a wax pencil in order to mark mating points (1) on the windshield and the body.
- Remove the windshield (2).
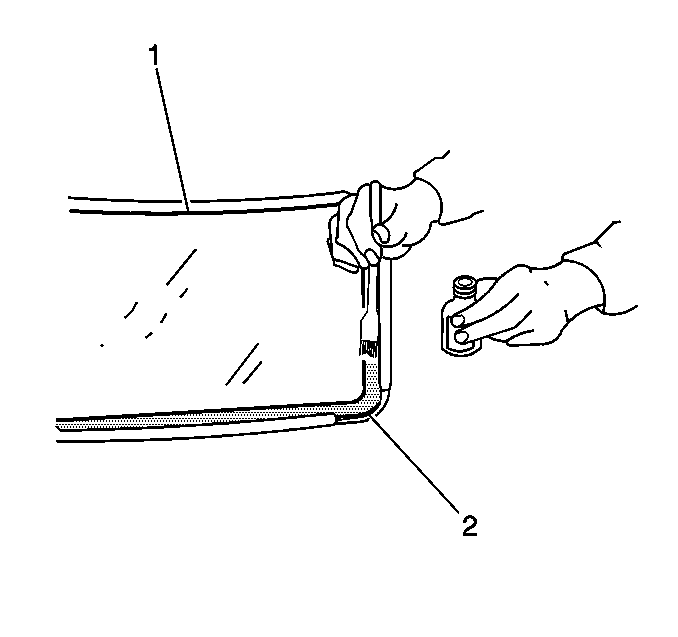
- Use a new brush in order to apply primer #1 (2) to the edge and inner surface of the windshield (1).
- Use a new brush in order to apply primer #2 (2) to the edge and inner surface of the windshield (1).
- Use a cartrige-type caulking gun in order to apply a smooth continuous bead of urethane adhesive around the edge of the windshield.
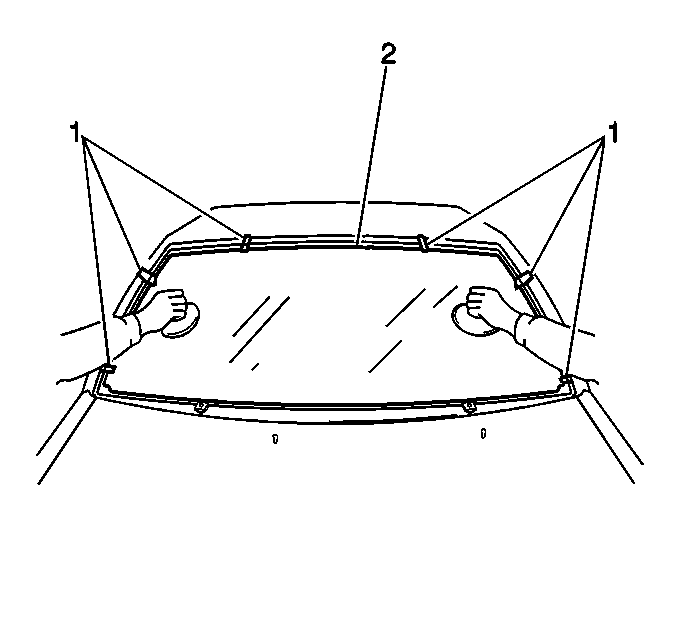
- With the help of an assistant, use rubber suction cups in order to install the windshield in alignment with the mating marks.
- Firmly press the window in order to set the adhesive.
- Avoid excessive adhesive flash which would cause an appearance problem.
- In order to ensure a watertight seal, use a small disposable brush or a flat-bladed tool in order to paddle the material around the edge of the window.
- Apply more adhesive to the underfilled parts, as needed.
- Wipe away any excess adhesive.
- Warm the molding for half of an hour at 35°C (95°F) in order to facilitate installation of the molding.
- Fit the new reveal molding onto the windshield.
- Use a soft spray of water in order to watertest the windshield immediately after installation.
- Do not direct a hard stream of high-pressure water at the fresh adhesive material.
- If any leaks are found, use the following procedure in order to repair the leaks:
- Install the air inlet grille to the vehicle. Refer to Air Inlet Grille Panel Replacement in Body Front End.
- Install the inside rearview mirror to the vehicle. Refer to Inside Rearview Mirror Replacement .
- Applying water to the adhesive will speed the cure of the urethane.
Allow the cleaned surface to air dry for ten minutes.

Important:
• Refer to the manufacturer's instructions and warnings for proper
handling instructions and drying time. • Do not touch the primer-coated surface. • Shake the primer before opening in order to ensure proper mixing.
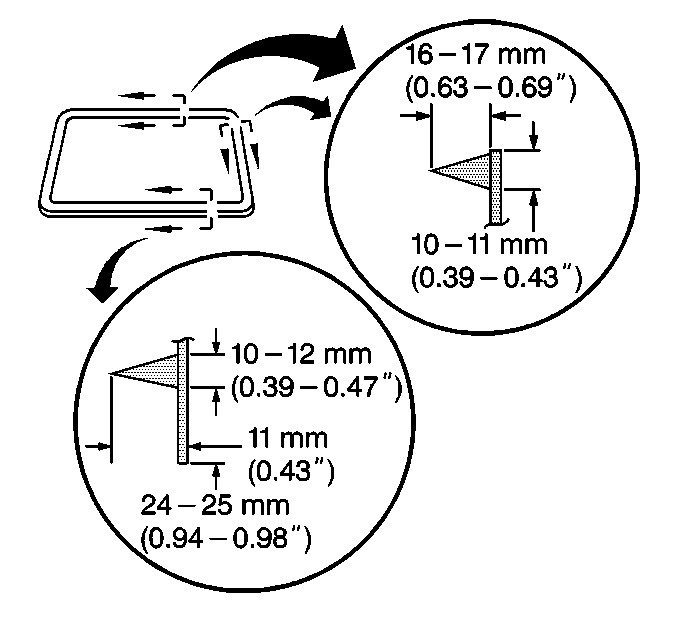
Important:
• Start applying the adhesive from the bottom side of the windshield. • Do not damage the primer. • Apply the adhesive 16-17 mm (0.63-0.69 inches)
to the upper left and right sides of the windshield. • Apply the adhesive 24-25 mm (0.94-0.98 inches)
to the bottom of the windshield.
| 22.1. | Dry the window |
| 22.2. | Use a plastic paddle or a flat-bladed tool in order to paddle in extra adhesive at the leak point. |
| 22.3. | If the leak persists, remove the window in order to repeat the entire installation process. |
Important:
• Do not drive the vehicle until the adhesive is set. • Do not use compressed air, heat, or infrared light in order to
accelerate the drying time. • Allow the adhesive to dry normally. • Do not slam the vehicle doors before the adhesive sets. Slamming the doors may cause the windshield to shift or become loose.
