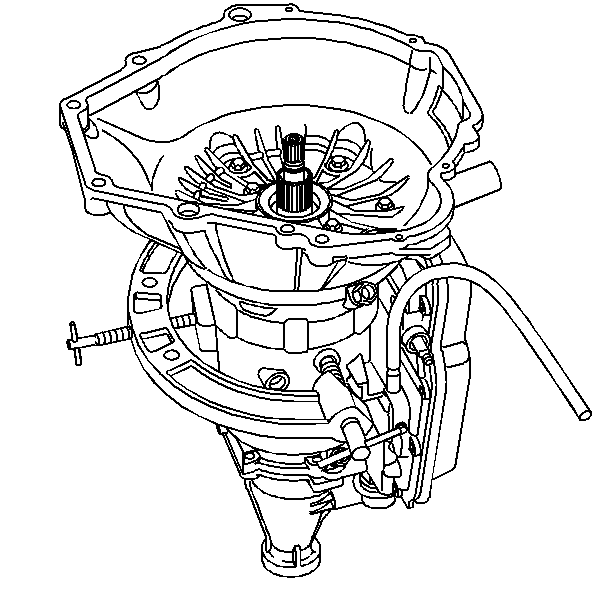
- Raise and support the vehicle. Refer to
Lifting and Jacking the Vehicle
in General Information.

- If the vehicle is equipped
with four-wheel drive, place reference marks (1) on the propeller shaft pinion
flange and the front differential pinion flange (3) of the transfer case
to the front differential propeller shaft. Refer to
Propeller Shaft Replacement
in Propeller Shaft.
- Remove the following components in order to separate the pinion
flange yoke (2) from the front differential pinion flange (3) (four-wheel
drive models):
| 3.1. | The 4 pinion flange bolts |
| 3.2. | The 4 pinion flange nuts |
- Position and support the transfer case to the front differential
propeller shaft away from the transmission fluid pan.
Important: Removing the propeller shaft from the transfer case will cause fluid
loss with four-wheel drive models.
Notice: This transmission is not equipped with a fluid pan drain plug. Be sure
to place a drain pan, or other suitable container, under the transmission
fluid pan before loosening the fluid pan seal. Transmission fluid will begin
to drain out immediately after the fluid pan seal is loosened.
- Place the drain pan (3) or a suitable container under the transmission
fluid pan (2).
- Remove the 9 transmission fluid pan bolts around the forward perimeter
of the transmission fluid pan (2).
- Loosen the 3 transmission fluid pan bolts in the rear of the transmission
fluid pan (2), allowing the transmission fluid pan to partially drain.
- Remove the 3 remaining transmission fluid pan bolts.
- Remove the transmission fluid pan (2).
- Remove the transmission fluid pan gasket.
- Drain the remaining fluid from the transmission fluid pan (2)
into the drain pan (3).

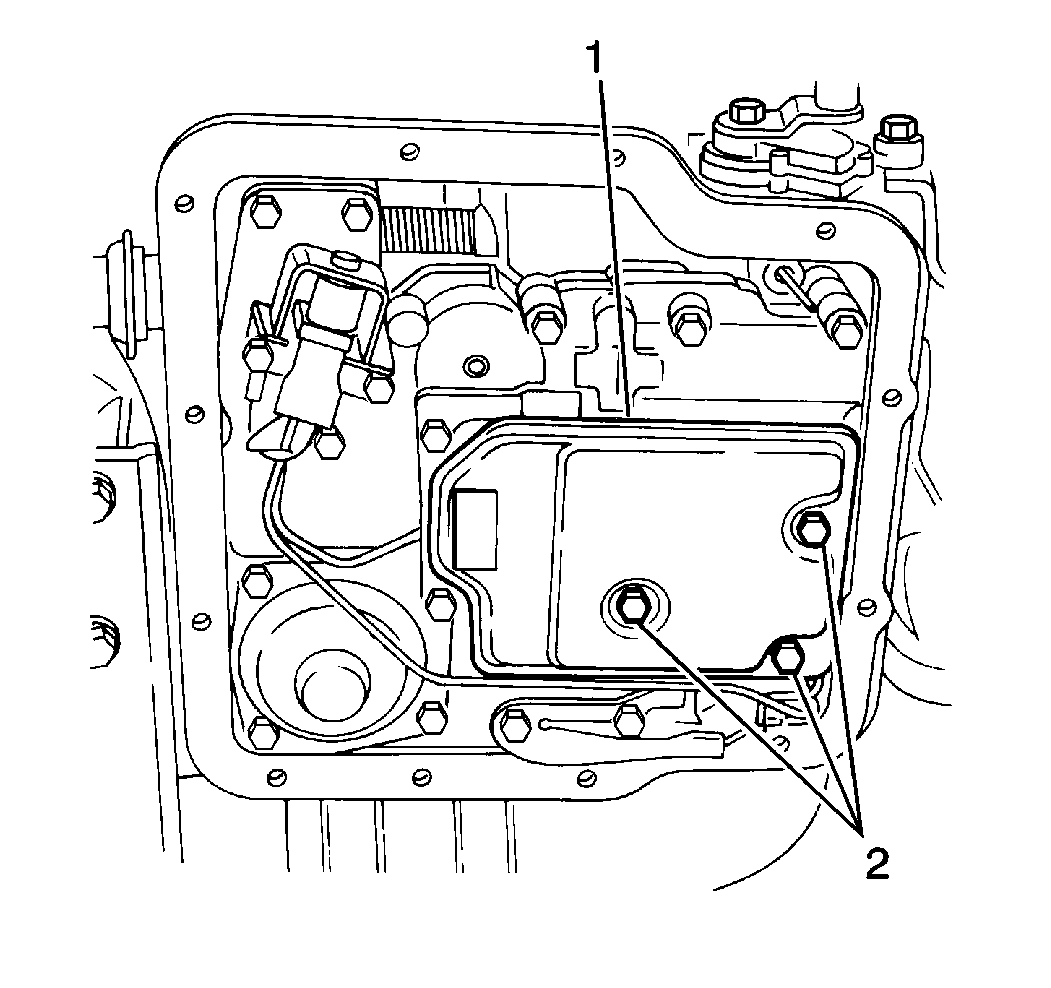
- Remove the three fluid
filter screen bolts (2)
from the valve body.
- Remove the fluid filter screen (1) and the fluid filter screen
gasket.

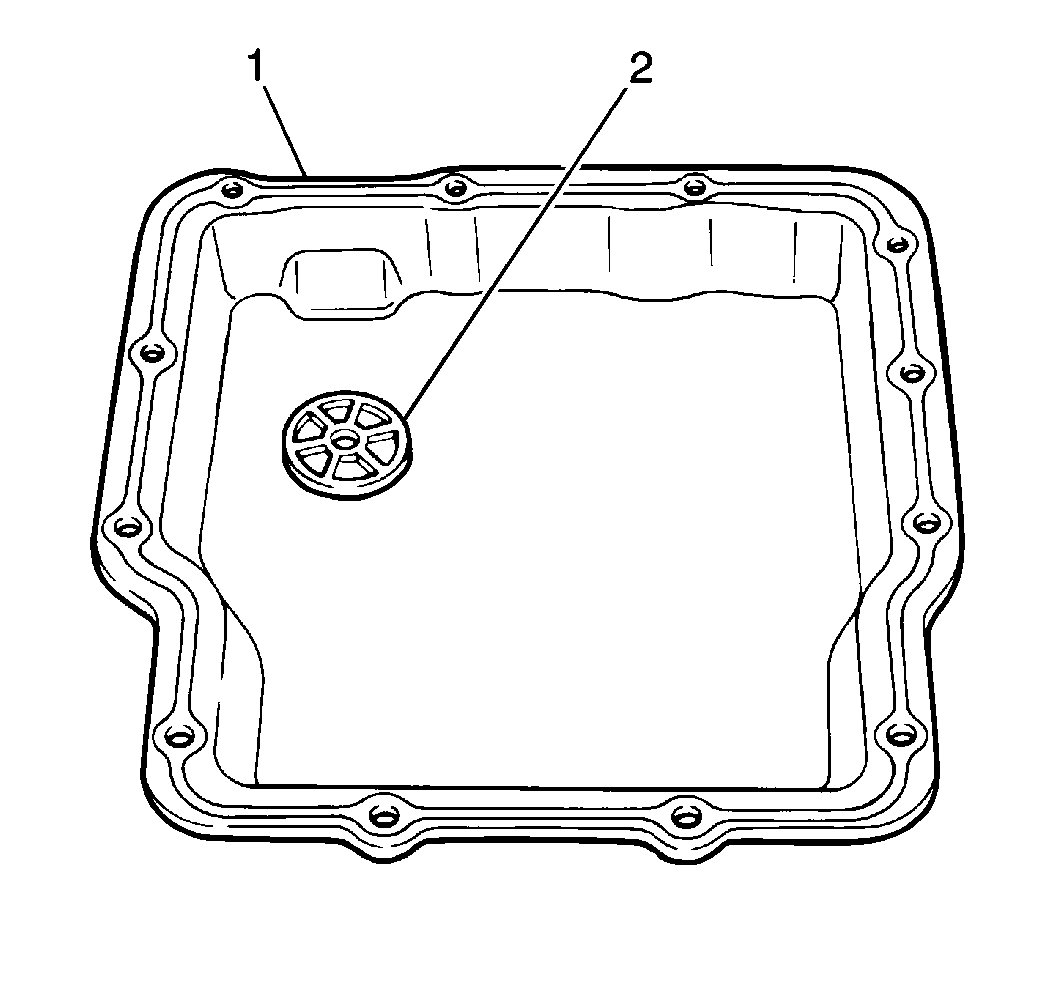
Important: A small amount of clutch material in the bottom of the transmission
fluid pan (1) is a normal condition and is consistent with normal transmission
wear. The bottom of the transmission pan (1) is equipped with a magnet (2)
that will collect minute metal filings. However, transmission disassembly
and inspection are indicated if large amounts of clutch material, metal shavings
or other foreign matter are present.
- Clean the following components:
| • | The fluid filter screen |
| • | Use solvent in order to clean the fluid filter screen and air dry. |
| • | The transmission fluid pan (1) |
| • | The transmission fluid pan magnet (2) |
| • | The fluid filter screen gasket mating surfaces |
- Inspect the fluid filter screen for any tears or other damage.
Replace the fluid filter screen if necessary.


