For 1990-2009 cars only
Generator Disassemble CS144
Disassembly Procedure
Notice: Do not pry against the stator or the slip ring end frame during generator disassembly. Damage to the generator may result.
- Make scribe marks on the following components in order to ease in assembly:
- Remove the 4 through bolts.
- Separate the slip ring end frame and the drive end frame.
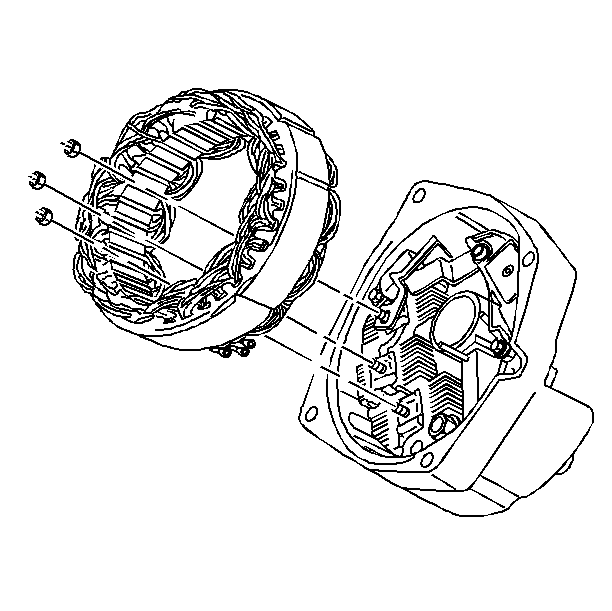
- Remove the nuts.
- Remove the stator from the slip ring end frame.
- Unsolder the following connections to the voltage regulator:
- Remove the brush holder insulator bolt.
- Remove the voltage regulator bolt.
- Remove the following components from the slip ring end frame:
- Remove the following components from the brush holder:
- Clean the brushes with a dry soft cloth.
- Remove the rectifier bridge and the capacitor as a unit:
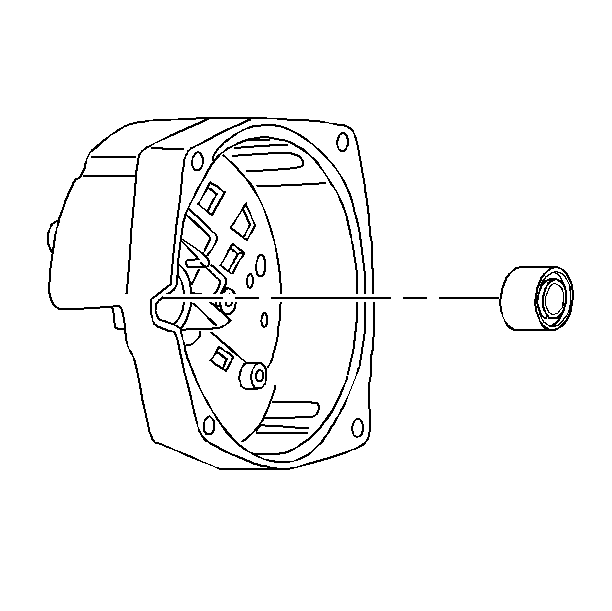
- Remove the slip ring end frame bearing.
- Remove the following from the drive end frame:
- Remove the inside collar from the rotor.
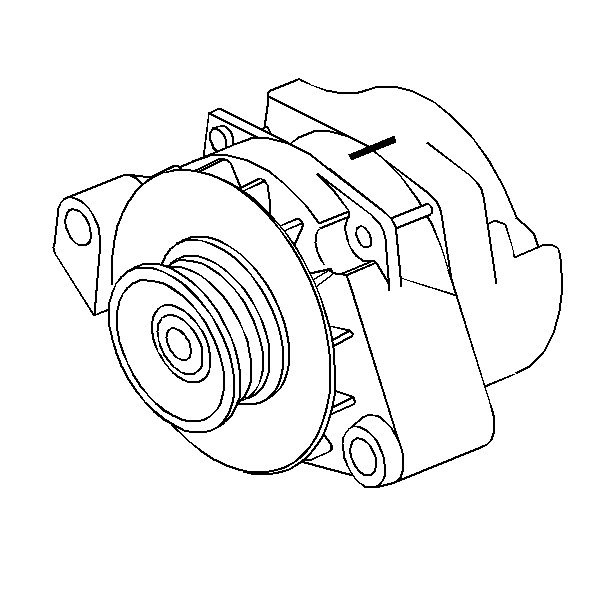
| • | The slip ring end frame |
| • | The drive end frame |
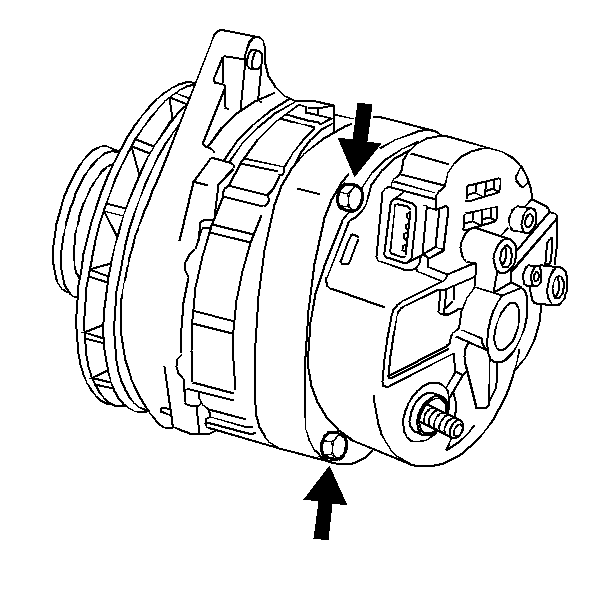
| • | The connector strap |
| • | The brush holder |
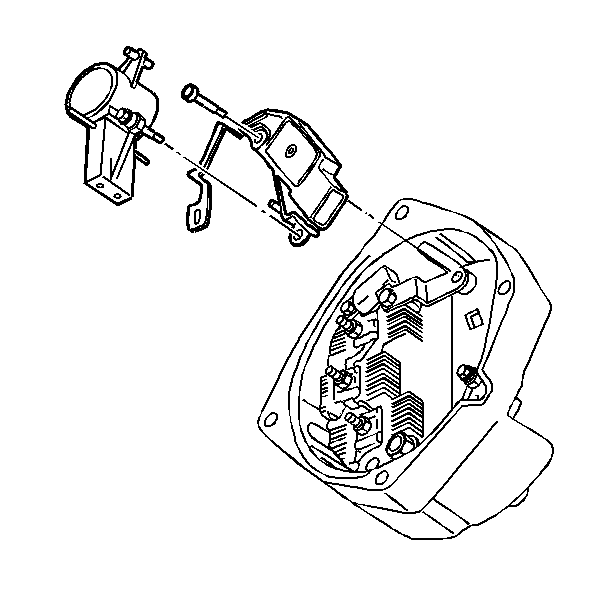
| • | The voltage regulator |
| • | The brush holder with the dust shield |
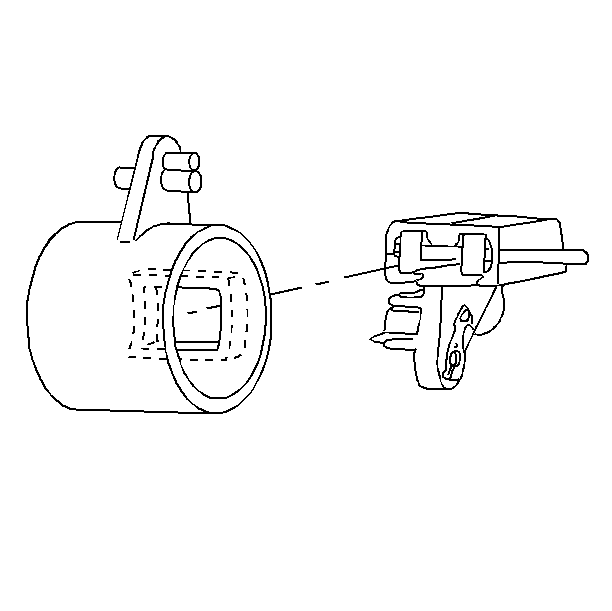
| • | The brushes |
| • | The dust shield |
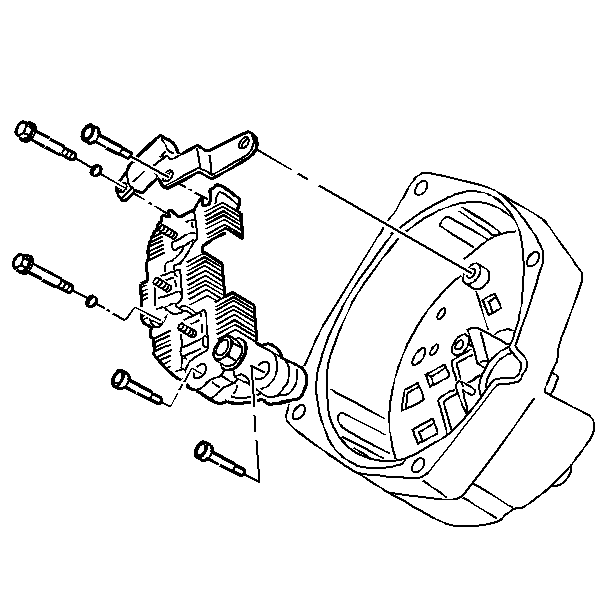
| • | Remove the bolts. |
| • | Remove the washers. |
| • | Disconnect the leads. |
| • | Remove the bridge and capacitor assembly. |
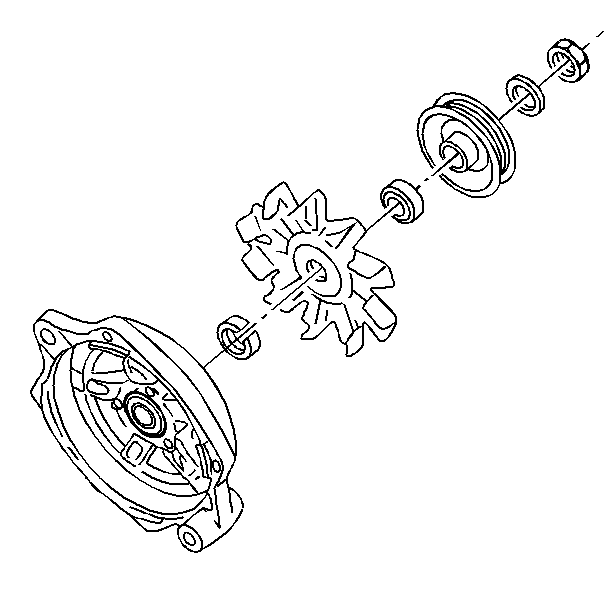
| • | The nut |
| • | The washer |
| • | The pulley |
| • | The fan collar |
| • | The fan |
| • | The outside collar |
| • | The rotor |
Generator Disassemble Valeo A13VI+
Removal Procedure
Important: The only parts that may be serviced is the pulley, the voltage regulator/brush kit and the generator cover.
- Remove the rotor shaft drive end nut using J-35669.
- Remove the generator pulley washer.
- Remove the pulley from the generator.
- Remove the generator rear cover nuts.
- Remove the generator rear cover from the generator.
- Remove the regulator/brush holder nuts.
- Remove the silicon form the generator regulator terminals.
- Remove the generator regulator terminal bolts.
- Remove the regulator/brush holder from the generator.
