For 1990-2009 cars only
Special Tools
EN-45059 Torque Angle Sensor Kit
For equivalent regional tools, refer to Special Tools .
Check Connecting Rod Bearing Clearance (with Plastigage)
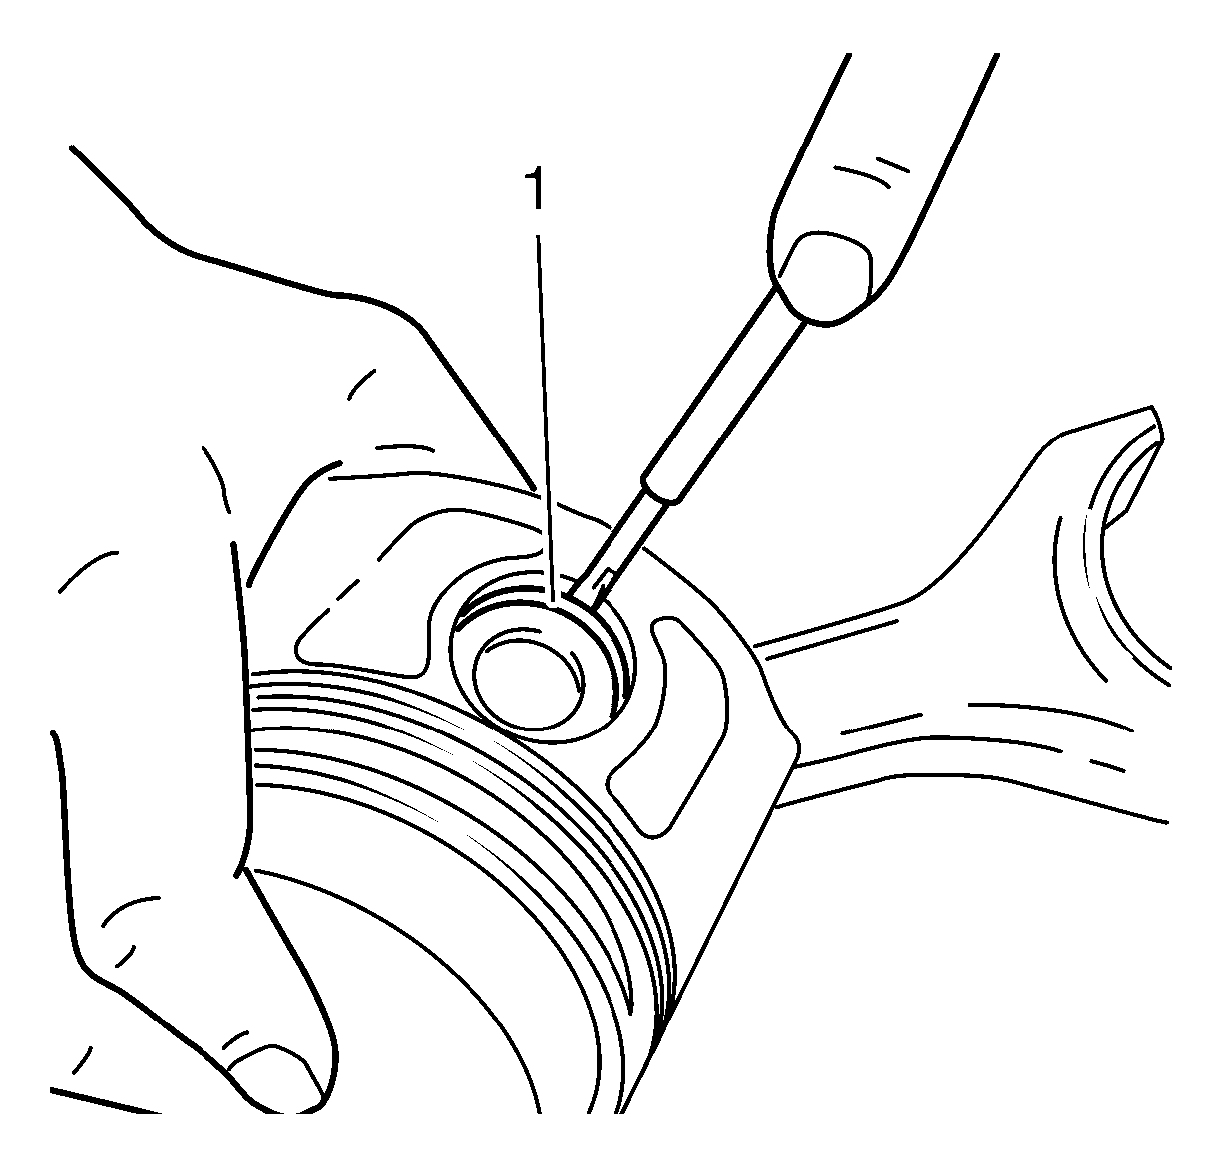
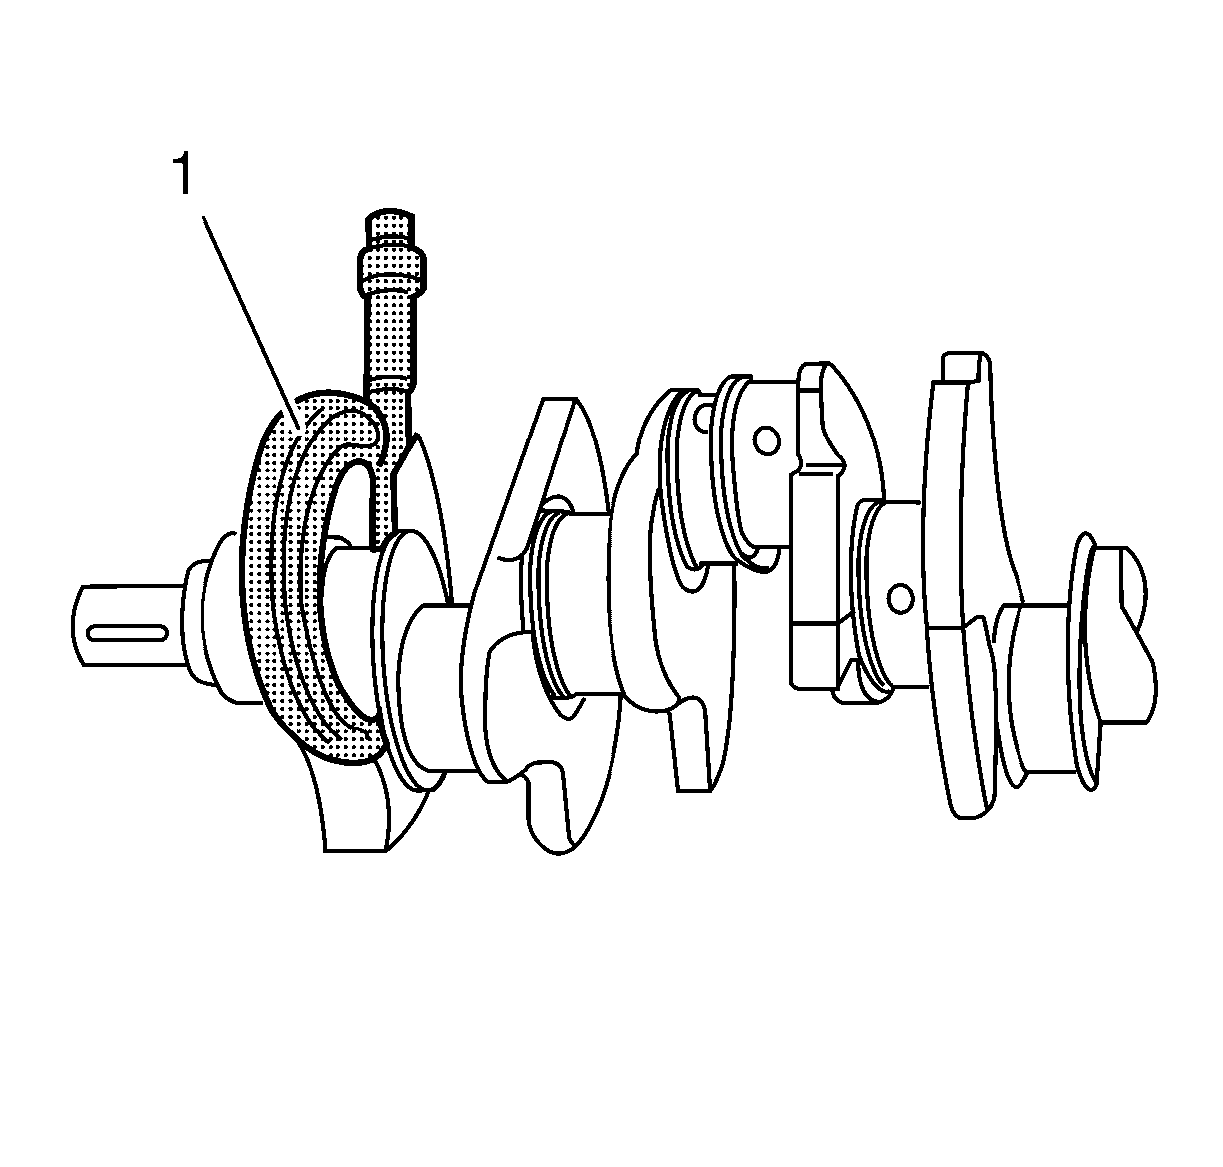
- Lay on a suitable plastigage (flexible plastic thread) over the entire width of the connecting rod bearing journal.
- Install the connecting rod bearing cap.
- Tighten the 2 bolts in three steps:
- Remove the con-rod bearing cap bolts.
- Remove the connecting rod bearing cap.
- Measure the con-rod bearing play.

Note: Do not rotate the crankshaft.
Caution: Refer to Fastener Caution in the Preface section.
| 3.1. | In first pass tighten to 25 N·m (19 lb ft) |
| 3.2. | In second pass tighten to 90 degrees using the EN-45059 angle sensor |

Note: When reading the value, do not confuse millimeters and inches on the measuring scale.
| • | Compare the width of the flattened plastic thread with the measuring scale. |
| • | Permissible connecting rod bearing play: 0.09-0.32 mm (0.004-0.014 lb in). |
Check Connecting Rod Bearing Clearance (With Micrometer Gage Internal Measuring Device)
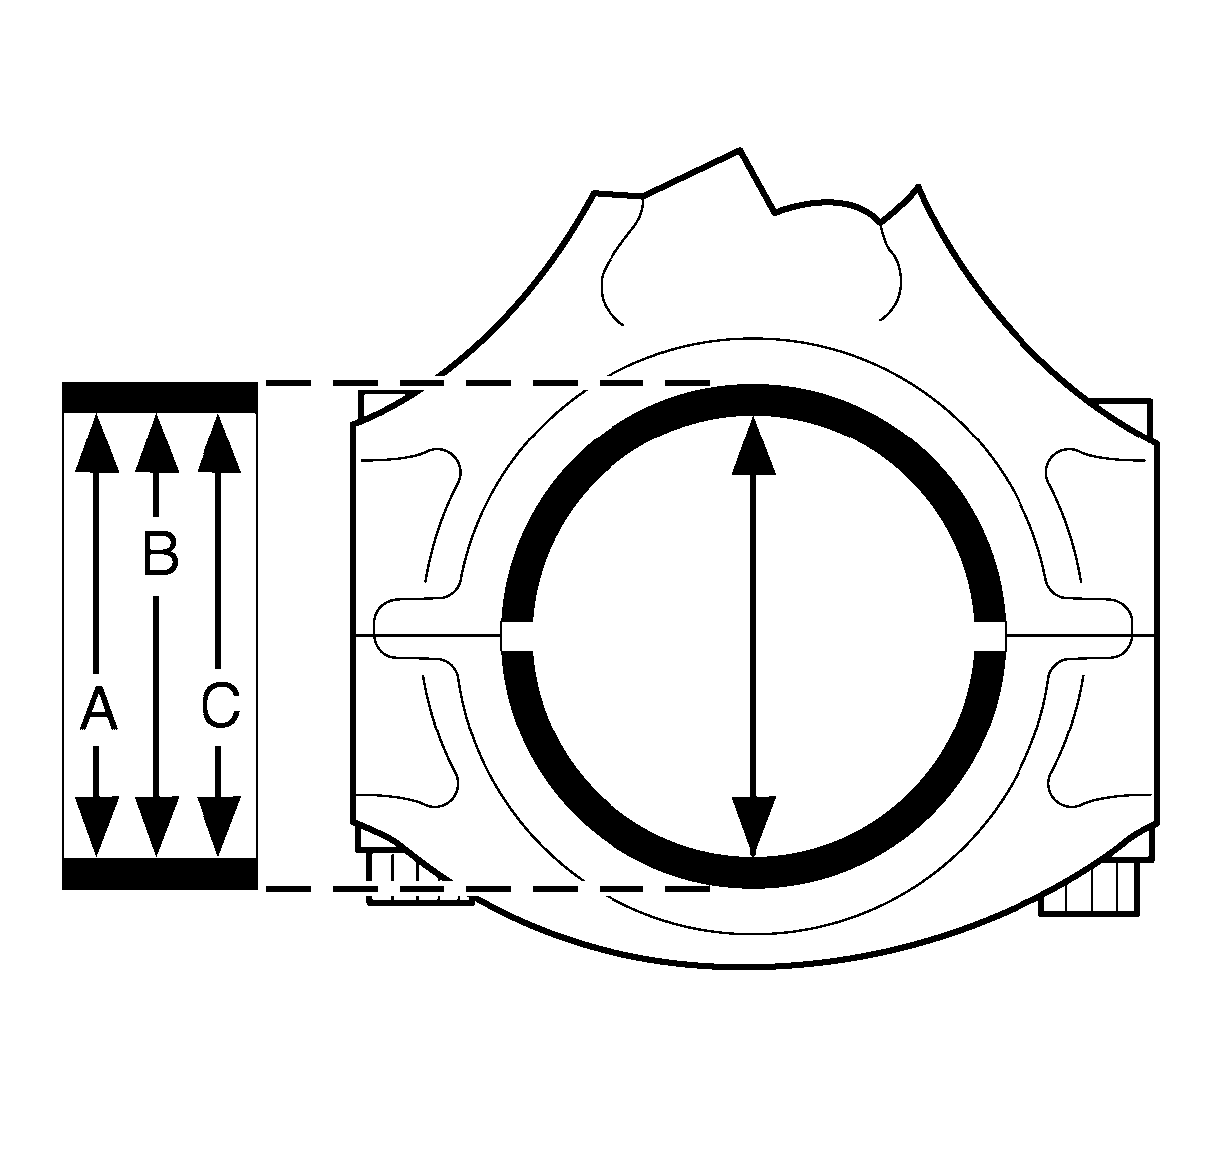
- Measure the connecting rod bearing diameters at 3 points A, B and C with the internal measuring device.
- Work out the average connecting rod diameter.
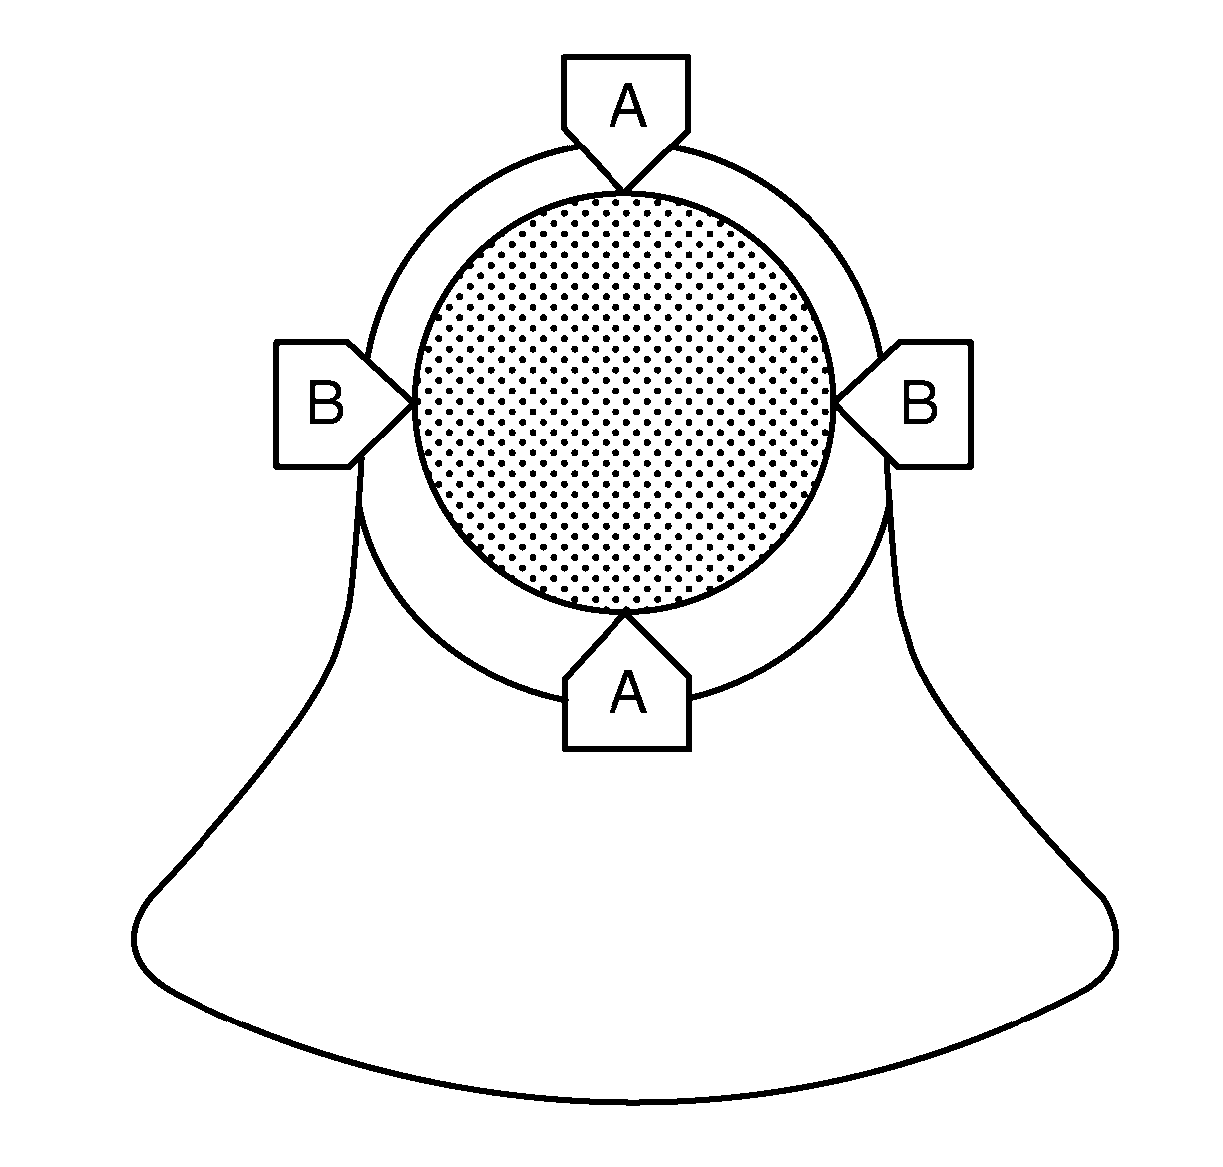
- Measure at points I and II with the micrometer gauge.
- Measure the connecting rod bearing journal diameter at 2 points.
- Work out the average connecting rod bearing journal diameter.
- Determine the connecting rod bearing play.
- Perform the target/actual comparison.

Formula: A + B + C /3.


Formula: I + II/2.
Calculation formula: average connecting rod bearing diameter -- average connecting rod bearing journal diameter.
Permissible connecting rod bearing play: 0.09-0.32 mm (0.004-0.014 lb in).
