For 1990-2009 cars only
Removal Procedure
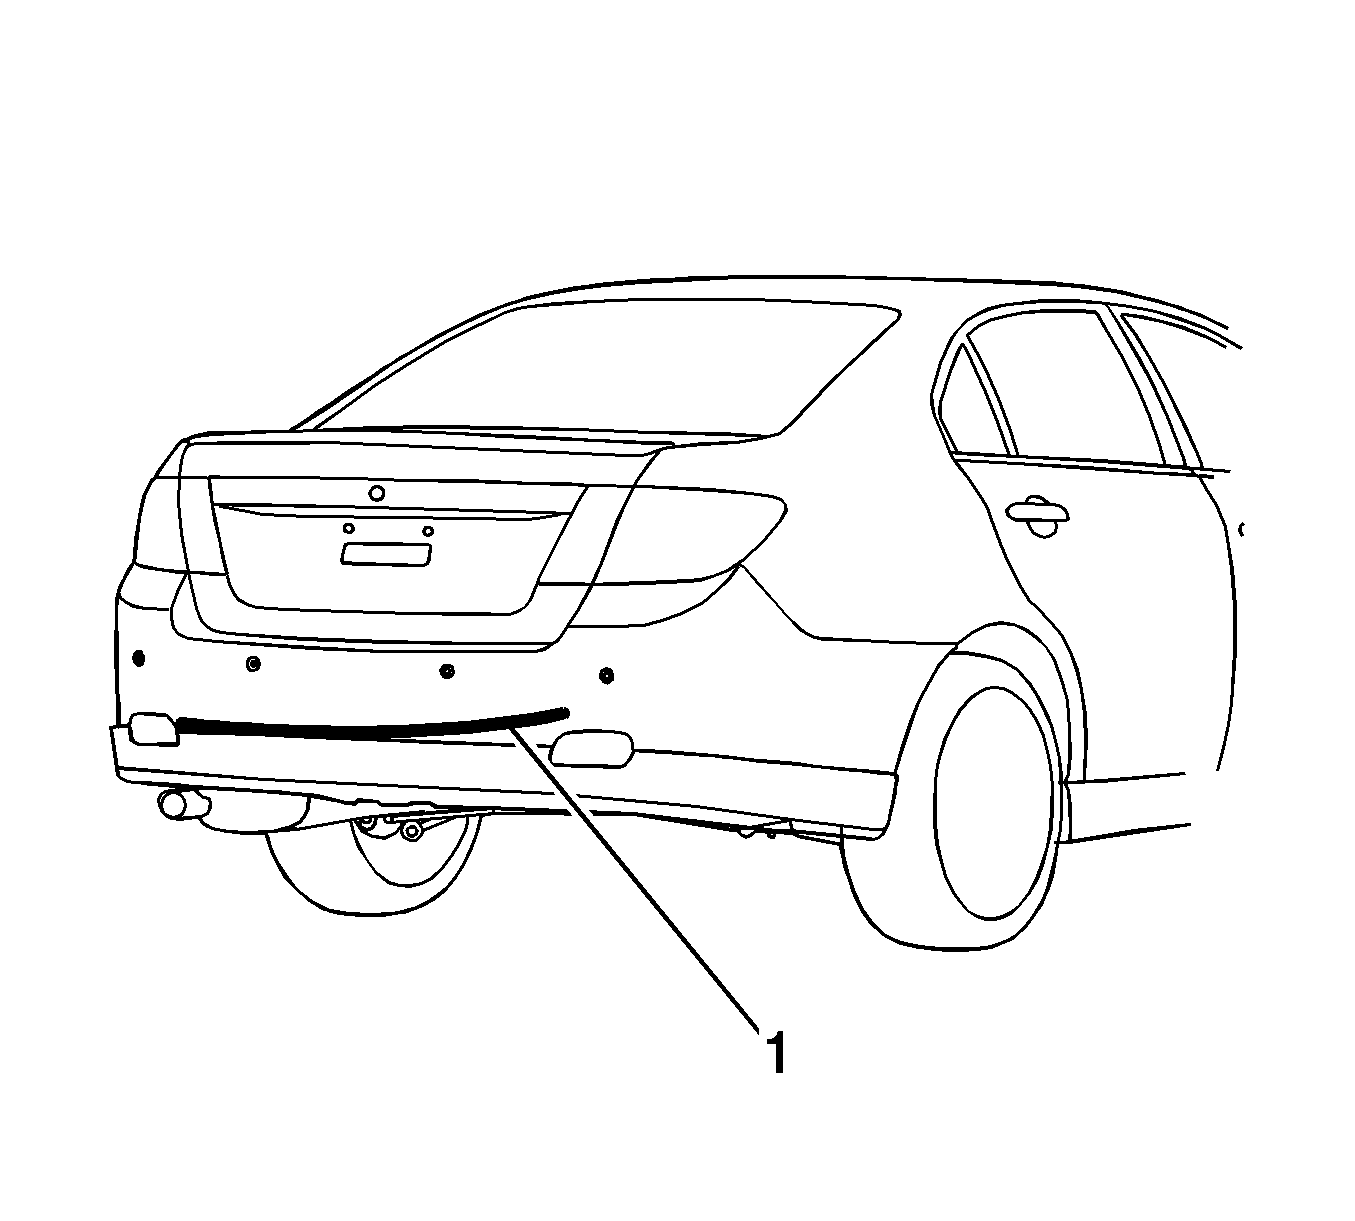
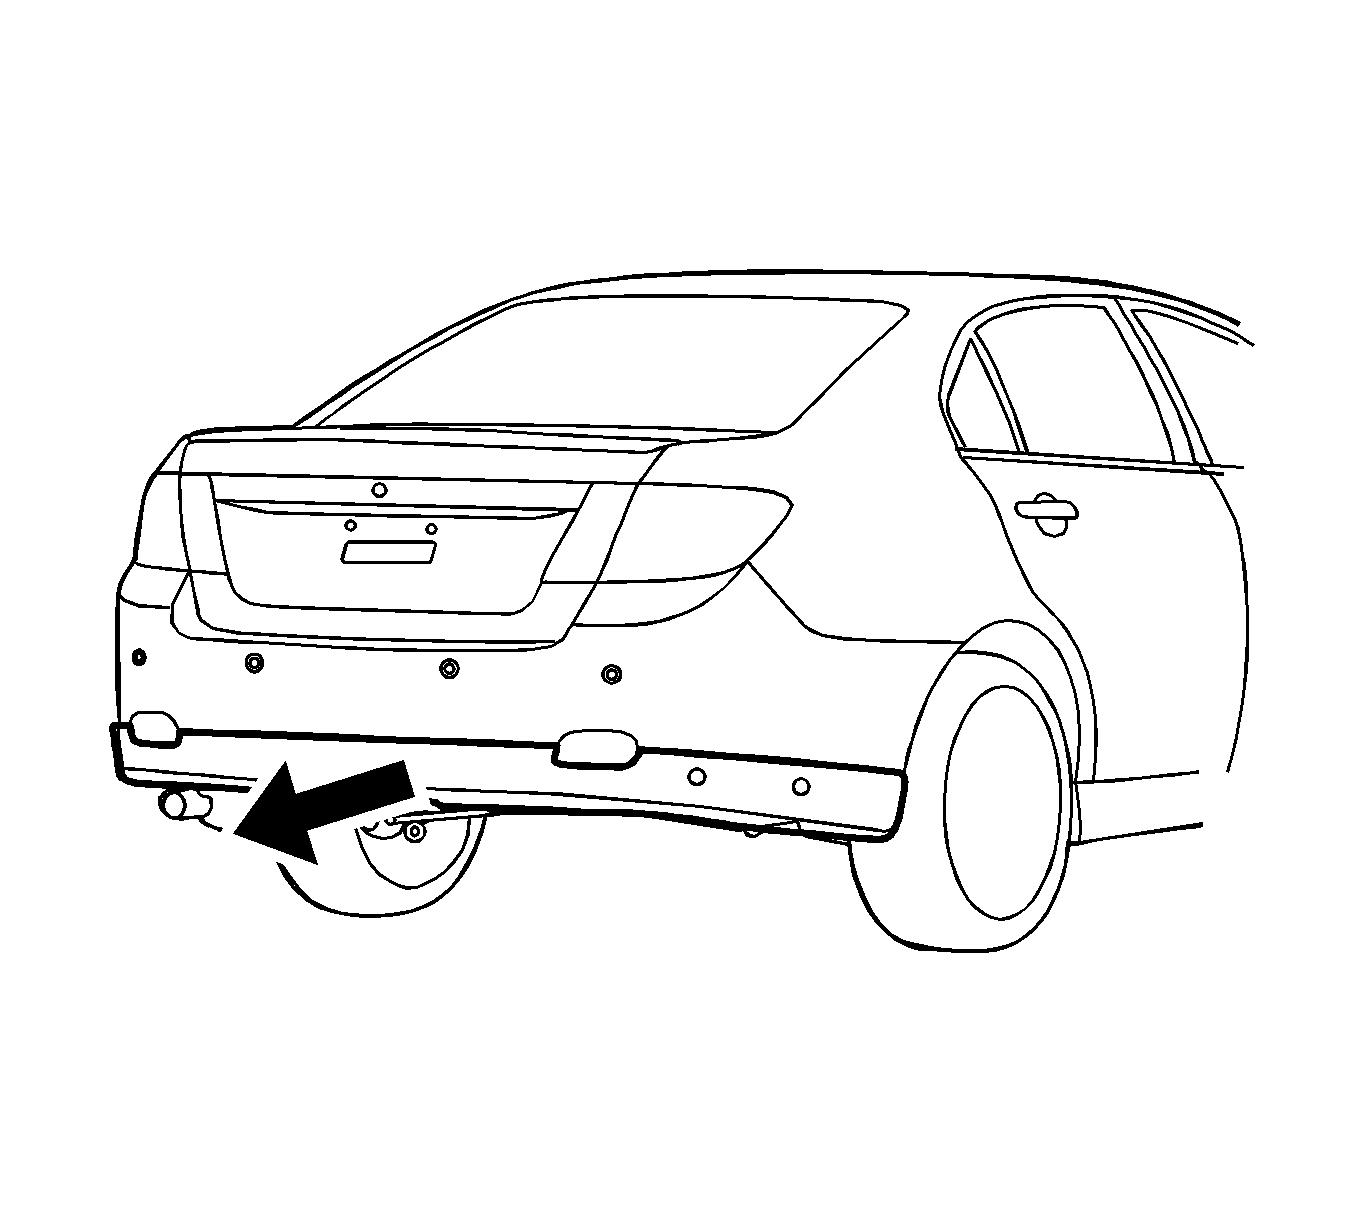
- Remove the rear molding (1) bonded by the two sided tape.
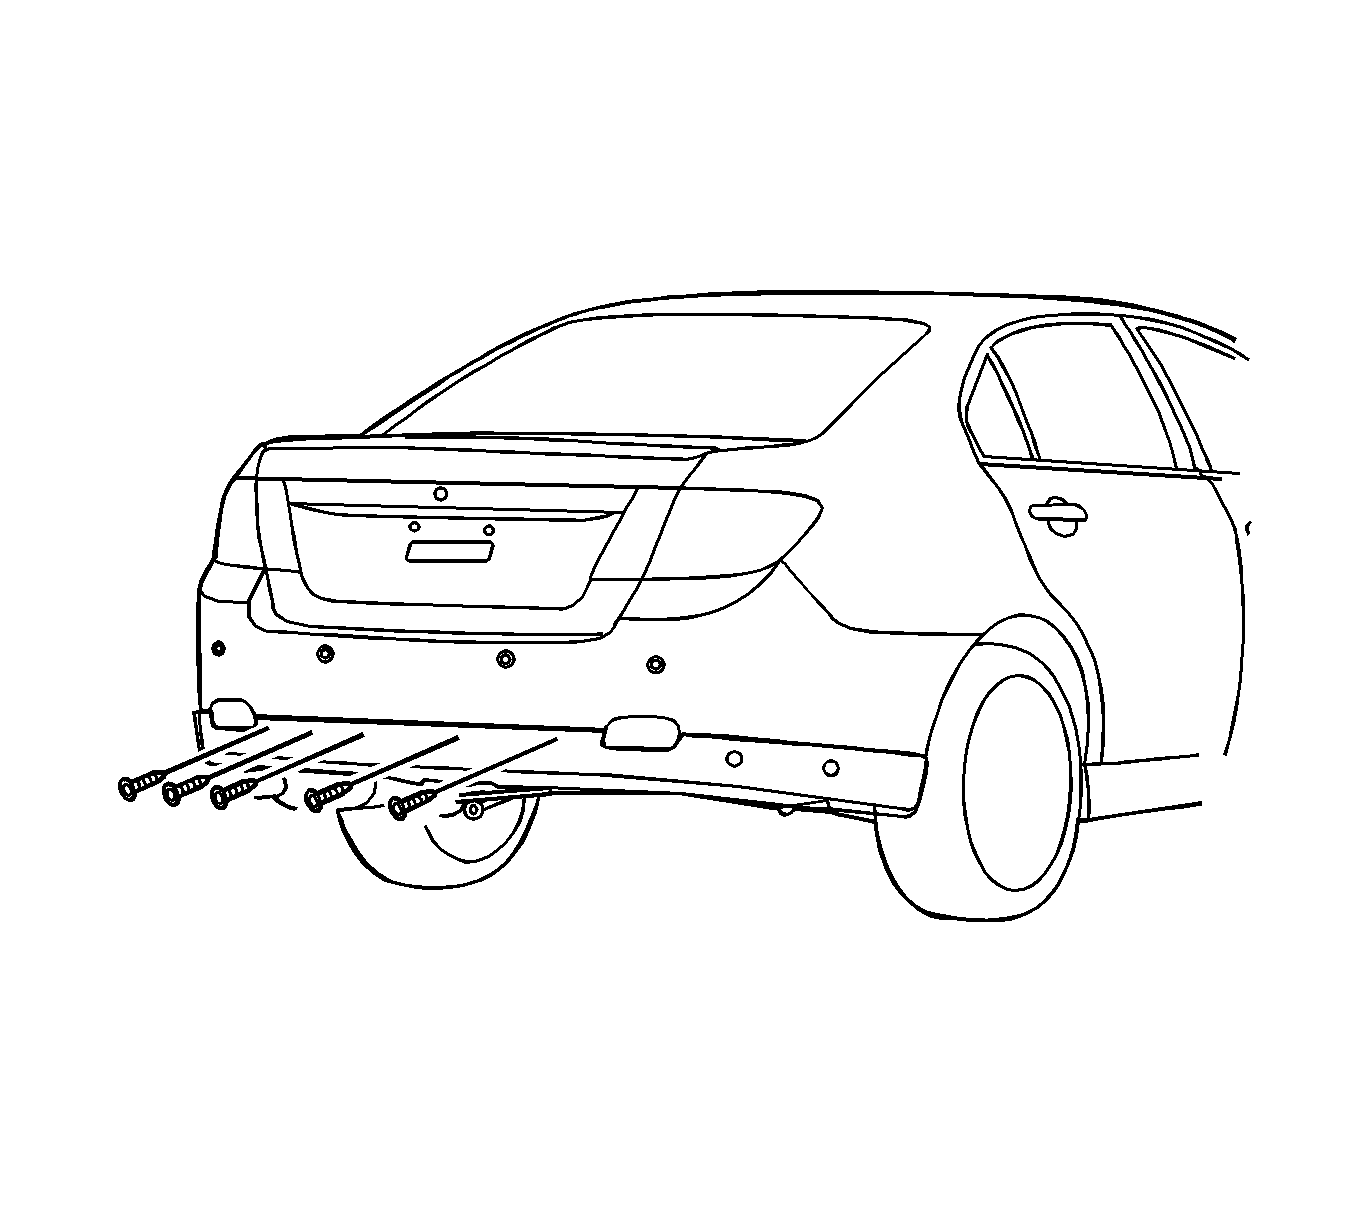
- Remove the upper screws.
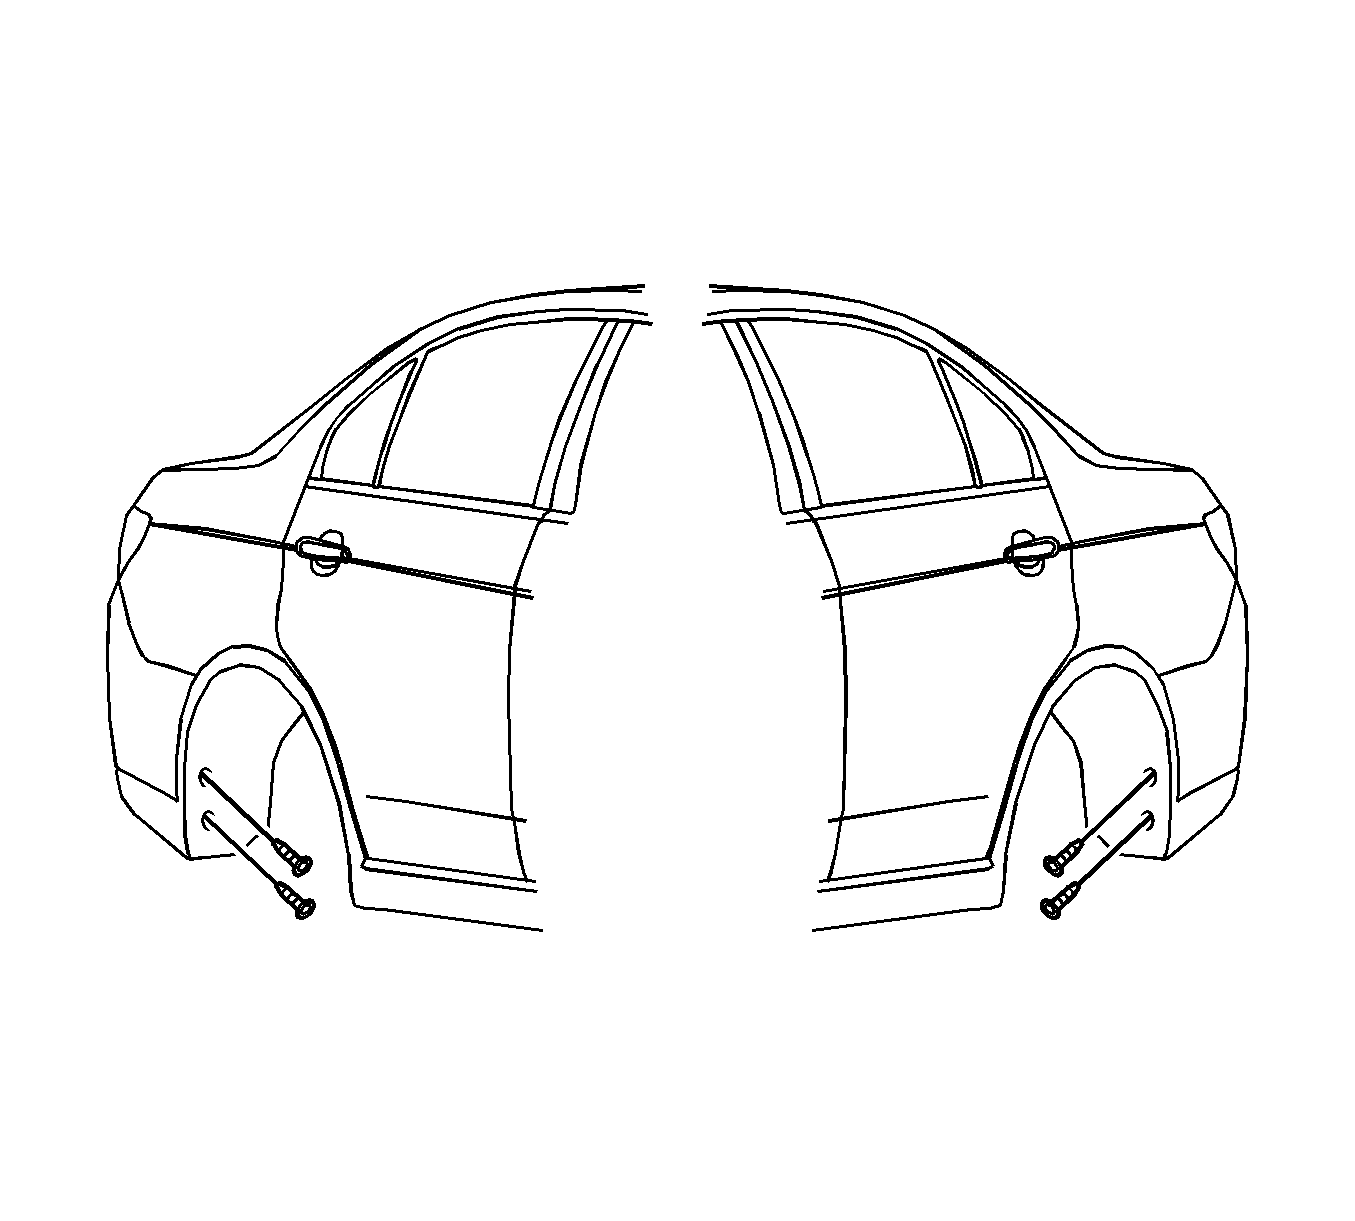
- Remove the rear side screws.
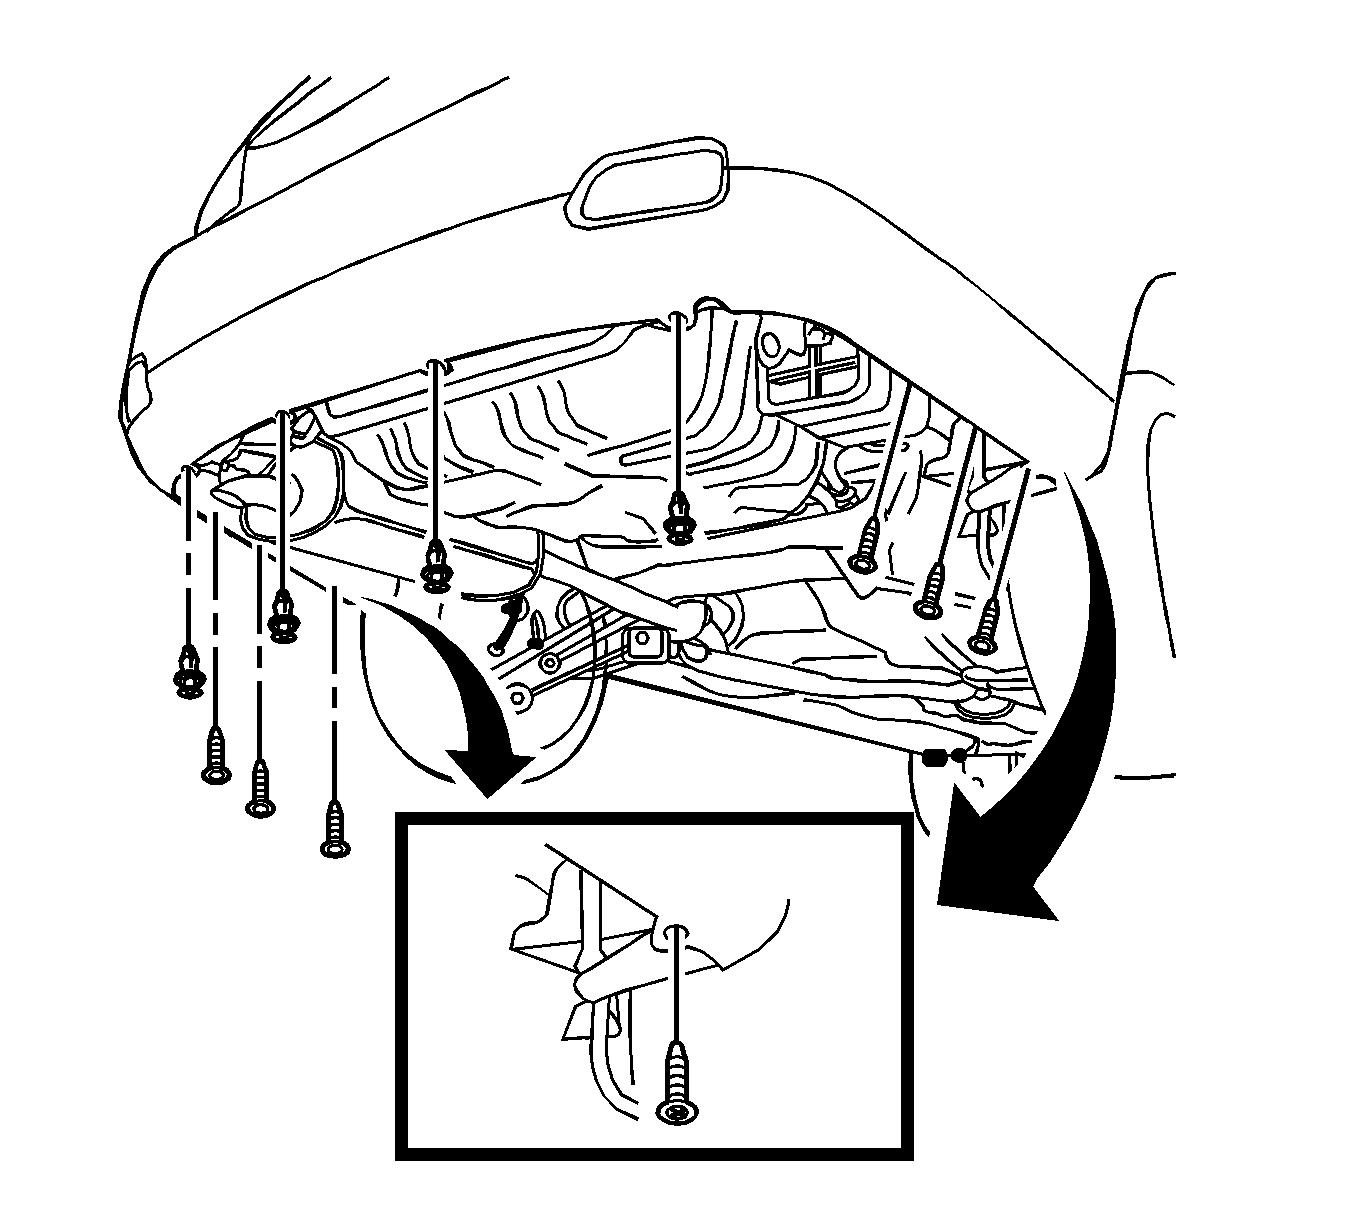
- Remove the retaining clips and the lower screws.
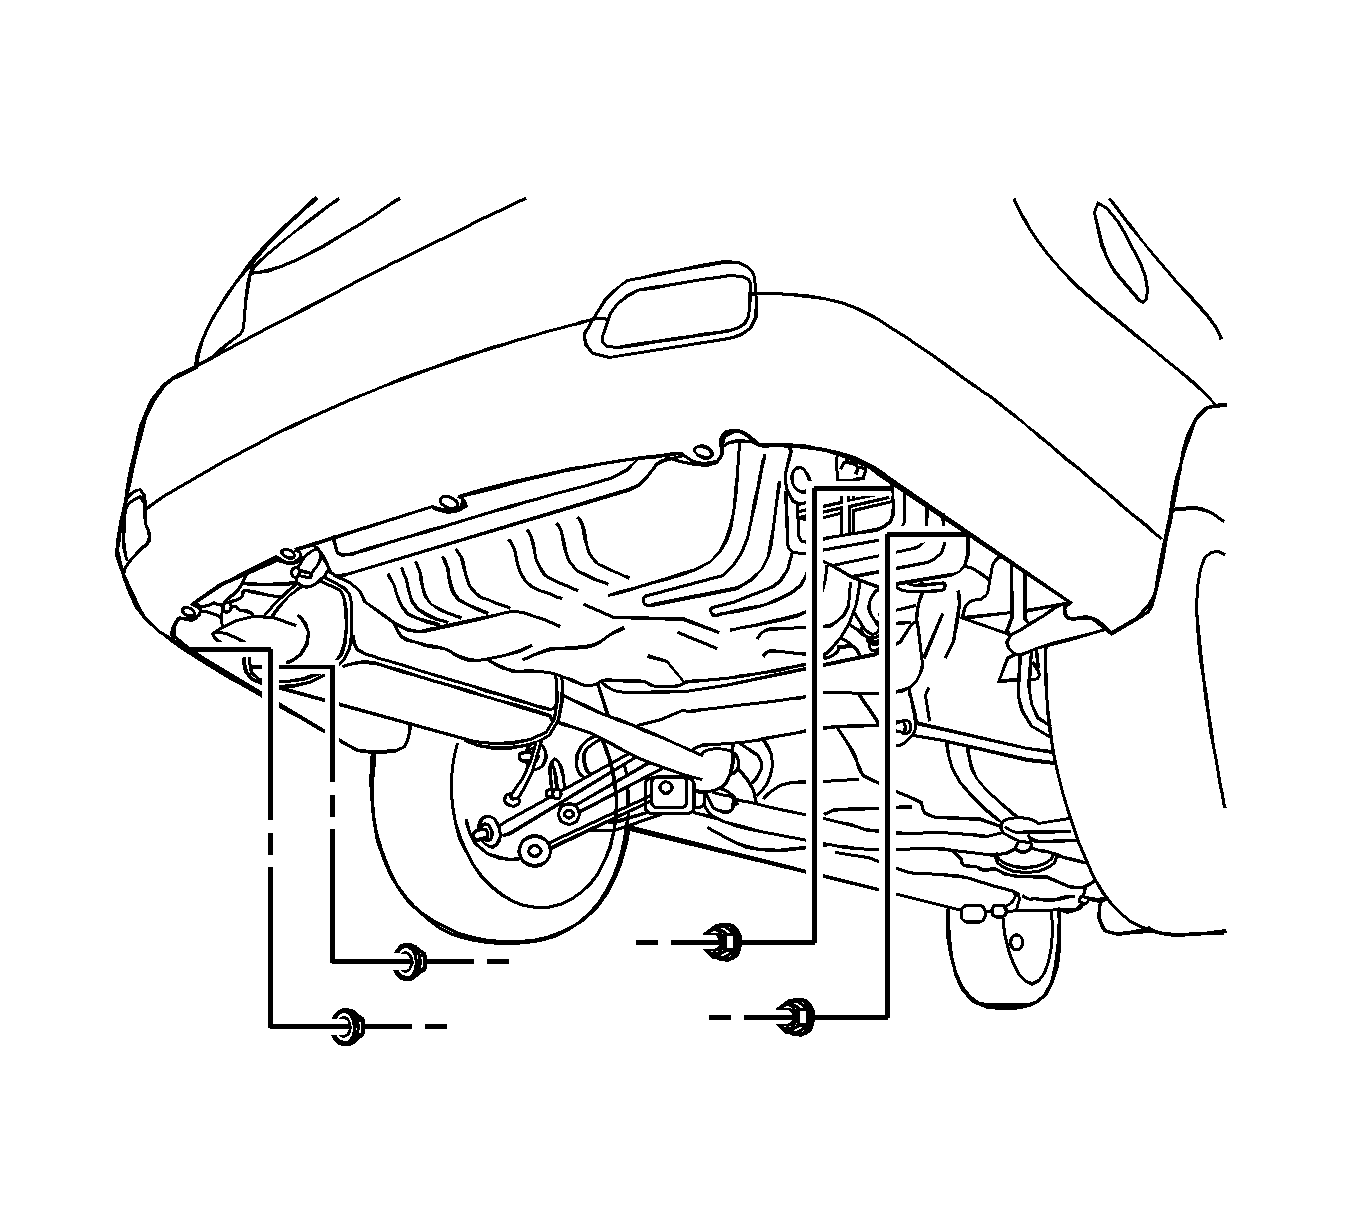
- Remove the nuts.
- Remove the rear lower fascia extension.
Installation Procedure
- Install the lower fascia extension.
- Install the nuts.
- Install the lower screws and clips.
- Install the side screws.
- Install the center screws.
- Install new two sided tape to the rear molding and install the rear molding (1) to the rear lower fascia extension.

Notice: Refer to Fastener Notice in the Preface section.

Tighten
Tighten the nuts to 2 N·m (18 lb in).

Tighten
Tighten the lower screws to 2 N·m (18 lb in).

Tighten
Tighten the side screws to 2 N·m (18 lb in).

Tighten
Tighten the center screws to 2 N·m (18 lb in).

