Removal Procedure
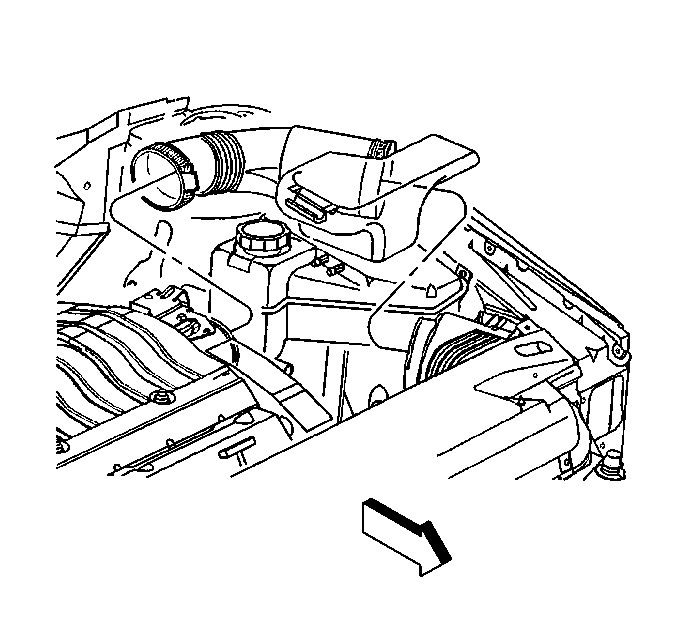
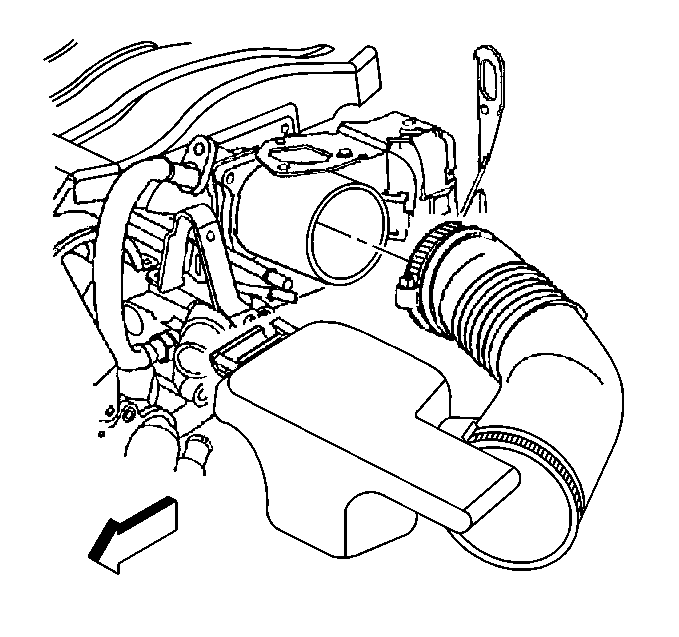
- Loosen both air duct clamps.
- Remove duct from air cleaner and rotate duct upwards around the Mass Air Flow (MAF) sensor.
- Dis-connect the IAT sensor connector from the IAT sensor.
- Remove the rear bolt securing the air cleaner to the frame rail.
- Lift up on the inboard edge of the air cleaner to dis-engage the air cleaner from the front stud.
- Slide the air cleaner inboard and lift and rotate upwards to remove assembly.
- Remove the inlet snorkel by pulling upwards and inboard.


Installation Procedure
- Install the inlet snorkel into the rectangular hole in the sheet metal. The flat rubber grommet should be contacting the outboard edge of the hole.
- Place air cleaner assembly over the inlet snorkel and slide air cleaner assembly outboard until it catches the inlet snorkel.
- Secure the front air cleaner grommet onto the in the frame rail.
- Insert the rear bolt through the rear grommet into the frame rail.
- Re-connect the IAT sensor.
- Install the clean air duct on air cleaner and MAF assembly.
- Rotate the clean air duct down and install on the air cleaner cover.


Notice: Use the correct fastener in the correct location. Replacement fasteners must be the correct part number for that application. Fasteners requiring replacement or fasteners requiring the use of thread locking compound or sealant are identified in the service procedure. Do not use paints, lubricants, or corrosion inhibitors on fasteners or fastener joint surfaces unless specified. These coatings affect fastener torque and joint clamping force and may damage the fastener. Use the correct tightening sequence and specifications when installing fasteners in order to avoid damage to parts and systems.
Tighten
Tighten the rear bolt to 12 N·m (106 lb in).
Notice: Use the correct fastener in the correct location. Replacement fasteners must be the correct part number for that application. Fasteners requiring replacement or fasteners requiring the use of thread locking compound or sealant are identified in the service procedure. Do not use paints, lubricants, or corrosion inhibitors on fasteners or fastener joint surfaces unless specified. These coatings affect fastener torque and joint clamping force and may damage the fastener. Use the correct tightening sequence and specifications when installing fasteners in order to avoid damage to parts and systems.
Tighten
Tighten both clean air duct clamps to 3.5 N·m (31 lb in)
at the throttle body and 1.8 N·m (16 lb in) at
the air cleaner.
