Removal Procedure
Tools Required
| • | J 24402-A Glass
Sealant Remover (Cold Knife) |
| • | J 39032 Stationary
Glass Removal Tool |

Caution: When working with any type of glass or sheet metal with exposed or rough
edges, wear approved safety glasses and gloves in order to reduce
the chance of personal injury.
- Place protective coverings around the window removal area.
- Apply masking tape to the painted surfaces around the window in
order to prevent damage to the paint.
- Remove the upper interior quarter trim sail panels. Refer to
Sail Panel Replacement
in Interior
Trim.
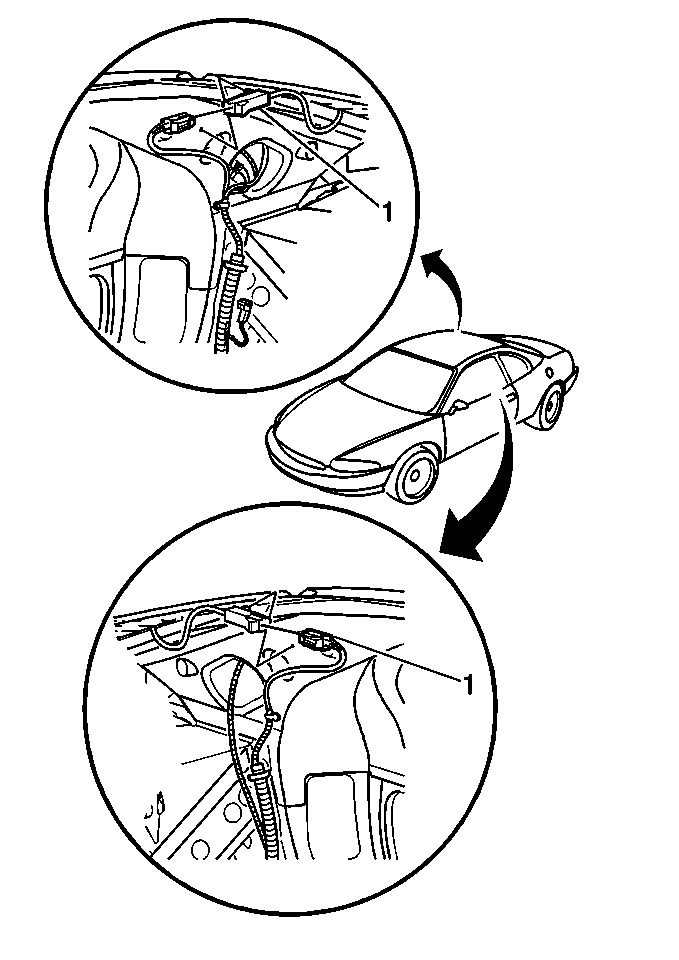
- Disconnect the rear window
defogger connectors (1).
- Open the rear compartment lid.
| 5.1. | Remove the reveal molding. |
| 5.2. | Starting at the bottom center of the rear window, use pliers in
order to pull the reveal molding off of the glass. |
| 5.3. | Cut the molding into 2 pieces. |
| 5.4. | Pull each section of molding from the glass. |
| 5.5. | If necessary, cut the top section of the molding inboard of the
upper corners in order to remove the corners of the molding from the glass. |
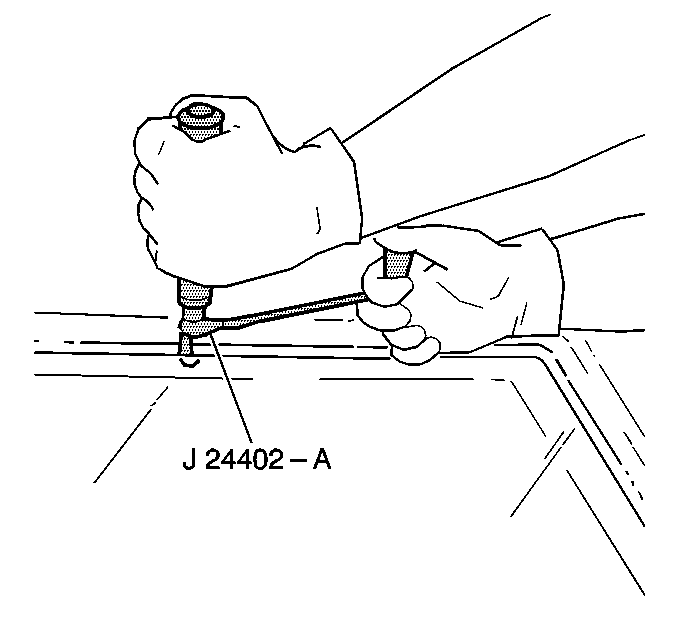
Important: Keep the cutting edge of the tool against the window. This separates
the urethane adhesive from the window.
- Use the J 24402-A
and the J 39032
in order
to remove the window.
- With the aid of an assistant, remove the window.
- The following components may reveal the causes of a broken window:
| • | The flange of the window opening |
| • | The window reveal molding |
- Look for any of the following conditions in order to prevent damage
to the window:
| • | Hardened spot weld sealer |
| • | Any obstruction or irregularity in the pinchweld flange |
- Inspect the condition of the window opening and the adhesive bead
in order to determine which installation method you will use. Refer to
Short Method Description
or
Extended Method Description
.
Important: If corrosion of the pinchweld flange is present, or if sheet metal repairs
or replacements are necessary, refinish the pinchweld flange in order to present
a clean primer only surface. If repairs to the paint are required, mask
the flange bonding area prior to the application of the color coat in order
to provide a clean primer only surface. Use material such as BASF DE17®,
DuPont 2610®, and PPG DP40®.
- Shake well the pinchweld primer (#3 black).

- Use a new dauber in order
to apply the primer to the primed surface on the flange in the bonding area (1).
- Allow approximately 10 minutes for drying the primer.
Installation Procedure
- With the aid of an assistant, dry fit the window in the opening
in order to determine the correct position.

- Use masking tape in order
to mark the location of the window (1) in the opening.
- Slit the masking tape at the top edge of the window.
- Remove the window.
- Place the window on a clean, protected surface.
The inside of the window faces up.
- If the you reuse the original window, remove all but a thin film
of the existing urethane adhesive from the window surface.
Use a utility knife.
- Clean with GM Glass Cleaner P/N 1050427 or the equivalent
the inside surface of the window.
- If you use the extended installation method, perform the following
steps:
| | Important: Do not remove all traces of the adhesive. Remove any mounds or loose
pieces of the adhesive.
|
| 8.1. | Remove all but a thin film of the existing bead of adhesive from the
pinchweld flange. |
| 8.2. | Shake well the pinchweld primer (#3 black). |
| 8.3. | Use a new dauber in order to apply the primer to exposed painted
surfaces or scratches in the flange in the bonding area. |
| 8.4. | Allow approximately 10 minutes for drying the primer. |
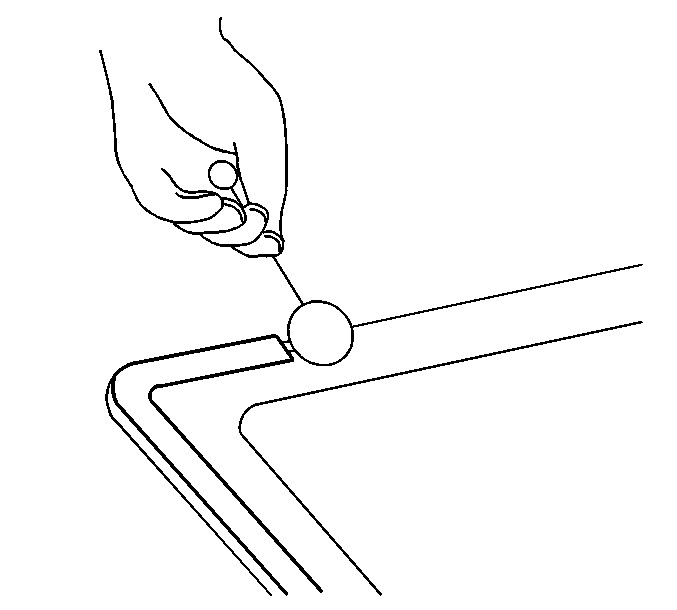
Important: Use care when applying the window prep (#1 clear) in order to prevent
the window prep from running into the vision area of the window. This primer
dries almost instantly. This primer may stain the view area of the window.
- Using a new dauber, apply window prep (#1 clear) to an area approximately
10-16 mm (3/8-5/8 in) around the entire perimeter
of the glass inner surface.
- Apply window prep (#1 clear) to any exposed edges of the window.
- Immediately wipe the primed area with a clean cloth.
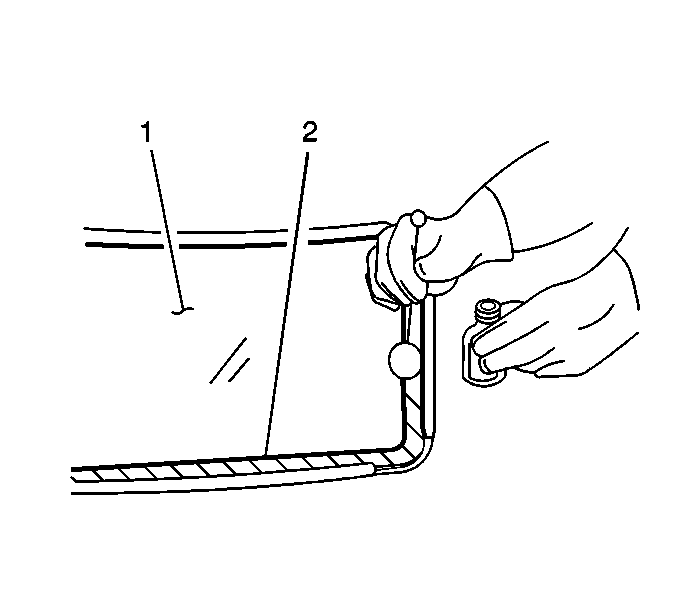
- Shake well the window
primer (#2 black).
- Using a new dauber, apply the window primer (#2 black) to the
same areas (2) where you applied the window prep (#1 clear).
- Allow approximately 6 minutes for drying the primer.
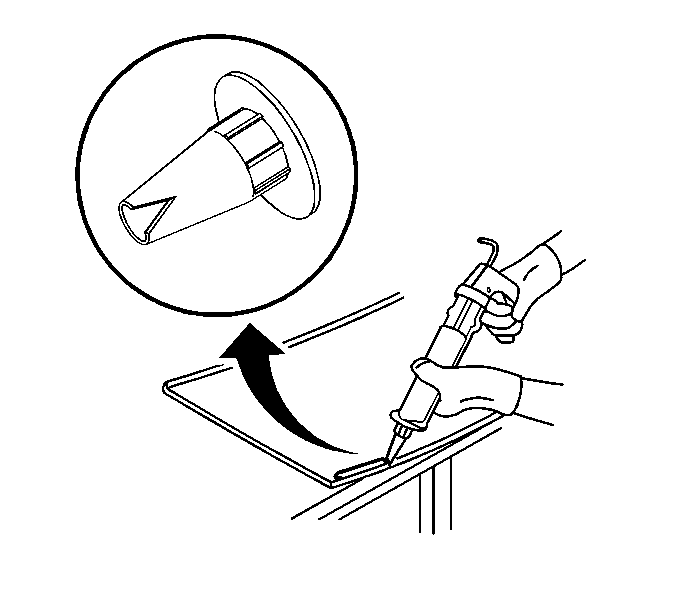
- Prior to application of
the urethane adhesive, cut the tip of the applicator nozzle in order to provide
the following bead sizes:
| • | For the short method, cut the tip in order to provide an adhesive
bead of approximately 4.5 mm (1/8-3/16 in). |
| • | For the extended method, cut the tip in order to provide an adhesive
bead of approximately 14 mm (9/16 in). |
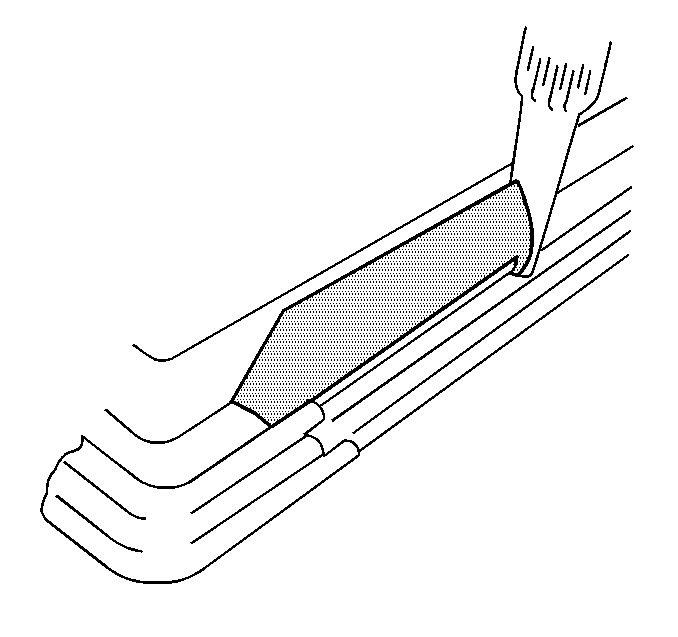
- Using a cartridge-type
caulking gun, apply a smooth continuous bead of urethane adhesive.
- When using the short installation method, apply the urethane adhesive
to the existing bead of urethane adhesive on the body.
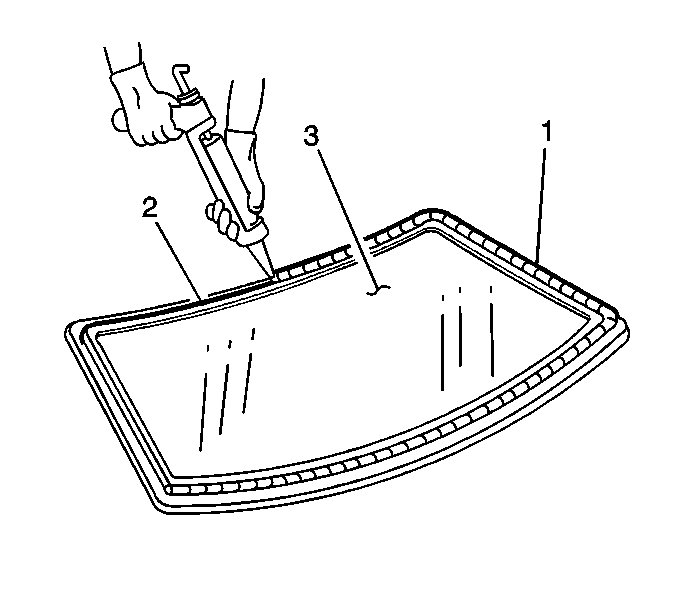
- When using the extended
installation method, use the edge (2) of the window or the inside edge
of the reveal molding as a guide for the nozzle.

- With the aid of an assistant,
use rubber suction cups in order to install the window in the opening.

- Align the tape on the
window and on the body.
- Press firmly the window into place.
- Tape the window to the body (1) in order to minimize movement.
- Remove any excess urethane adhesive.
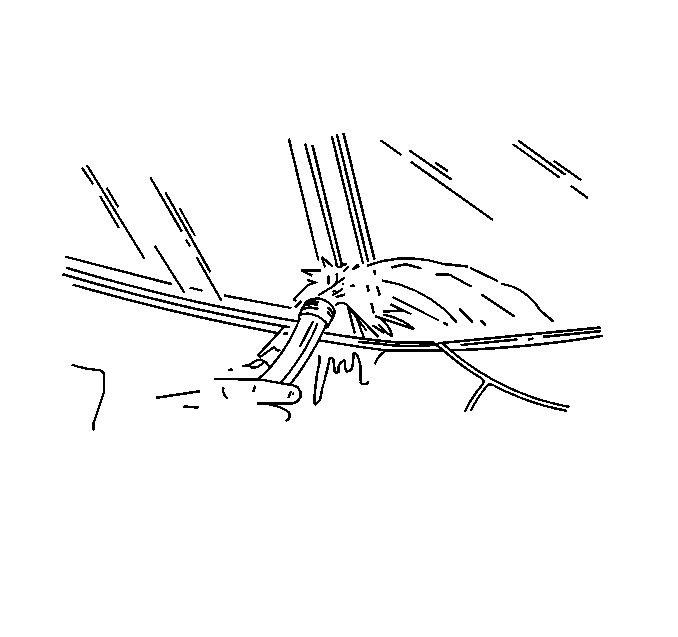
Important: Warm or hot water accelerates the cure of the adhesive. Do not direct
a hard stream of high pressure water at the fresh urethane adhesive.
- Use a soft spray of warm water in order to immediately water test the
window.
- Inspect the window for leaks.
- If you found any leaks, use a plastic paddle in order to apply
extra urethane at the leak point.
- Complete the following steps in order to properly cure the urethane
adhesive:
| • | Keep the vehicle at a room temperature of 22°C (72°F)
at 30 percent relative humidity. |
| • | Allow a minimum of 6 hours for the moisture curing urethane
adhesive. |
| • | Allow a minimum of 6 hours for the chemical curing urethane
adhesive. |
| • | Partially lower a door window in order to prevent pressure build-ups
when you close doors prior to the urethane adhesive cure. |
| • | Do not drive the vehicle until the urethane adhesive is cured. |
| • | Do not use compressed air in order to dry the urethane adhesive. |
- Install the remaining reveal moldings as needed.
- Connect the rear window electrical connectors.
- Install the upper interior quarter trim sail panels. Refer to
Sail Panel Replacement
in Interior
Trim.
- Close the rear compartment lid.


