For 1990-2009 cars only
Center Pillar Replacement Reinforcements
Removal Procedure
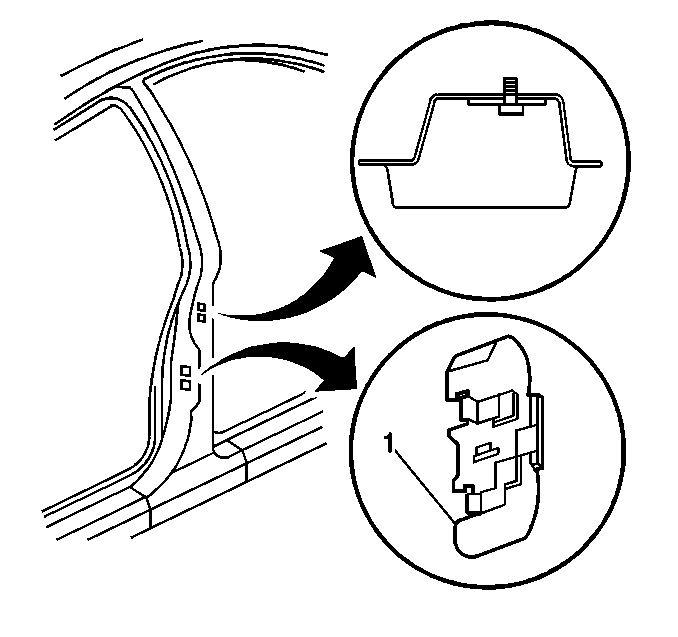
Important: The center pillars on both the Oldsmobile and Buick consist of an inner and outer panel. On the Oldsmobile, which is a four-door model, the outer panel service part comes with hinge bolt reinforcements and striker plates already attached. Care must be taken when replacing the center pillar.
Locate the bolts and strikers in there proper positions using body dimensions while ensuring an appropriate mounting surface on the hinge bolt reinforcement or striker plate. The center pillar on the Buick, which is a two-door model, serves as a rear window frame between the roof rail and the belt-line of the quarter panel at the lock pillar. The striker plate is mounted in a cage that allows some degree of adjustment independent of the outer panel's position. Use body dimensions to ensure that the striker mounting location falls within the palate's range of adjustment. The center pillar outer panel on Oldsmobile can be sectioned to facilitate repairs.- Locate and mark all factory welds on the center pillar outer panel up to the joint with the roof rail.
- Drill out all factory welds.
- Cut the outer panel approcimately 50 mm (2 in) below the joint with the roof rail.
- Remove the damaged panel.

Installation Procedure
- Position the new panel and mark the location of the cut in the original panel.
- Measure a 25 mm (1 in) overlap above the marked line and cut the new panel.
- Cut and remove approximately 25 mm (1 in) of the outside flanges of the new panel.
- Cut a 5 mm (3/16 in) gap approcimately 25 mm (1 in) along the corners of the new panel to create tabs.
- Step the tabs inward to allow the new panel to fit inside the original panel.
- Drill 8 mm (5/16 in) plug weld holes in the original panel.
- Temporarily install the center pillar and check position.
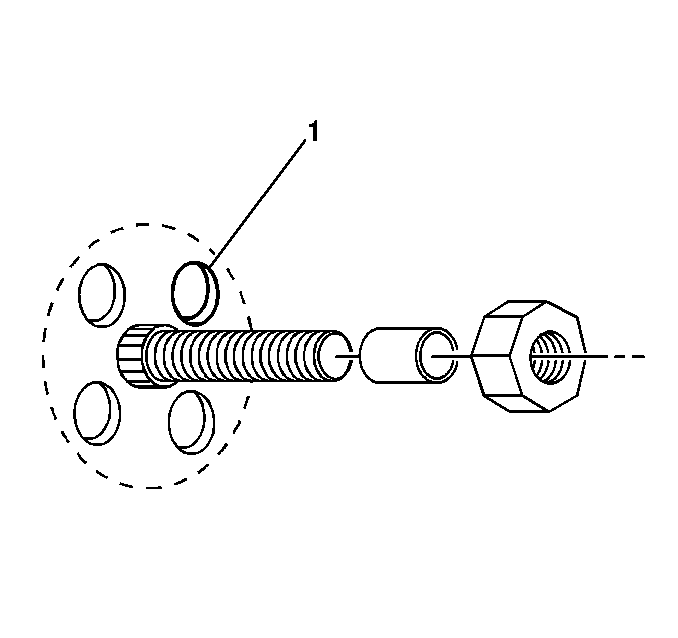
- Locate and mark drill holes fo the hinge bolts using body dimensions. Make sure that the holes go through the ninge bolt reinforcements.
- Remove the panels from the backside and install.
- Tack weld the bolts in place.
- Properly position and install the center pillar panel withappropriate plug welds.
- Stitch weld the entire seam.
- Clean and prepare the welded surfaces.
- Prime with two-part catalyzed primer.
- Apply sealers and corrosion protection materials as necessary.
- Install all related panels and components.

Important: Prior to refinishing, refer to GM 4901MD-99 Refinish Manual. Do not combine paint systems. Refer to paint manufacturer's recommendations. For further information or to order manual, call 1-800-269-5100.
