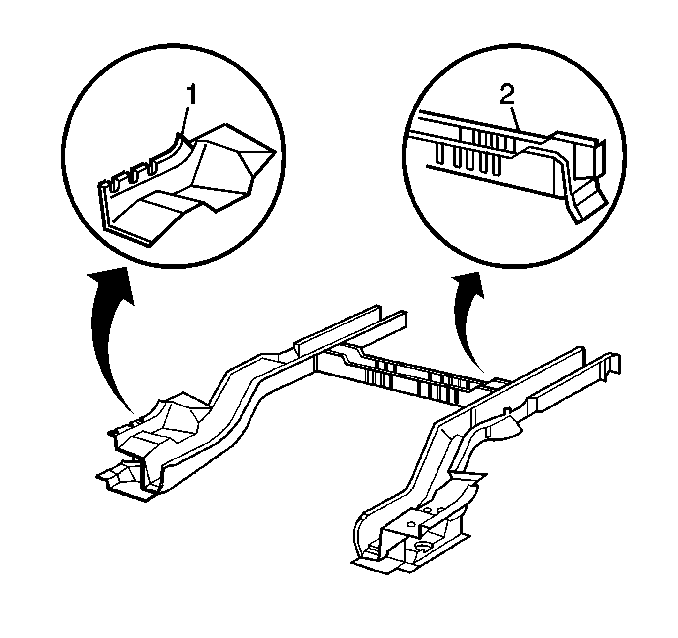
The rear rails are available as a complete sub-assembly. Each consists of an outer panel, two inner reinforcements and all necessary component mounting brackets.
The outer panel and rear mounting brackets are also available separately to facilitate sectioning. Additionally, there is a crossbar that connects the two rear rails for added strength and rigidity.
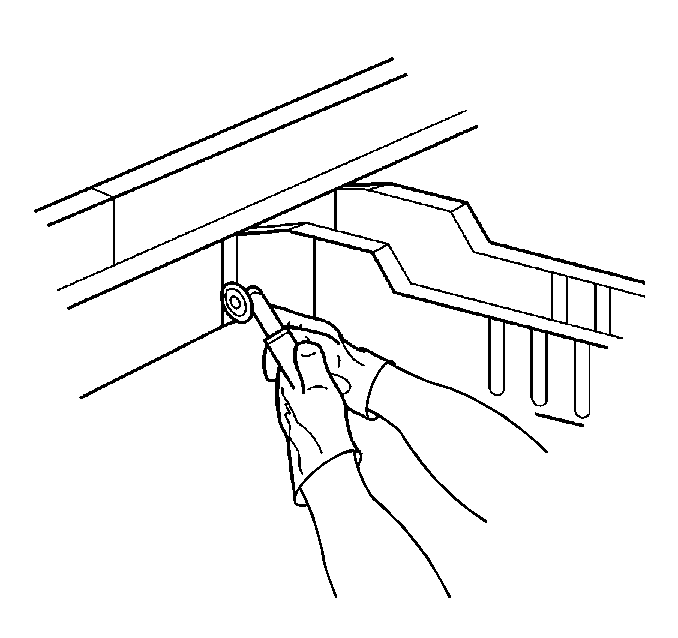
The rear rail can be removed by drilling out all factory welds and letting it drop down. When doing so, the outboard flange at the forward end of the rail must be cut in one location or bent upward. The bottom flange of the crossbar must be bent downward. The rear rail can then be lowered from the vehicle.
Removal Procedure
Sectioning procedures can be used to repair the rear rail if just the portion rearward of the crossbar is damaged. When sectioning, use the rear rail outer panel P/N 25552778 or 25552779.
- Remove all related components and panels.
- Visually inspect and restore as much of the damage as possible to factory specifications.
- Cut the rear rail along the rearward flange of the crossbar and continue this cut around the rear rail.
- Drill out the factory welds on the end of the rear rail inner reinforcement.
- Remove the damaged portion of the rear rail.
- Either move the end of the rear rail inner reinforcement forward or cut this part and remove it from the rear rail.
Installation Procedure
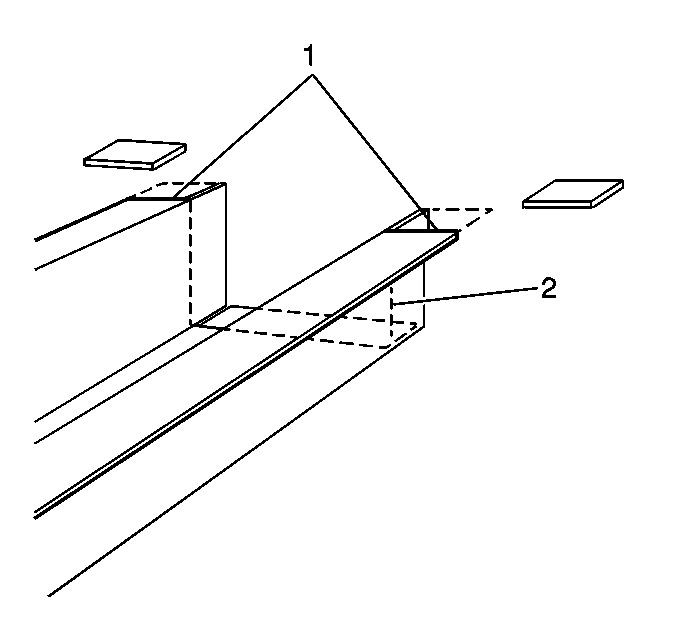
- Use the original part as a guide to mark a line on the new rail 35 mm (in) forward of the cut made to the original part. This will provide an overlap for welding the new section.
- Cut the new rail along the marked lines and discard the unused section.
- Cut and remove approximately 35 mm (in) of the flanges on the new rail
- Cut a 5 mm gap approximately 35 mm (in) along the corners of the new rail to create tabs.
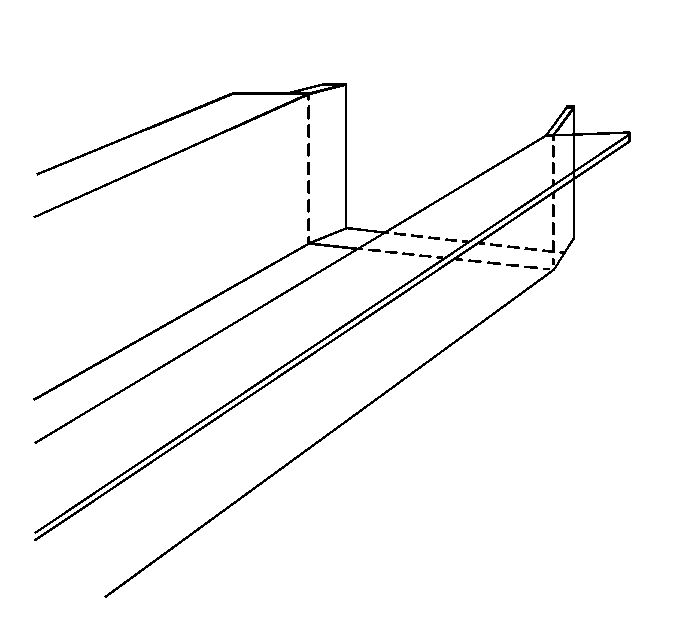
- Step the tabs inward to allow the new rail to fit inside the original rail.
- Position the modified new rail inside the original rail, allowing 35 mm of overlap.
- Check the position of the new rear rail section using body dimensions and plug weld in three locations long all three sides of the rail.
- Stitch weld along the entire seam and replace factory welds, as appropriate.
- Clean and prepare welded surfaces.
- Apply sealers and corrosion protection materials, as necessary.
- Prime with two-part catalyzed primer.
- Install all related components.

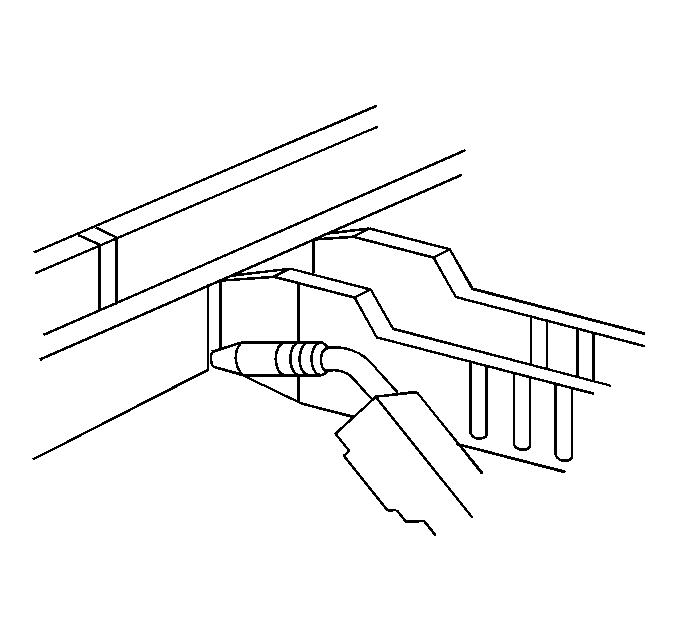
Important: Prior to refinishing, refer to GM P/N 4901MD-99 Refinish Manual for recommended products.
Do not combine paint systems. Refer to paint manufacturer's recommendations.