Removal Procedure
Tools Required
| • | J 36863 Stationary
Glass Removal Tool |
Caution: If broken glass falls into the defroster outlets, it can be blown into
the passenger compartment and cause personal injury.
Caution: When replacing stationary windows, use Urethane Adhesive Kit GM P/N 12346392
(Canadian P/N 10952983), or a urethane adhesive system meeting GM Specification
GM3651G, to maintain original installation integrity. Failure to use the urethane
adhesive kit will result in poor retention of the window which may allow unrestrained
occupants to be ejected from the vehicle resulting in personal injury.
Caution: When working with any type of glass or sheet metal with exposed or rough
edges, wear approved safety glasses and gloves in order to reduce
the chance of personal injury.
Caution: At least 24 hours are required for complete curing of repair
material. The repair area should not be physically distrubed until after that
time. Insufficient curing of urethane adhesive may allow unrestrained occupants
to be ejected from the vehicle resulting in personal injury.
Important:
| • | Use the extended installation method for the following reasons: |
| - | After the windshield removal, if the urethane adhesive material
in the windshield opening is damaged |
| - | If the adhesive must be removed in order to permit refinishing
of the windshield opening |
| • | Using a sharp scraper or chisel, remove the old urethane adhesive
material from the windshield opening. Remove any mounds or loose pieces. Complete
adhesive material removal is not necessary. |
| • | When the damaged sheet metal needs replacing or the opening needs
repainting, use the primer surface only for the bonding area. DO NOT use an
aftermarket top-coated (paint, or color coated) surface for the bonding
area. Use the following materials for this application: |
| • | Apply Pinch-Weld Primer (Black Number 3) from GM KIT P/N 12346284
to any exposed painted surface in the windshield opening. |
| • | DO NOT use Window Primer (Black Number 2) for pinch-weld
applications. |
| • | Window Prep Primer (Clear Number 1) etches the window.
Apply Window Prep Primer (Clear Number 1) only to the blacked-out area
of windows. |
| • | In order to avoid possible window blowout of newly replaced stationary
windows, open 1 door window at least 75 mm (3 in) in order
to allow the air pressure to escape, for a time period of 24 hours. |
| • | DO NOT apply Pinch-Weld Primer (Black Number 3) over the
existing urethane adhesive bead surface. |
| • | Ensure that the vehicle remains at a normal room temperature of
22°C (72°F) and 30% humidity for 6 hours in order to properly
cure the adhesive. |
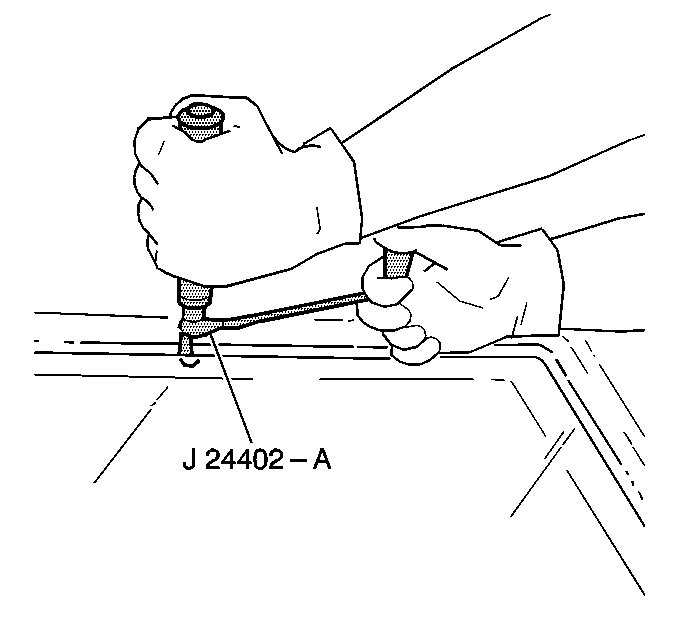
- Mask off the area around
the rear window in order to protect the painted surfaces and the headliner.
Masking aids in cleanup after installation.
- Remove the rear window reveal molding. Pry loose at the seam and
pull free.
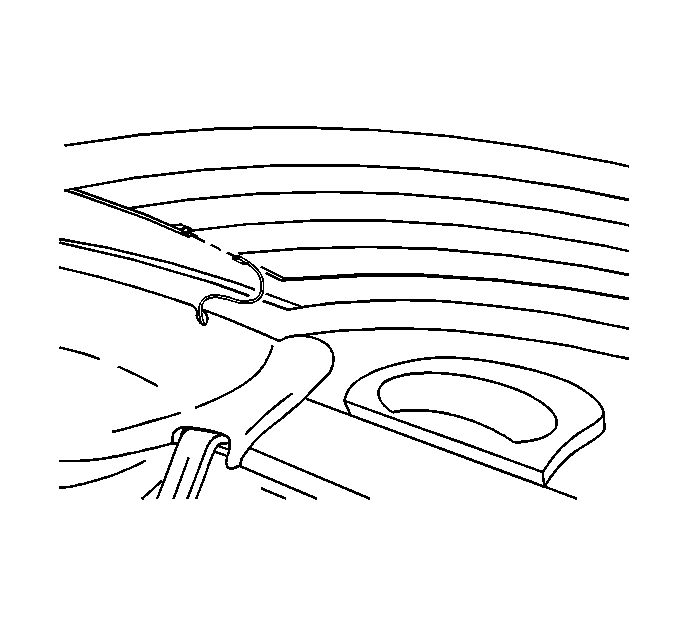
- Disconnect the rear window
defogger electrical connector, if equipped.
- Use a razor or utility knife in order to cut around the perimeter
of the rear window. Cut as close to the edge of the rear window as possible.
- Cut out the rear window. Cut as close to the edge of the rear
window as possible using the J 24402-A
.
- Use J 36863
in order to cut urethane from the inside of the vehicle.
- With the aid of an assistant, use suction cups in order to lift
the rear window from the opening.
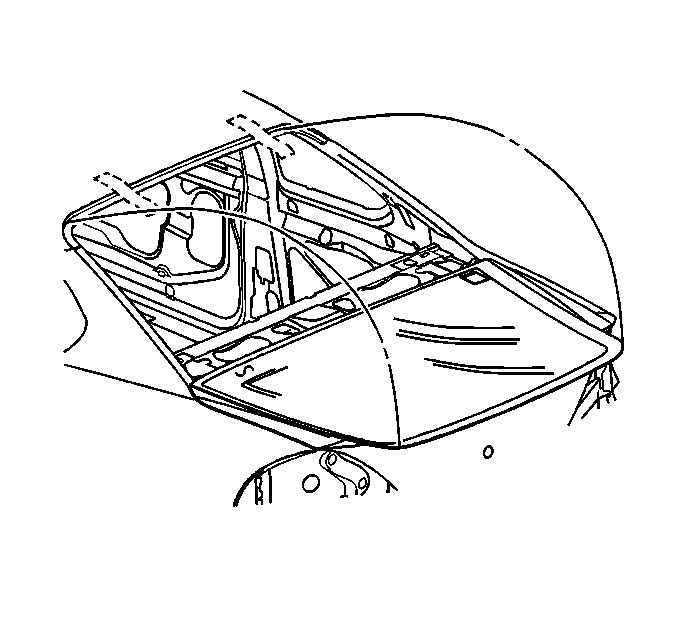
- Remove the rear window
from the vehicle.
- Clean the rear window opening of any loose material. If the rear
window is to be reinstalled, remove all urethane adhesive from the rear window.
- Clean the surface of the rear window to which the urethane adhesive
will be applied (around the edge of inside surface) using a clean, alcohol-dampened
cloth. Allow the surface to air dry.
Installation Procedure

- Position (dry fit) the
rear window in the opening. Apply a piece of masking tape over the edge of
the rear window and the adjacent body panels.
- Slit the tape vertically at the edge of the rear window. During
installation, align the tape on the rear window with the tape on the body
in order to guide the rear window into the desired position.
- Remove the rear window from the opening.
- Place the window inside upon a clean, protected surface.
- Shake the primers vigorously that are provided in the urethane
adhesive kit GM P/N 12346284 or equivalent.
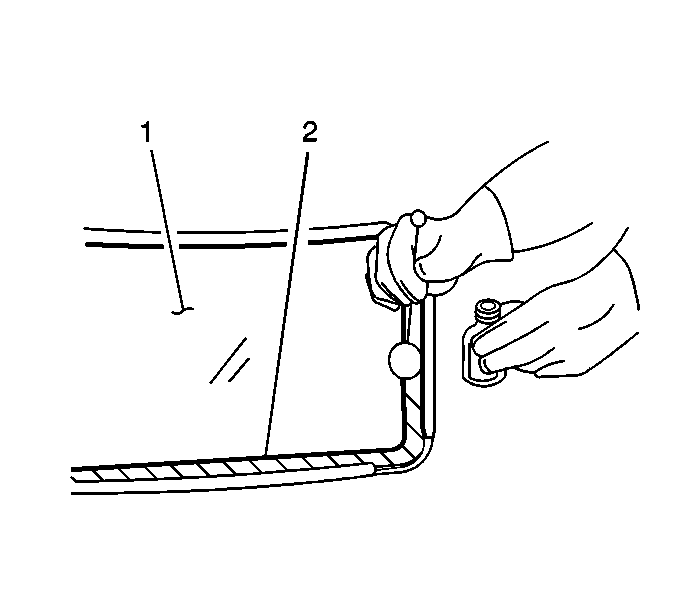
- Apply Glass Prep Primer
(1) (Clear Number 1) on the window prior to the Glass Primer (Black
Number 2). The Glass Prep Primer (Clear Number 1) does not require
any drying time.
- Apply the Glass Prep Primer (Black Number 2) around the
entire perimeter of the window edge and 6 mm (1/4 in) inboard
on the inner surface. Allow the Glass Prep Primer (Black Number 2)
to dry for 6-10 minutes.
- Apply the Pinch-Weld Primer (2) (Black Number 3) to the
pinch-weld area. Allow the primer to dry for 10 minutes.
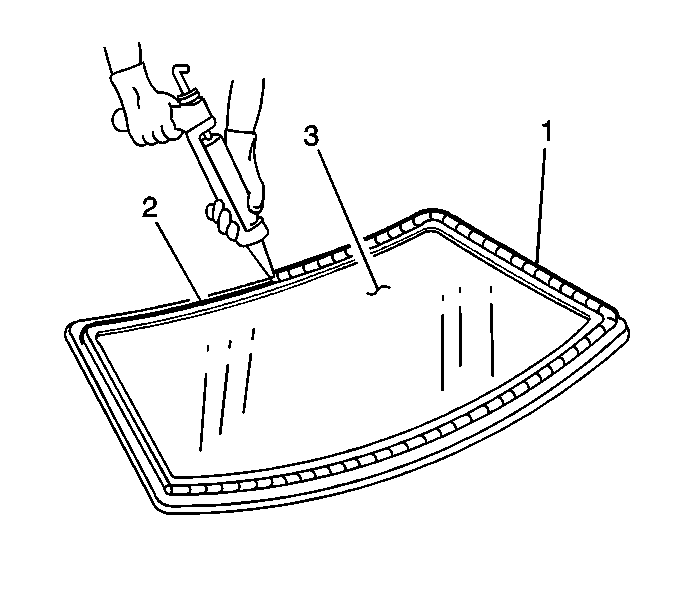
- Apply a smooth continuous
bead of urethane adhesive (1) around the edge of the rear window (3) where
the primer was previously applied.
- With the aid of an assistant, use suction cups in order to lift
the rear window into the opening.
- With the rear window centered in the opening, use the previously-applied
tape guides in order to place the rear window in the proper position.
- Press the rear window firmly in order to wet-out and seat the
urethane adhesive.
| • | Using a small disposable brush or flat-bladed tool, paddle the
material around the edge of the rear window in order to ensure a watertight
seal. |
| • | If necessary, paddle additional material in order to fill any
voids in the seal. |
| • | Do not cause an appearance problem by creating excessive squeeze-out. |
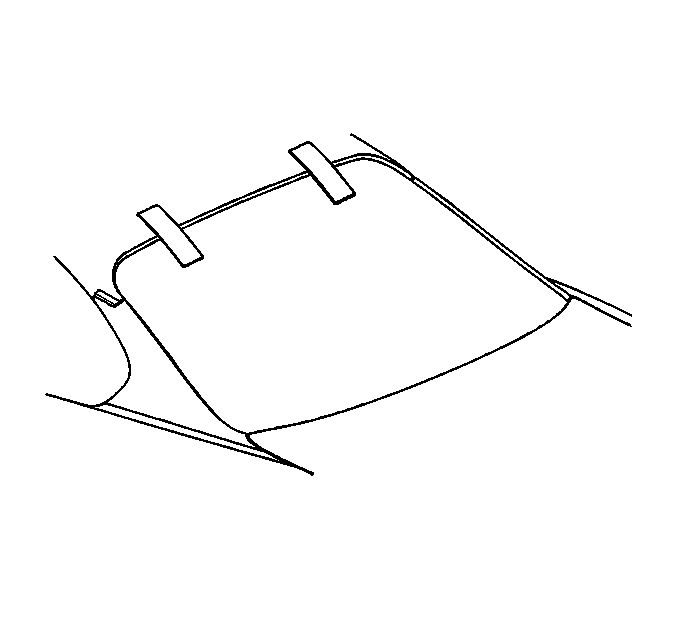
- Install the rear window
reveal molding.
- Apply tape to the rear window and the roof until the urethane
adhesive cures.
- Watertest the vehicle immediately using a soft spray.
| • | Use warm or hot water if available. |
| • | Do not direct a hard stream of water at the fresh urethane adhesive
material. |
| • | If any leaks are found, paddle in extra urethane adhesive at the
leak point using a small disposable brush or flat-bladed tool. |
| • | Water applied on top of the urethane adhesive, either during a
watertest or as a separate operation, will hasten the cure of the urethane
adhesive. |

- Connect the rear window
defogger electrical connector,
if equipped.

- Remove the protective
tape from around the rear window.
- Clean the excess urethane adhesive from the surface of the rear
window using a clean, alcohol-dampened cloth.
- Allow the rear window to air dry.


