Removal Procedure
Tools Required
| • | J 37096 Flywheel Holding Tool |
| • | J 24420-B Camshaft Balancer Remover |
- Remove the camshaft timing belt. Refer to Timing Belt Replacement .
- Raise and suitably support the vehicle. Refer to General Information.
- Remove the flywheel inspection cover. Refer to Automatic Transaxle.
- Install the J 37096 .
- Lower the vehicle.
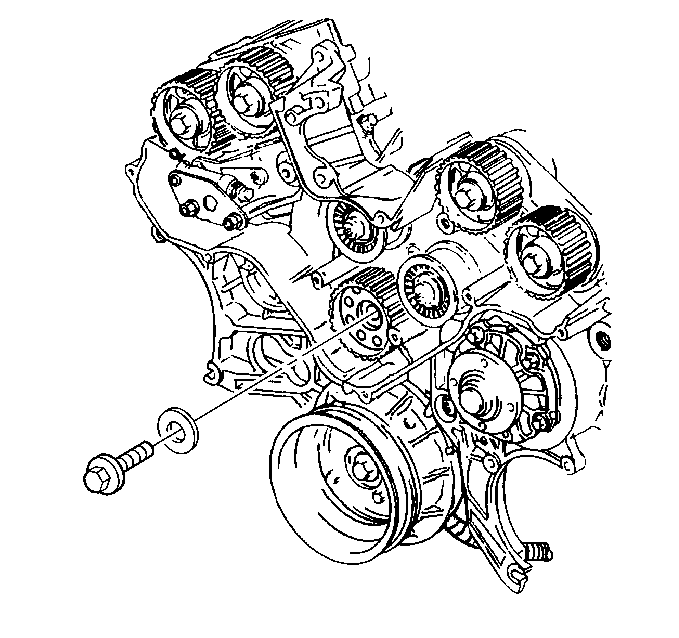
- Remove the mounting bolt and washer.
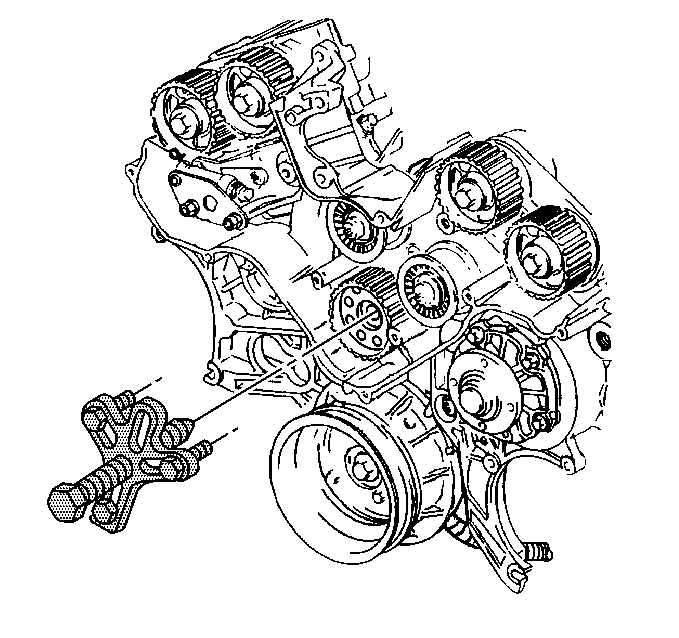
- Remove the sprocket using the J 24420-B .
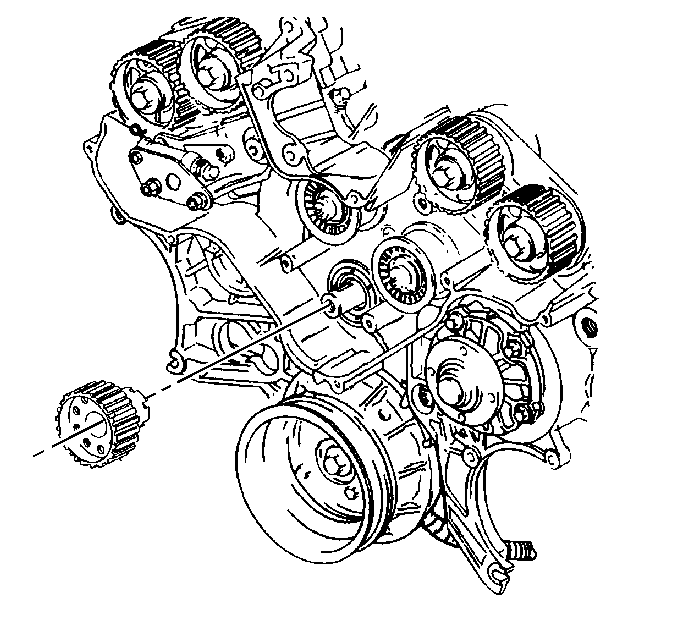
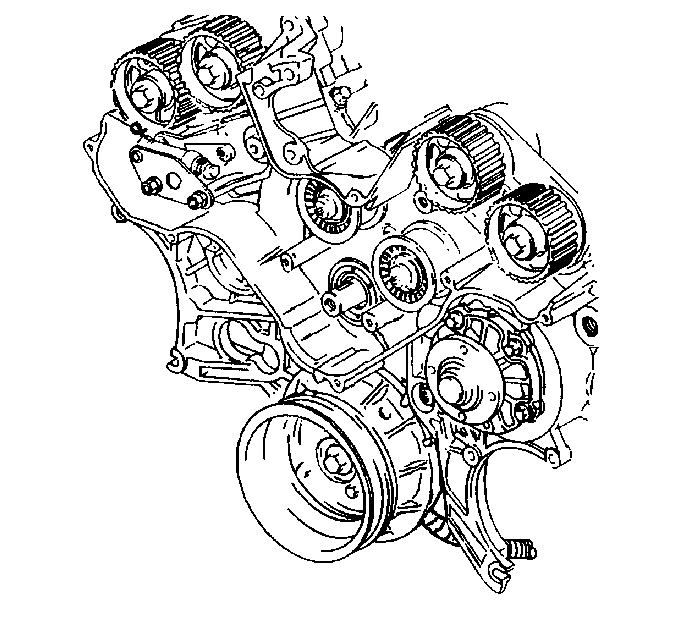
- Remove the intermediate shaft belt sprocket.

Notice: Hitting the nose of the intermediate shaft and/or prying the sprocket will cause thrust bearing damage.


Installation Procedure
Tools Required
J 37096 Flywheel Holding Tool
- Lubricate the seal or seal running surface of the intermediate shaft sprocket.
- Install the sprocket into position on the intermediate shaft through the oil seal.
- Engage the locating tangs of the sprocket into the mating sockets of the chain sprocket.
- Verify the engagement of the tangs by measuring from the front face of the intermediate shaft belt sprocket to the front cover. If the measurement is more than 42 mm (1.65 in) the tangs are not engaged.
- Lightly lubricate the shaft seal (Airing) and place it into position at the end of the intermediate shaft.
- Lightly lubricate the bolt threads and washer before installing. Do not over lubricate.
- Install the intermediate shaft belt sprocket retaining bolt and washer onto the intermediate drive shaft.
- Raise the vehicle. Suitably support the vehicle. Refer to General Information.
- Remove the J 37096 .
- Install the flywheel inspection cover. Refer to Automatic Transaxle.
- Lower the vehicle.
- Install the camshaft timing belt. Refer to Timing Belt Replacement .

Notice: Do not damage the intermediate shaft oil seal during intermediate shaft belt sprocket installation.


Tighten
Tighten the bolt to 130 N·m (96 lb ft). Hold
the crankshaft in order to prevent rotation.
Notice: Use the correct fastener in the correct location. Replacement fasteners must be the correct part number for that application. Fasteners requiring replacement or fasteners requiring the use of thread locking compound or sealant are identified in the service procedure. Do not use paints, lubricants, or corrosion inhibitors on fasteners or fastener joint surfaces unless specified. These coatings affect fastener torque and joint clamping force and may damage the fastener. Use the correct tightening sequence and specifications when installing fasteners in order to avoid damage to parts and systems.
