For 1990-2009 cars only
Removal Procedure
- Remove the crankshaft balancer. Refer to Crankshaft Balancer Replacement .
- Do not gouge the front cover when prying out the front cover seal. The seal will remove easily.

Remove the front cover seal with a small pry bar or a flat-bladed tool.
Installation Procedure
Tools Required
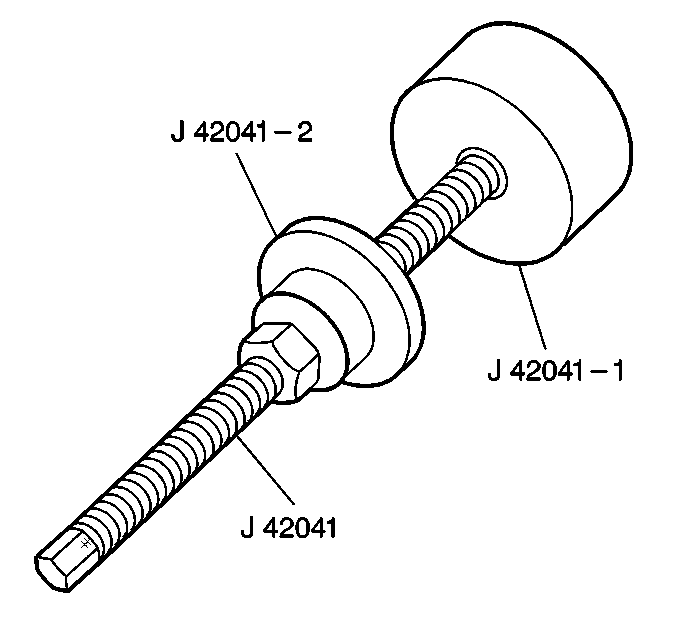
J 42041 Front Crankshaft Seal Installer
- Place the front seal onto the mandrel of the installation tool.
- Slide the mandrel onto the screw of the installation tool.
- Thread the J 42041 in the crankshaft. Make sure you engage at least ten threads of the J 42041 before pressing the seal in place.
- Push the seal into position by tightening the nut on the installation tool until the mandrel bottoms out on the crankshaft sprocket.
- Check the installed depth of the seal. The seal should protrude 1-2 mm (0.039-0.078 in) from the front cover.
- Install the crankshaft balancer. Refer to Crankshaft Balancer Replacement .


Important: The seal should NOT be flush with the front cover.
