For 1990-2009 cars only
Removal Procedure
- Open the rear compartment.
- Remove the rear compartment convenience net and retainers. Refer to Compartment Convenience Net Replacement - Rear .
- Remove the On-Star plastic cover.
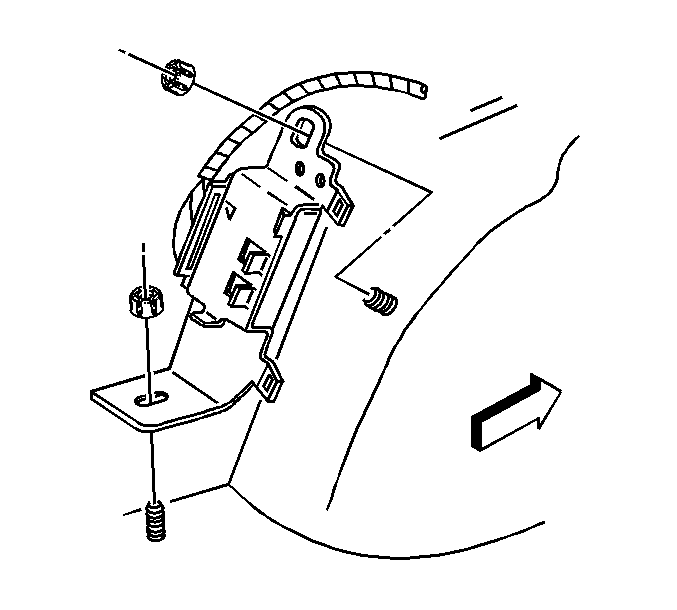
- Remove the nuts from the module bracket.
- Move the module out to access the connectors.
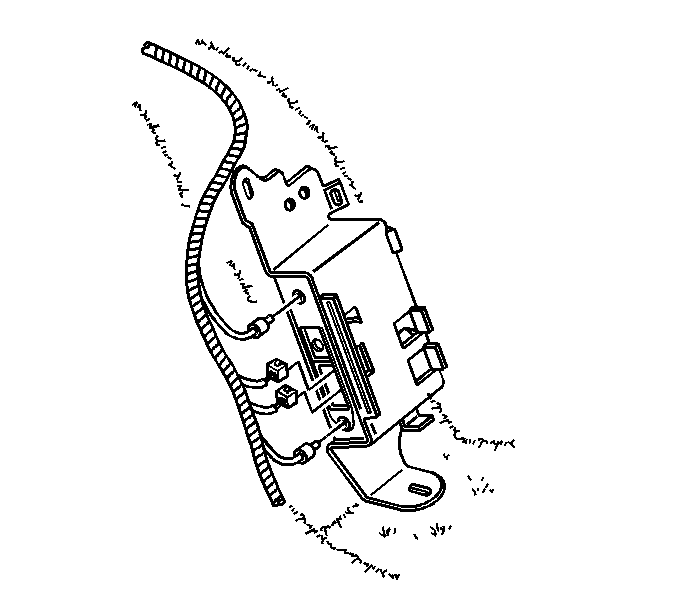
- Disconnect the cellular antenna cable from the communication interface module by pulling outward on the square plastic housing.
- Disconnect the GPS antenna cable from the module by pulling outward on the circular metal sleeve.
- Disconnect the two electrical connectors from the module.
- Remove the module and the bracket from the rear compartment.
- Remove the rear compartment mat from the rear compartment.
- Remove the spare tire cover from the rear compartment.
- Remove the rear compartment sill plate. Refer to Rear Compartment Sill Trim Plate Replacement .
- Remove the trim panel from the lid lock striker.
- If equipped with rear split folding seats, remove the rear seat back. Refer to Rear Seat Back Replacement in Seats.
- Fold the both sides of the rear compartment trim panel toward the center of the rear compartment.
- Fold the rear of the rear compartment trim panel toward the center of the rear compartment.
- Remove the left and right side of the rear compartment trim panel from the vehicle.


Installation Procedure
- Align the left rear compartment trim panel to the vehicle.
- Align the right rear compartment trim panel to the vehicle.
- Apply pressure to the left, the right and the rear of the rear compartment trim panel until fully seated.
- Install the rear compartment trim panel over the compartment lid lock striker.
- Install the rear compartment sill plate. Refer to Rear Compartment Sill Trim Plate Replacement .
- Install the spare tire cover in the rear compartment.
- Install the rear compartment mat to the rear compartment.
- If equipped with rear split folding seats, install the rear seat back. Refer to Rear Seat Back Replacement in Seats.
- Position the communication interface module and the bracket in the rear compartment.
- Connect the GPS antenna cable by pushing in on the metal sleeve.
- Connect the two electrical connectors to the module.
- Connect the cellular antenna by pressing in on the square plastic housing.
- Install the interface module bracket nuts.
- Install the rear compartment convenience net and retainers. Refer to Compartment Convenience Net Replacement - Rear .
- Close the rear compartment.


Notice: Use the correct fastener in the correct location. Replacement fasteners must be the correct part number for that application. Fasteners requiring replacement or fasteners requiring the use of thread locking compound or sealant are identified in the service procedure. Do not use paints, lubricants, or corrosion inhibitors on fasteners or fastener joint surfaces unless specified. These coatings affect fastener torque and joint clamping force and may damage the fastener. Use the correct tightening sequence and specifications when installing fasteners in order to avoid damage to parts and systems.
Tighten
Tighten the nuts to 4 N·m (35 lb in).
