Removal Procedure
Tools Required
J 34730 Fuel Pressure Gauge
Notice: Do not use compressed air to test or clean a fuel pressure regulator. Excessive air pressure can damage the fuel pressure regulator.
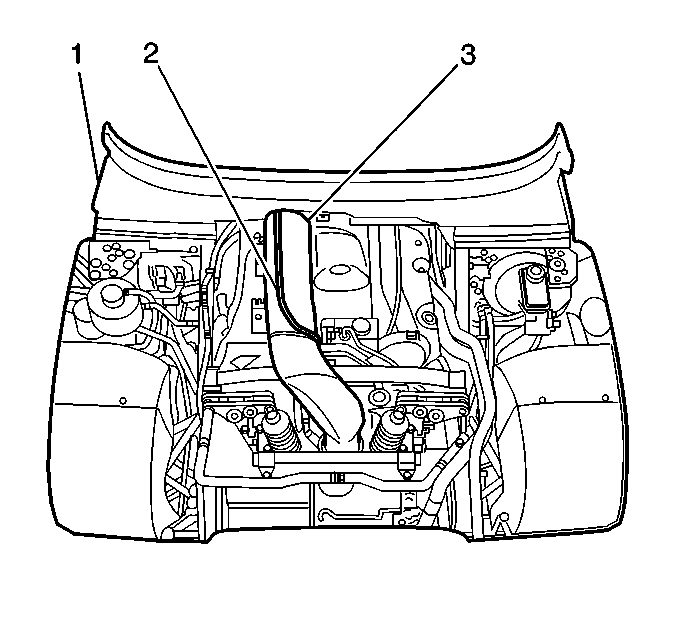
In order to prevent damage to the fuel pressure regulator, do not immerse the fuel pressure regulator in a cleaning solvent. Use only clean engine oil to lubricate the O-rings. In order to prevent damage to the fuel pressure regulator, DO NOT use any other type of lubricant.- Remove the engine dress cover (2).
- Remove the upper plastic wiper arm cowl (1)
- Remove the center plastic wiper arm cowl.
- Relieve the fuel system pressure. Refer to Fuel Pressure Relief .
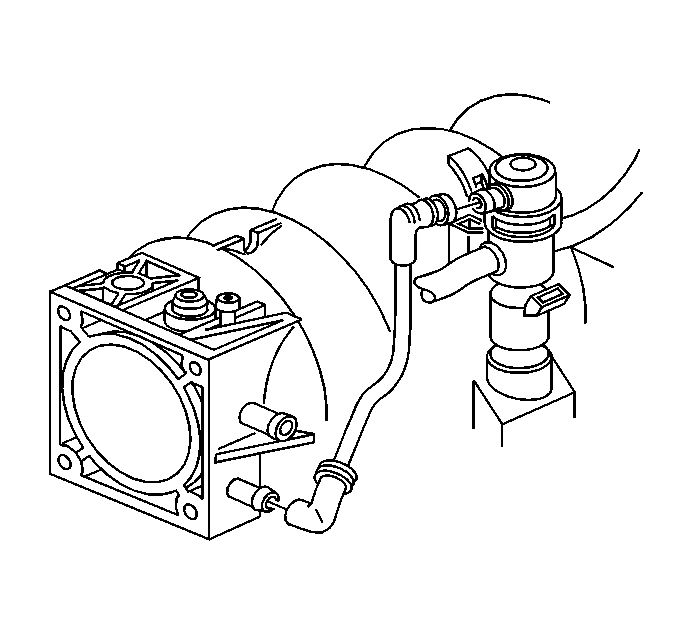
- Remove the fuel pressure regulator vacuum hose.
- Clean any dirt from the fuel pressure regulator (6) retaining ring (3).
- Remove the retaining ring (3).
- Catch any spilled fuel using a shop towel.
- Lift and twist the fuel pressure regulator (6) from the fuel rail socket.
- Cover the fuel pressure regulator housing in order to prevent contamination from entering the fuel system.
- Clean the fuel pressure regulator filter screen (1) with gasoline and a soft brush.


Installation Procedure
Important: When servicing the fuel pressure regulator, insure that the O-ring backup, large O-ring, filter screen, and small O-ring are properly placed on the regulator.
- Install new O-rings on the fuel pressure regulator, if a new fuel pressure regulator is not being installed.
- Insert the regulator into the fuel rail socket using a turning motion to properly seat the O-rings.
- Install the retaining ring (3) on the regulator (6).
- Position the vacuum port on the fuel pressure regulator in the original position.
- Install the vacuum hose to the fuel pressure regulator.
- Install the negative battery cable.
- Turn the ignition ON for 2 seconds.
- Turn the ignition OFF for 10 seconds.
- Turn the ignition ON.
- Check for fuel leaks.
- Install the center wiper arm cowl.
- Install the upper plastic wiper arm cowl (1).
- Install the engine dress cover (2)

| 1.1. | Install the regulator seal O-ring (2), or the small O-ring. |
| 1.2. | Install the regulator filter (1). |
| 1.3. | Install the regulator seal O-ring (4), or the large O-ring. |
| 1.4. | Install the O-ring back-up (5). |


Notice: Use the correct fastener in the correct location. Replacement fasteners must be the correct part number for that application. Fasteners requiring replacement or fasteners requiring the use of thread locking compound or sealant are identified in the service procedure. Do not use paints, lubricants, or corrosion inhibitors on fasteners or fastener joint surfaces unless specified. These coatings affect fastener torque and joint clamping force and may damage the fastener. Use the correct tightening sequence and specifications when installing fasteners in order to avoid damage to parts and systems.
