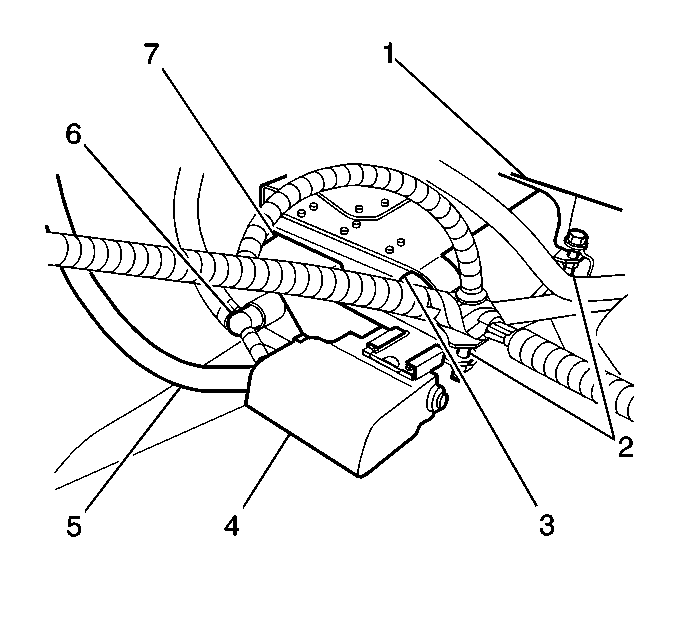
For 1990-2009 cars only
Removal Procedure
Notice: Do Not attempt to repair the EVAP pipes or the connecting hoses. Replace the damaged EVAP pipes or the connecting hoses are damaged. If the nylon EVAP pipe becomes kinked and cannot be straightened, it must be replaced.
- Raise the vehicle.
- Remove the hardware retaining the evaporative emission (EVAP) pipe or disconnect the quick connect (5, 6).
- Note the location of the attaching hardware for installation.
- Remove the EVAP pipe.
- Inspect the hoses for cuts, swelling, cracks, and distortion. Replace the hoses as required.
- Inspect the pipes for bends, kinks and cracks. Replace the pipes as required.
Caution: To avoid any vehicle damage, serious personal injury or death when major components are removed from the vehicle and the vehicle is supported by a hoist, support the vehicle with jack stands at the opposite end from which the components are being removed and strap the vehicle to the hoist.

Installation Procedure
- Install the EVAP pipe (5, 6).
- Install the quick connect or hardware retaining the EVAP pipe.
- Lower the vehicle.

Notice: Properly secure the EVAP pipe in order to prevent chafing of the pipe.
Important: Route the replacement EVAP pipe in the same manner as the original EVAP pipe was routed.
