For 1990-2009 cars only
Removal Procedure
Notice: Do Not attempt to repair the EVAP pipes or the connecting hoses. Replace the damaged EVAP pipes or the connecting hoses are damaged. If the nylon EVAP pipe becomes kinked and cannot be straightened, it must be replaced.
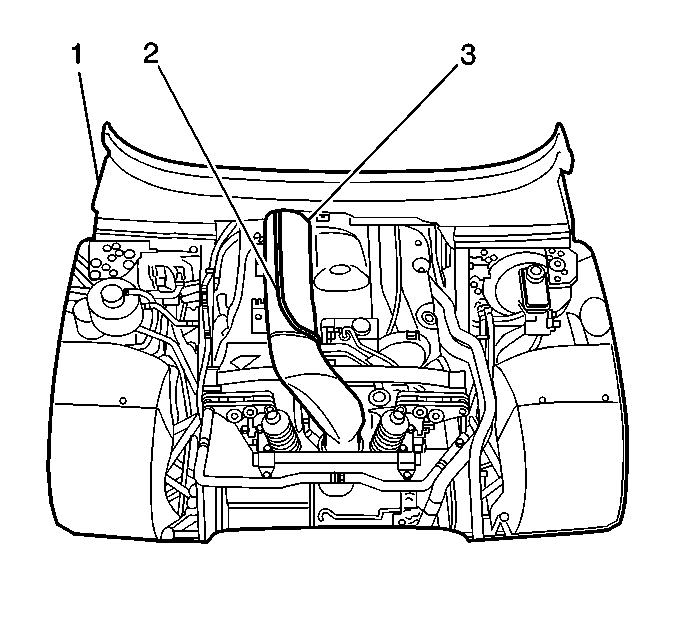
- Remove the engine dress cover (1).
- Remove the air intake duct (2).
- Remove the right engine dress cover mounting bracket.
- Remove the upper plastic wiper arm cowl (1).
- Remove the center wiper arm cowl.
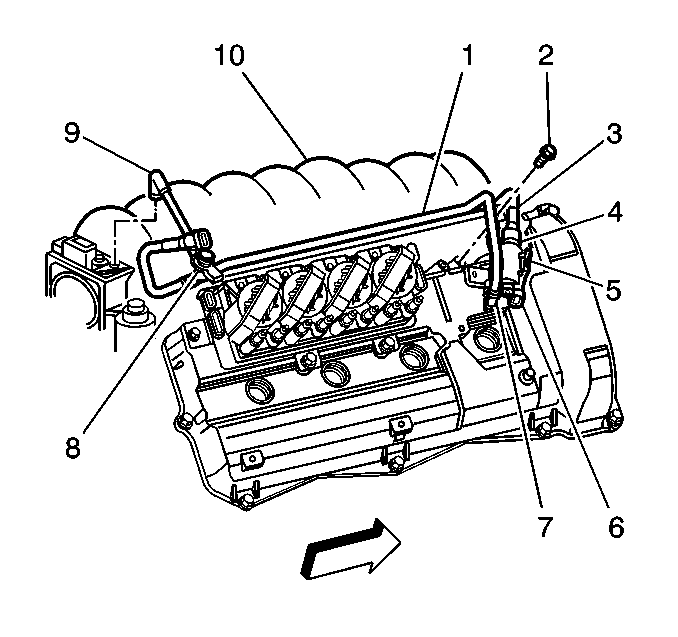
- Remove the hardware retaining the evaporative emission (EVAP) pipe or hose.
- Inspect the location of the attaching hardware for installation.
- Remove the EVAP pipe or hose.
- Inspect the pipe or hose for bends, kinks, and cracks.
- Replace the pipes or hose as required.


Installation Procedure
- Install the EVAP pipe or hose.
- Install the hardware retaining the EVAP pipe or hose .
- Install the center plastic wiper arm cowl.
- Install the upper plastic wiper arm cowl (1).
- Install the right engine dress cover mounting bracket.
- Install the air intake duct.
- Install the engine dress cover (2).
Notice: Properly secure the EVAP pipe in order to prevent chafing of the pipe.

