- Loosen the bolts (2).
- Ensure that the top edge of the hood primary latch (1)
is 61 mm (2.4 in) from the top of the radiator support (4).
This is the starting point for the up/down latch adjustment.
- Snug the bolts (2) in order to hold the latch in position.

- Lower the hood (1).
Ensure that the striker does not engage with the latch.
- Verify the side-to-side adjustment of the latch to the striker.
- Raise the hood (1).
Notice: Use the correct fastener in the correct location. Replacement fasteners
must be the correct part number for that application. Fasteners requiring
replacement or fasteners requiring the use of thread locking compound or sealant
are identified in the service procedure. Do not use paints, lubricants, or
corrosion inhibitors on fasteners or fastener joint surfaces unless specified.
These coatings affect fastener torque and joint clamping force and may damage
the fastener. Use the correct tightening sequence and specifications when
installing fasteners in order to avoid damage to parts and systems.
- Tighten the primary
latch bolts.
Tighten
Tighten the bolts to 9.5 N·m (84 lb in).
- Perform a hood drop test in order to determine the need for up/down
latch adjustment. The hood drop test determines the amount of drop force required
in order to fully engage the striker with the latch.
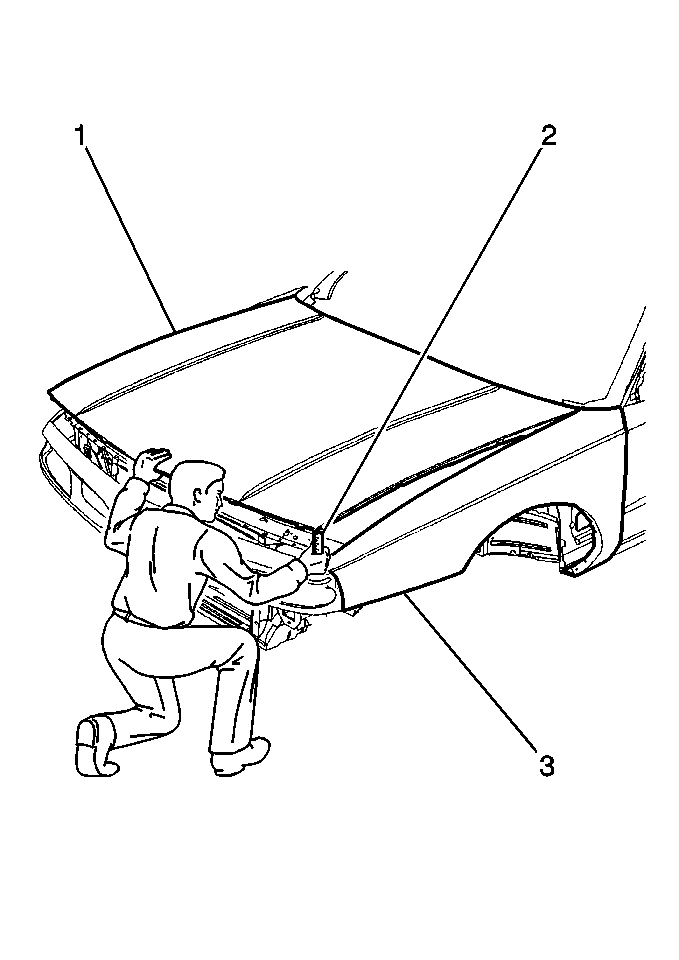
- Complete the following steps in order to perform the hood drop
test:
| 9.1. | Place a ruler (2) capable of measuring millimeters, between
the hood (1) and the fender (3). |
| 9.3. | Ensure that the front upper edge of the hood is 80 mm (3
1/8 in) above the top surface of the fender (3). This determines
if the latch is set to high. |
| 9.4. | Drop the hood (1). The striker should not engage with the
latch. |
- Increase the measurement to 95 mm in order to repeat the
test. If the striker engages with the latch below 110 mm (4 1/4 in)
test height, the latch is too high.
- Repeat the test at the following heights. Ensure that the striker
engages in this range:
- If the striker does not engage at 160 mm (6 3/8 in)
the latch is too low.
- Adjust the latch as needed.
- Tighten the bolts.
Tighten
Tighten the bolts to 9.5 N·m (84 lb in).
- Verify that the latch operates properly.


