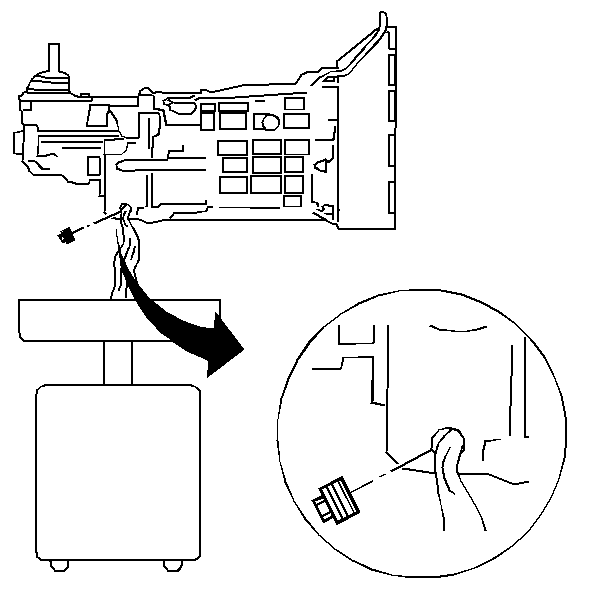
- Remove the transmission from the J 3289-20
mounted on the workbench.
- Position
and firmly secure the J 42055
mounted on the transmission jack to the transmission.
- Remove the J 39430
from the transmission.
- Install the clutch
housing to the transmission case.
- Install the clutch housing
bolts.
Tighten
Tighten the clutch housing bolts to 50 N·m (37 lb ft).
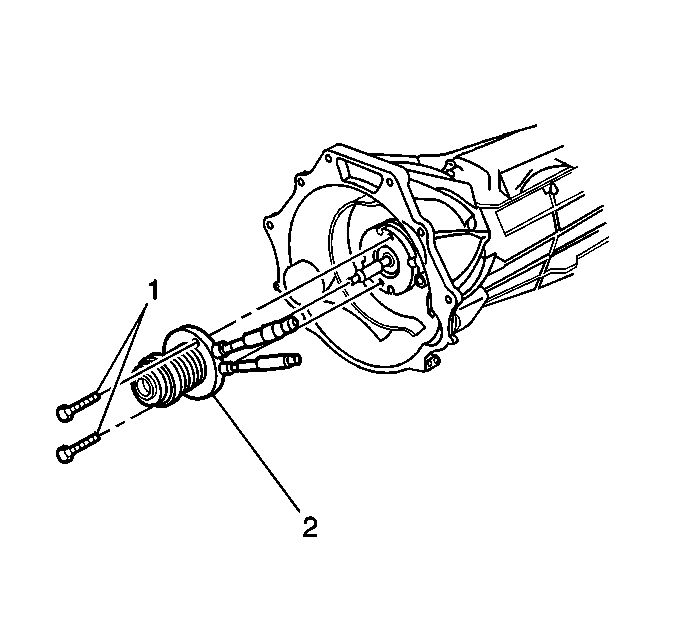
- Install the clutch actuator cylinder (2).
- Install the clutch actuator cylinder bolts (1).
Tighten
Tighten the clutch actuator cylinder bolts (1) to 8 N·m
(71 lb in).

- Install the transmission vent tube (3) to the vent.
- Install the transmission vent tube bolt (2).
Tighten
Tighten the transmission vent tube bolt (2) to 50 N·m (37 lb ft).

- Install the transmission (1) to the vehicle.
- Slowly raise the transmission until in place.
- Install
the transmission bolts (2).
Tighten
Tighten the transmission bolts to 50 N·m (37 lb ft).
- Install the transmission support. Refer to
Transmission Support and Mount Assembly Replacement
.
- Remove the transmission jack from the transmission.
- Remove the J 42055
from the transmission jack.
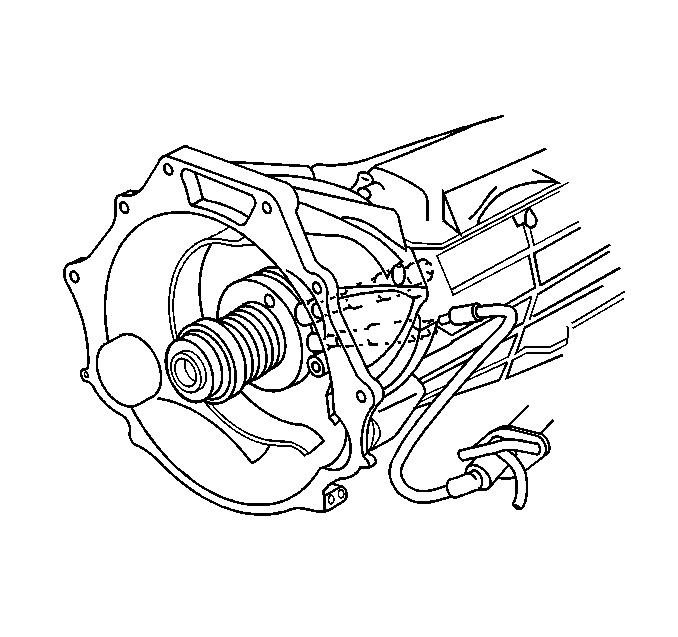
Important: DO NOT rely on an audible click or a visual verification of the clutch
hydraulic hose quick connect fitting connection.
- Connect the clutch actuator cylinder hose to the clutch master cylinder
hose.
- Push together the clutch hydraulic hose quick
connect fittings,
then pull back on the fittings to verify engagement.
- Check the clutch hydraulic hoses for kinks or twists.
- Remove the engine safety stands.

- Install the wiring harness
bracket and push in retainer (4).
- Connect the following
electrical connectors:
| • | Vehicle speed sensor (3) |
| • | Reverse lockout
solenoid (2) |
| • | Skip shift solenoid (1) |

- Connect the backup lamp
switch electrical connector (2).
- Install the rosebud
clip (1) to the transmission.
- Install the starter
motor. Refer to
Starter Motor Replacement
in Engine Electrical.
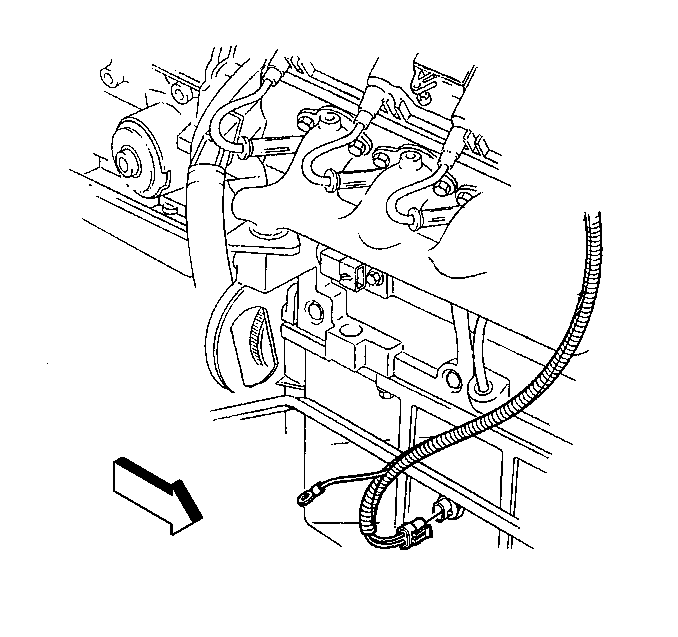
- Connect the oil level
sensor electrical connector.
- Install the right side
catalytic converter. Refer to
Oxidation Catalytic Converter Replacement
in Engine Exhaust.
- Install the rear axle torque arm. Refer to
Torque Arm Replacement
in Rear Suspension.
- Install the propeller shaft. Refer to
One-Piece Propeller Shaft Replacement
in Propeller Shaft.
- Remove the rear axle safety stands.
- Install the transmission oil drain plug.
Tighten
Tighten the transmission oil drain plug to 27 N·m (20 lb ft).

- Remove the transmission fluid fill plug.
- Refill
the transmission with fluid.
- Bleed the clutch hydraulic
system. Refer to
Hydraulic Clutch Bleeding
in Clutch.
- Lower the vehicle.
- Install the transmission control. Refer to
Shift Control Assembly Replacement
.
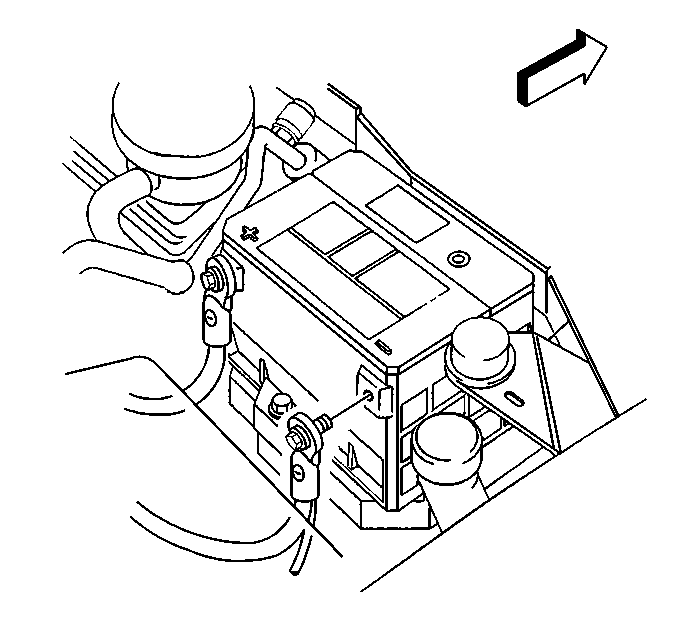
- Connect the negative battery
cable. Refer to
Battery Negative Cable Disconnection and Connection
in Engine Electrical.

