Tools Required
| • | J 37968 Valve Guide Installer |
| • | J 37971 Valve Guide Reamer |
- Use a caliper gauge, and measure the inside diameter of the valve guide bushing.
- Use a micrometer, and measure the outside diameter of the valve stem.
- Obtain the oil clearance of the valve guide bushing. Subtract the outside diameter measurement of the valve stem from the inside diameter measurement of the valve guide bushing.
- If the clearance is greater than the maximum specified, replace the valve and the valve guide bushing.
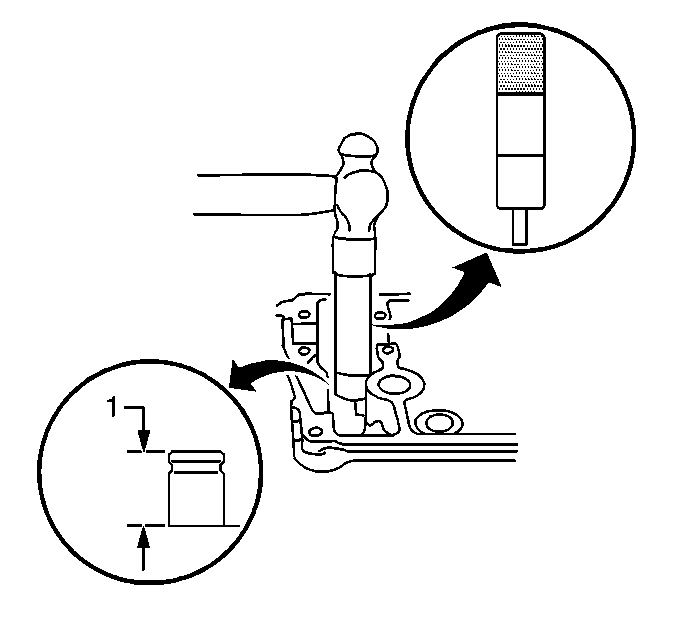
- Use aJ 37968 and a hammer, and tap the new valve guide bushing into the cylinder head.
- Install the valve guide bushing to the specified protrusion height of 11.5 mm (0.45 in).
- Use a J 37971 , and ream the valve guide bushing in order to obtain the specified clearance between the valve guide bushing and the valve stem.
- Reconditioning the valve seats is very important.
- After reaming the valve-guide bores, recondition the valve seat.
- Inspect the valve seats for excessive wear and for burned spots. Valve seats may be reconditioned by grinding. If the new seat is too wide after grinding, you may narrow the seat using a 20-degree or a 70-degree stone. The 20-degree stone will lower the seat, and the 70-degree stone will raise the seat.
- The valves must seat perfectly for the engine to deliver optimum power and performance.
- Cooling the valve heads is another important factor. Good contact between each valve and each seat in the cylinder head will ensure that the heat in the valve head is correctly carried away.
- The valve guide bores must be free from carbon or from dirt, regardless of the equipment. This will ensure proper centering of the pilot in the guide.
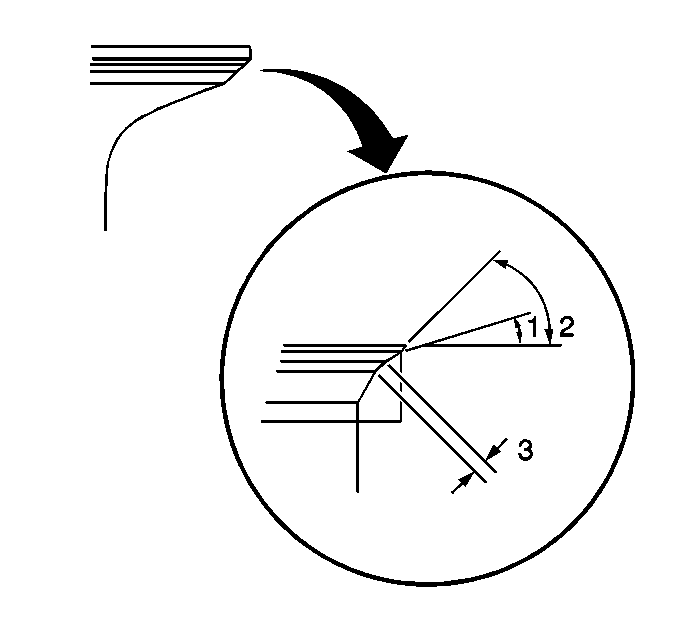
- Grind the exhaust valve seat first with a 15 degree stone (1) and then with a 45 degree stone (2).
- Grind the intake valve seat first with a 15 degree stone (1) and then with a 45 degree stone (2).
- Replace any valve that is not in serviceable condition.
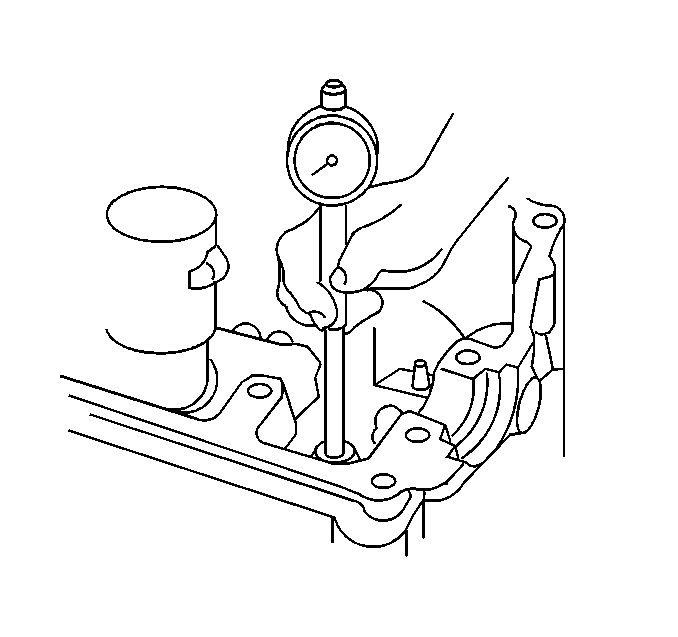
Standard Valve Guide Bushing Inside Diameter
5.485-5.510 mm (0.2159-0.2169 in)
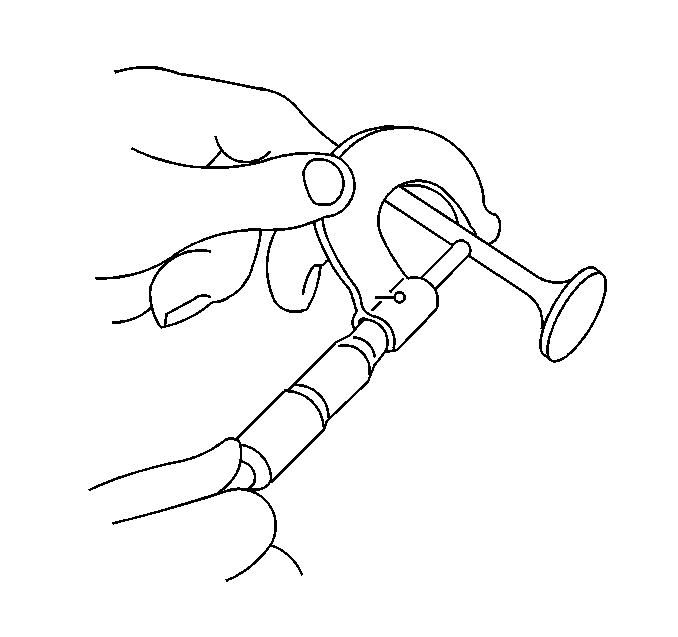
Standard Intake Valve Stem Diameter
5.465-5.480 mm (0.2152-0.2157 in)
Standard Exhaust Valve Stem Diameter
5.440-5.455 mm (0.2142-0.2148 in)
Standard Intake Valve Oil Clearance
0.005-0.045 mm (0.0002-0.0018 in)
Standard Exhaust Valve Oil Clearance
0.030-0.070 mm (0.0012-0.0027 in)
Maximum Intake Valve Oil Clearance
0.07 mm (0.0027 in)
Maximum Exhaust Valve Oil Clearance
0.09 mm (0.0035 in)
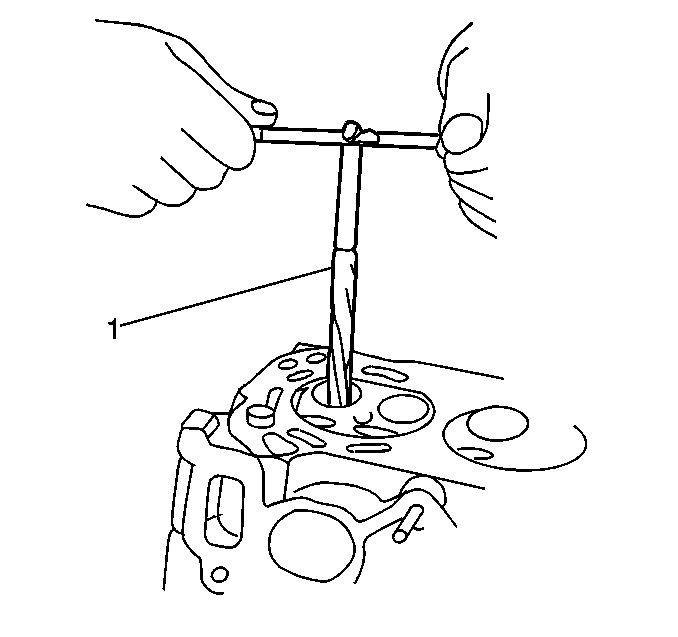
Standard Intake Valve Oil Clearance
0.005-0.045 mm (0.0002-0.0018 in)
Standard Exhaust Valve Oil Clearance
0.030-0.070 mm (0.0012-0.0027 in)
Important: Because the valve guide supports and centers the valve grinder, clean the valve guide correctly. First, ream the valve guide, if required.
The valve seats should be concentric within 0.05 mm (0.031 in) total indicator reading.
Exhaust Valve Seat Width
1.1-1.3 mm (0.043-0.0512 in)

Intake Valve Seat Width
1.1-1.3 mm (0.043-0.0512 in)
