Disassembly Procedure
- Remove the manual steering gear from the vehicle. Refer to Manual Steering Gear Replacement .
- Loosen the 2 outer tie rod end locknuts.
- Remove the 2 outer tie rod ends from the inner tie rods.
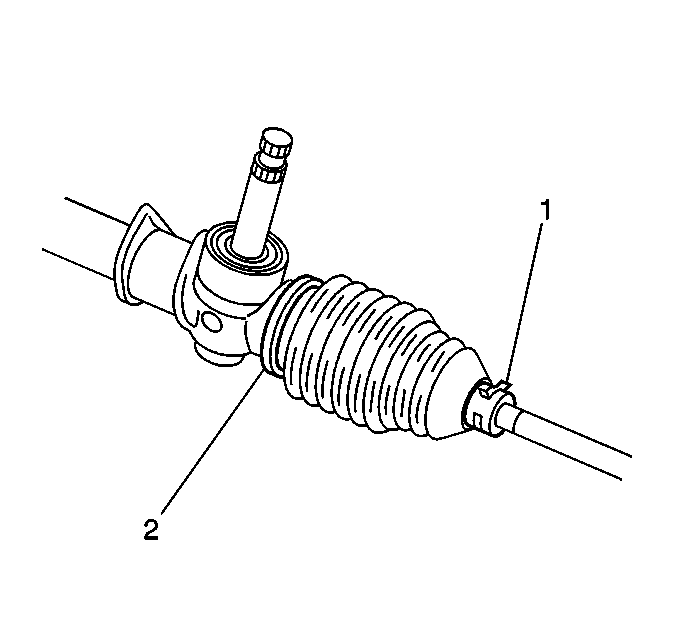
- Remove the retaining clamps (1,2) and the boots from the inner tie rods.
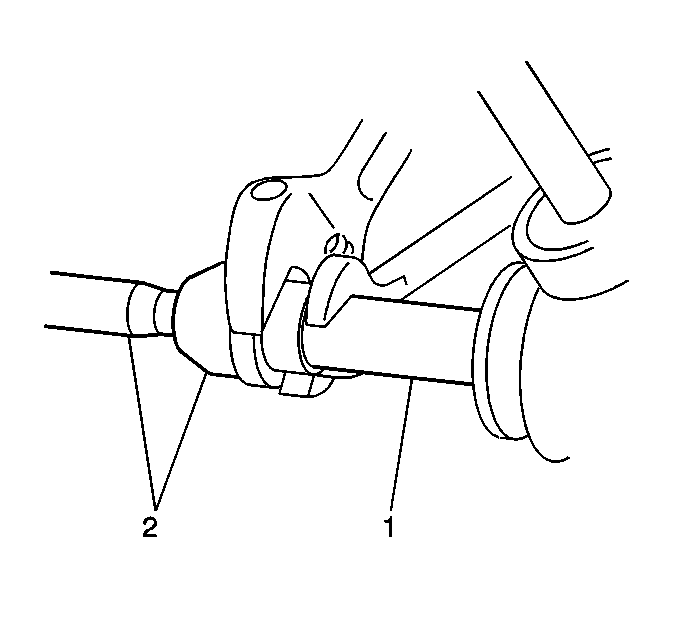
- Unstake the ball nut.
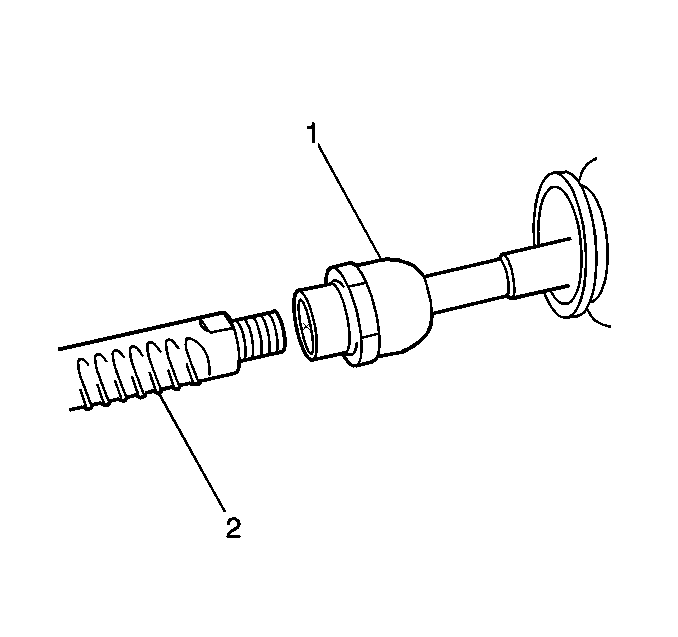
- Remove the inner tie rods (2) from the rack (1).
- Clean the dirt and the grease from all of the steering gear parts using an appropriate solvent.
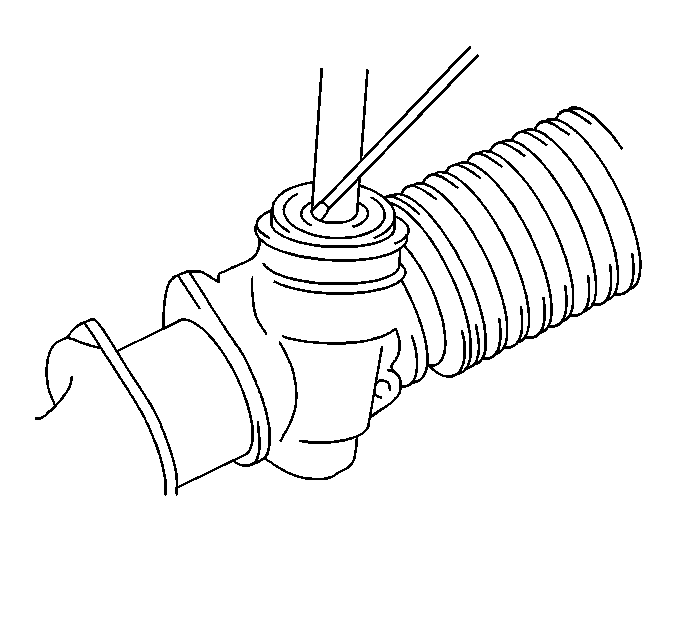
- Remove the pinion seal.
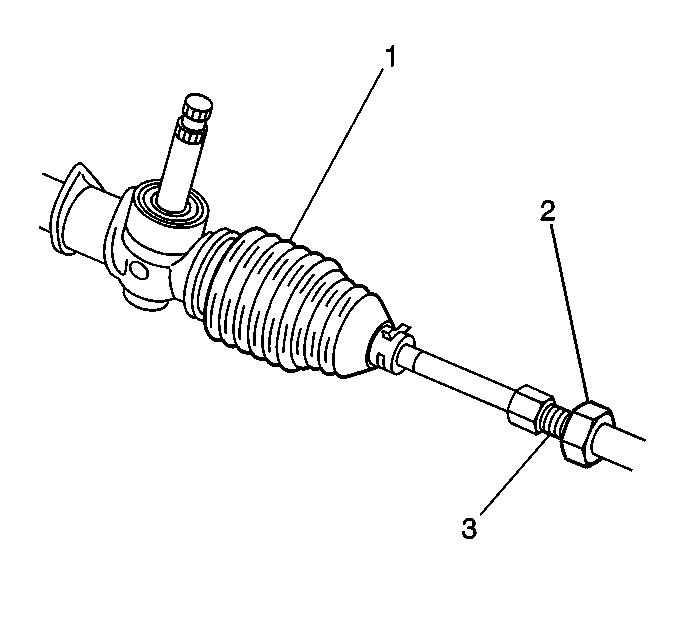
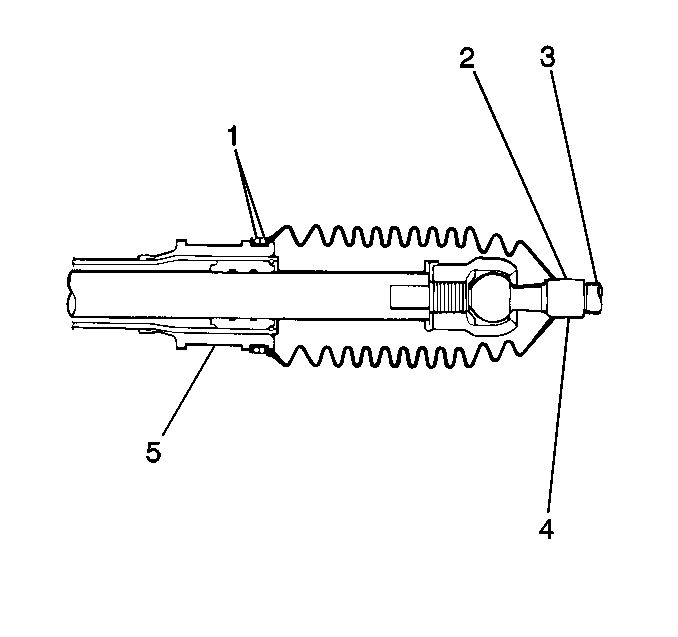
Important: Mark the position of the outer tie rod end locknut (2) on the inner tie rod thread (3).
Inspection Procedure
Tools Required
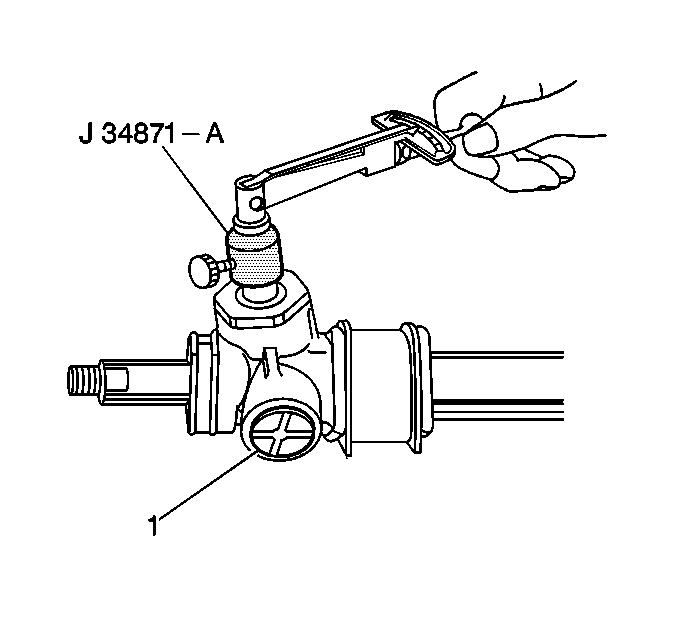
J 34871-A Pinion Socket
- Inspect the pinion oil seal for wear or for damage.
- Inspect the steering rack boots for the following conditions:
- Replace the steering rack boots if the boots are faulty.
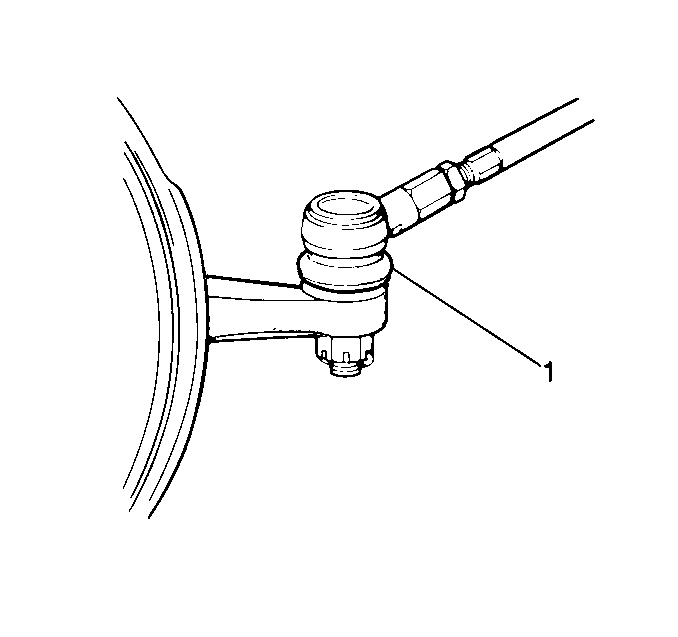
- Inspect the dust seal (1) for the following conditions:
- Replace the seal (1) if the seal is worn.
- Measure the pinion's resistance to rotation using a torque wrench and the J 34871-A .
- If the resistance to rotation is not within specification, replace the steering gear. Refer to Manual Steering Gear Replacement .
Notice: A torn boot allows entry of dirt and moisture into the steering gear
assembly. This can produce the following conditions that result
in the malfunction of the steering system:
• Noise • Rust and/or wear to the rack and pinion
| • | Wear |
| • | Deterioration |
| • | Tears |
| • | Wear |
| • | Deterioration |
| • | Tears |
Specification
Pinion's resistance to rotation should be 1.0-1.58 N·m
(9.0-12.96 lb in).
Assembly Procedure
Tools Required
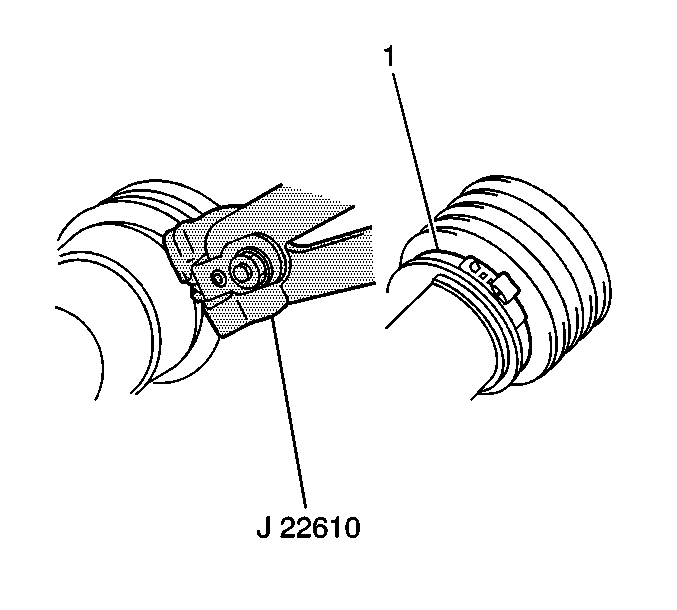
J 22610 Service Boot Clamp Installer
- If replacing the ball stud dust seal (1), coat the inside of the seal with Chassis Grease, GM P/N 12377985.
- Install the seal to the ball stud.
- Install 2 new inner tie rods (1) to the rack (2).
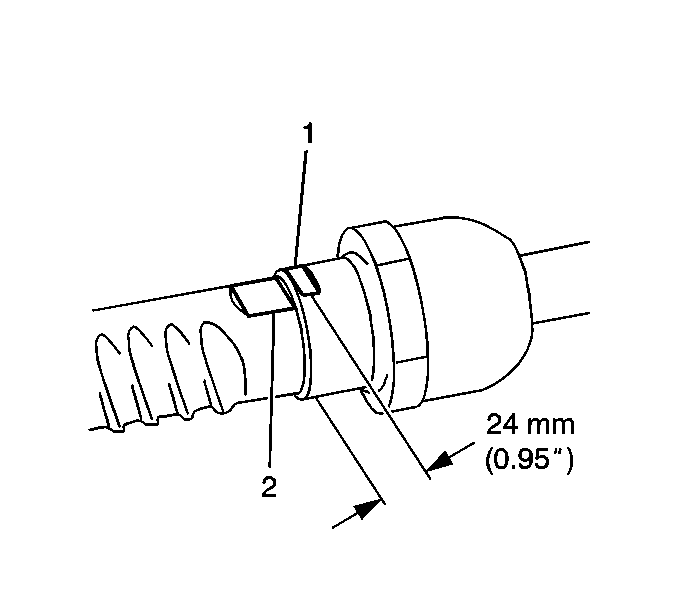
- Tighten the ball nut of each inner tie rod.
- Stake each ball nut until the flat spots (1) are 24 mm (0.95 in) apart.
- Apply manual steering gear lubricant, GM P/N 1052182, or the equivalent, to the inside of the outer end of each boot (2).
- Position the boots on the grooves of the steering gear housing (5) and the inner tie rods (4).
- Install the outer boot clamp.
- Install a new inner boot clamp (1), and secure the clamp using the J 22610 .
- Verify that the boots meet the following conditions:
- Position the outer tie rod end locknuts (2) at the mark on the inner tie rod thread (3).
- Install the outer tie rod ends to the inner tie rods.
- Install the manual steering gear to the vehicle. Refer to Manual Steering Gear Replacement .

Notice: Use the correct fastener in the correct location. Replacement fasteners must be the correct part number for that application. Fasteners requiring replacement or fasteners requiring the use of thread locking compound or sealant are identified in the service procedure. Do not use paints, lubricants, or corrosion inhibitors on fasteners or fastener joint surfaces unless specified. These coatings affect fastener torque and joint clamping force and may damage the fastener. Use the correct tightening sequence and specifications when installing fasteners in order to avoid damage to parts and systems.
Tighten
Tighten the ball nuts to 70 N·m (51 lb ft).
| • | The boots are not twisted or folded incorrectly. |
| • | The boot fasteners are secure. |

Important: Copy the marks from the old inner tie rod to the new inner tie rod.
