Radiator Replacement LZE, LZ4, LZ9
Special Tools
J 38185 Hose Clamp Pliers
Removal Procedure
- Drain the coolant. Refer to Cooling System Draining and Filling.
- Loop a rope around each of the upper 2 tabs of the condenser and tie the rope around the upper tie bar.
- Remove the upper radiator support brackets. Refer to Radiator Support Bracket Replacement.
- Reposition the radiator inlet hose clamp at the radiator using the J 38185 .
- Remove the radiator inlet hose from the radiator.
- Remove the front air dam. Refer to Front Air Dam Replacement.
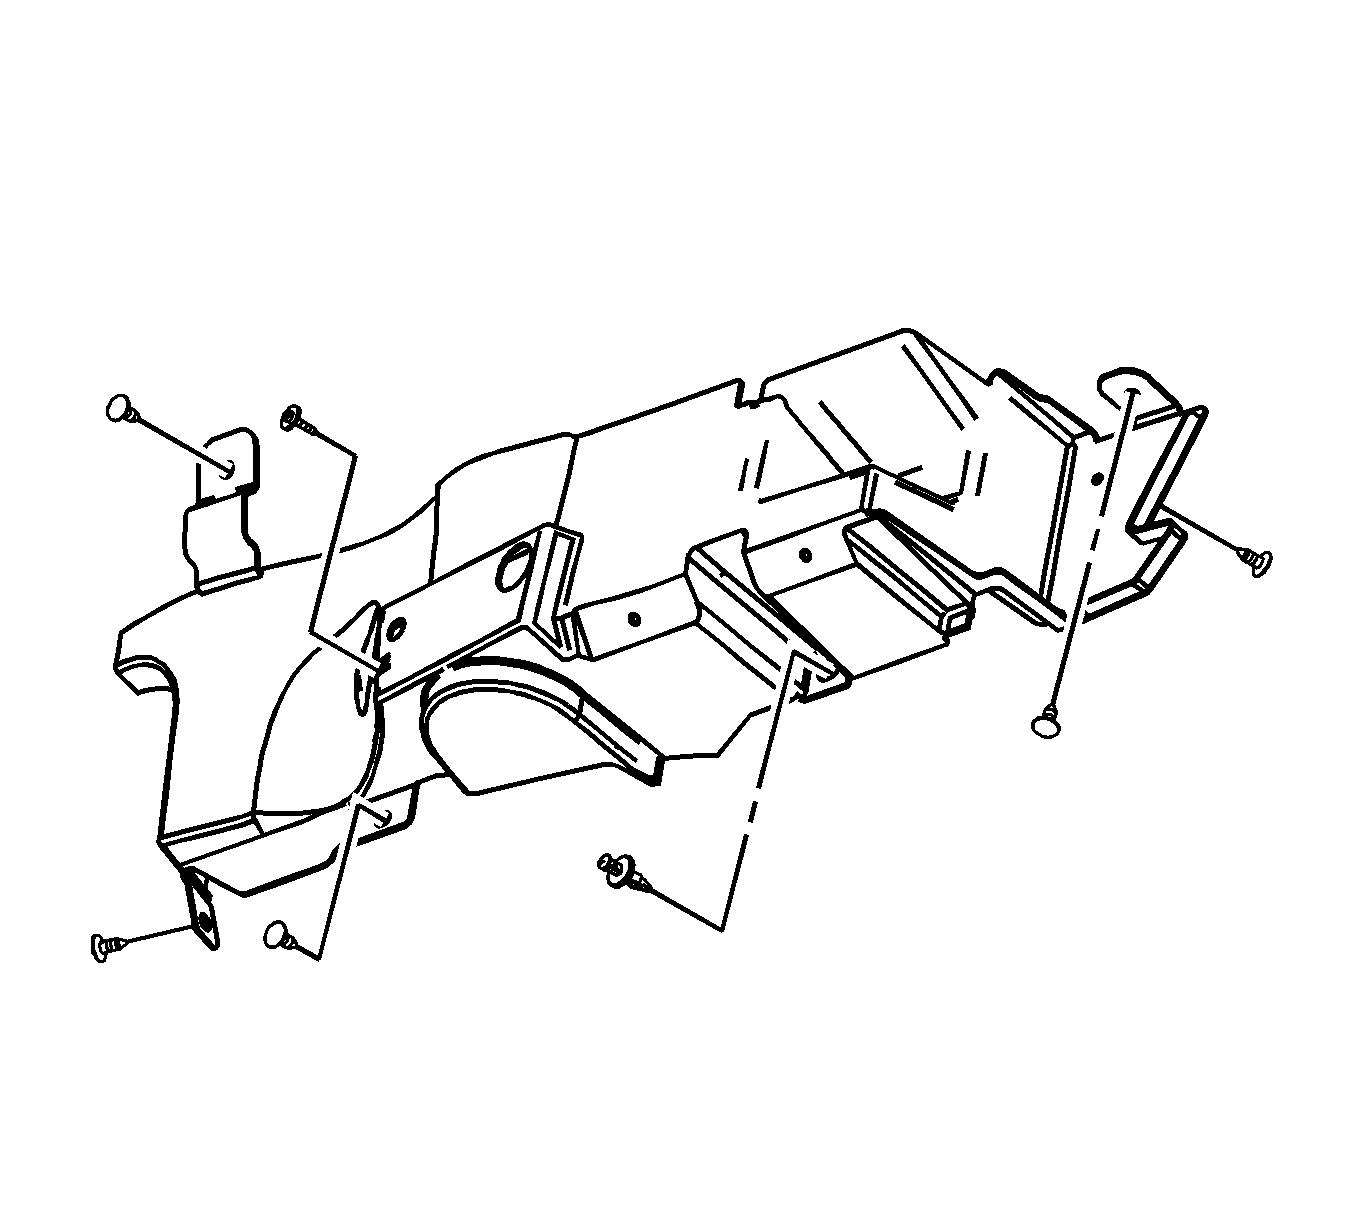
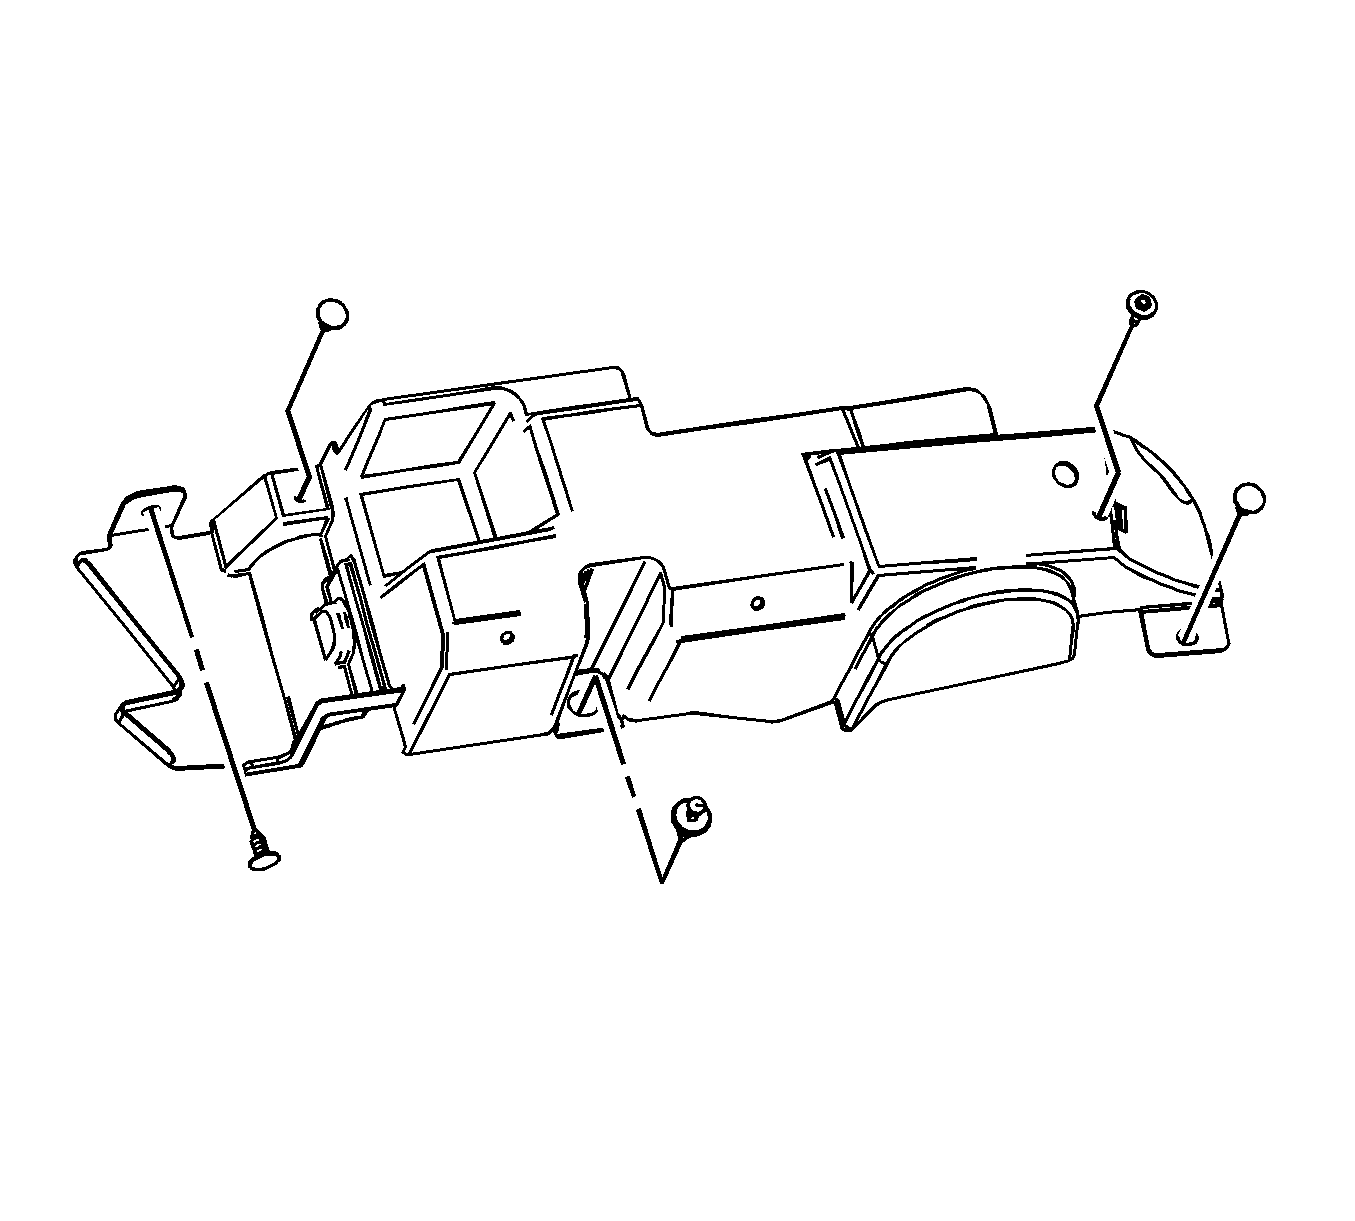
- Remove the right engine splash shield retainers.
- Remove the right engine splash shield.
- Remove the left engine splash shield retainers.
- Remove the left engine splash shield.
- Reposition the radiator outlet hose clamp at the radiator using the J 38185 .
- Remove the radiator outlet hose from the radiator.
- Remove the transmission oil cooler pipes from the transmission. Refer to Transmission Fluid Cooler Hose/Pipe Quick-Connect Fitting Disconnection and Connection for the 4T45 transaxle or Transmission Fluid Cooler Hose/Pipe Quick-Connect Fitting Disconnection and Connection for the 4T65 transaxle.
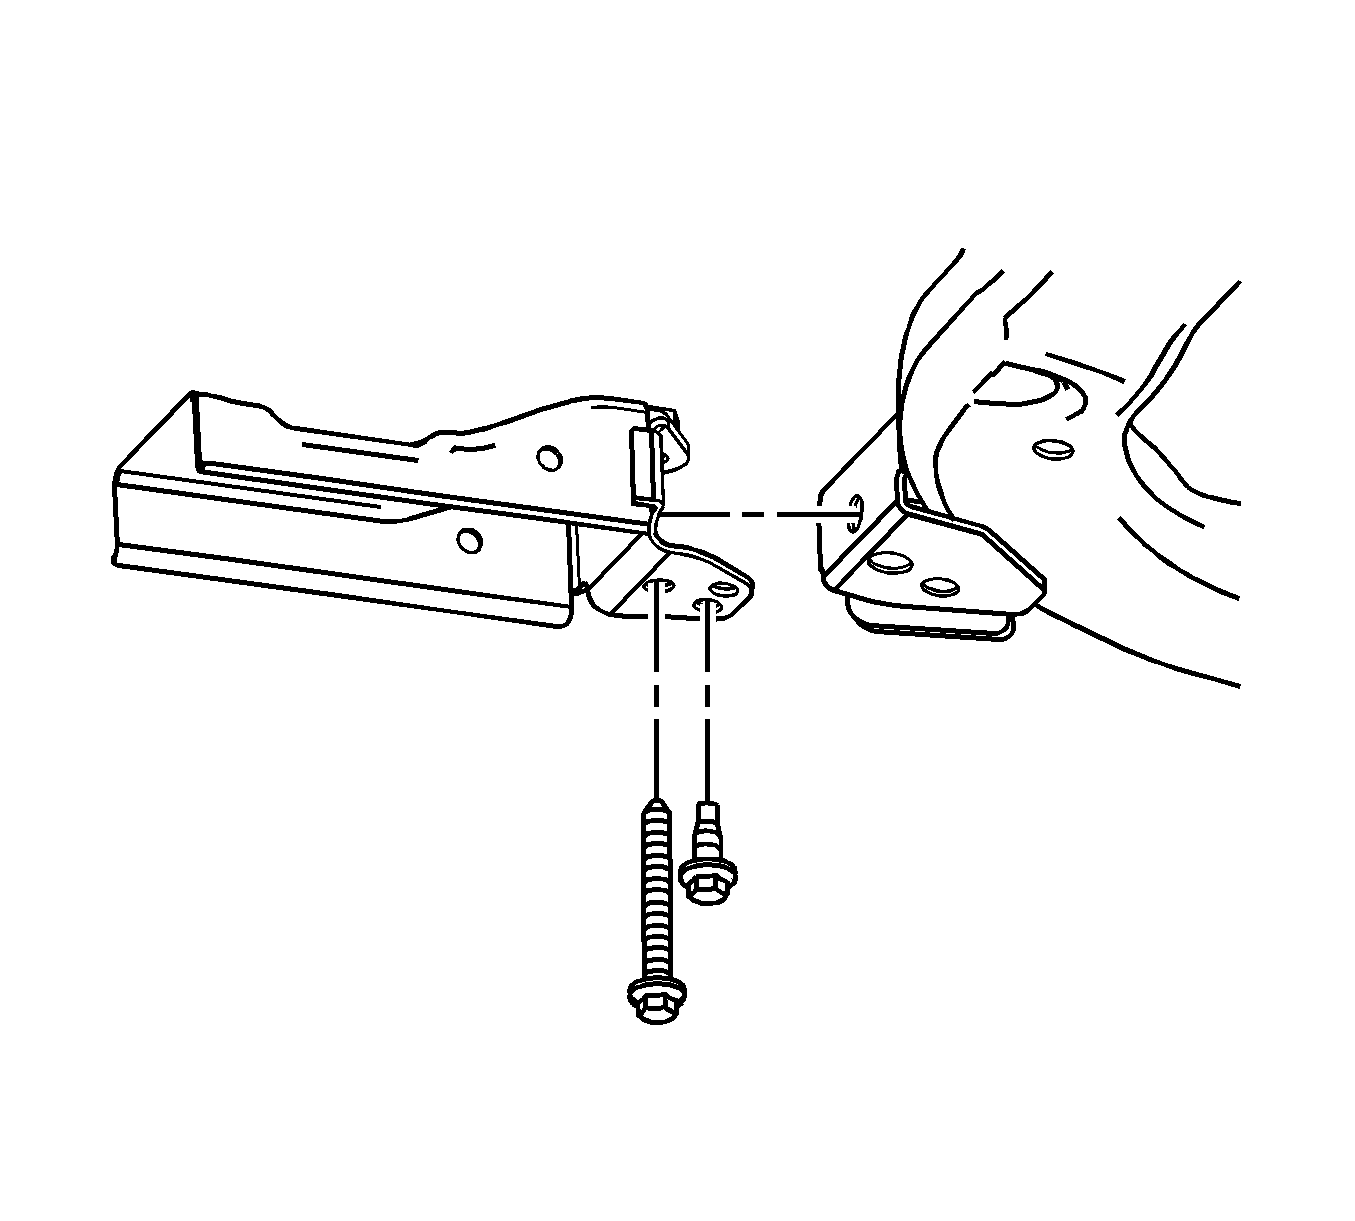
- Remove the lower radiator support bracket bolts.
- Remove the lower radiator support brackets.
- Remove the radiator lower mounts.
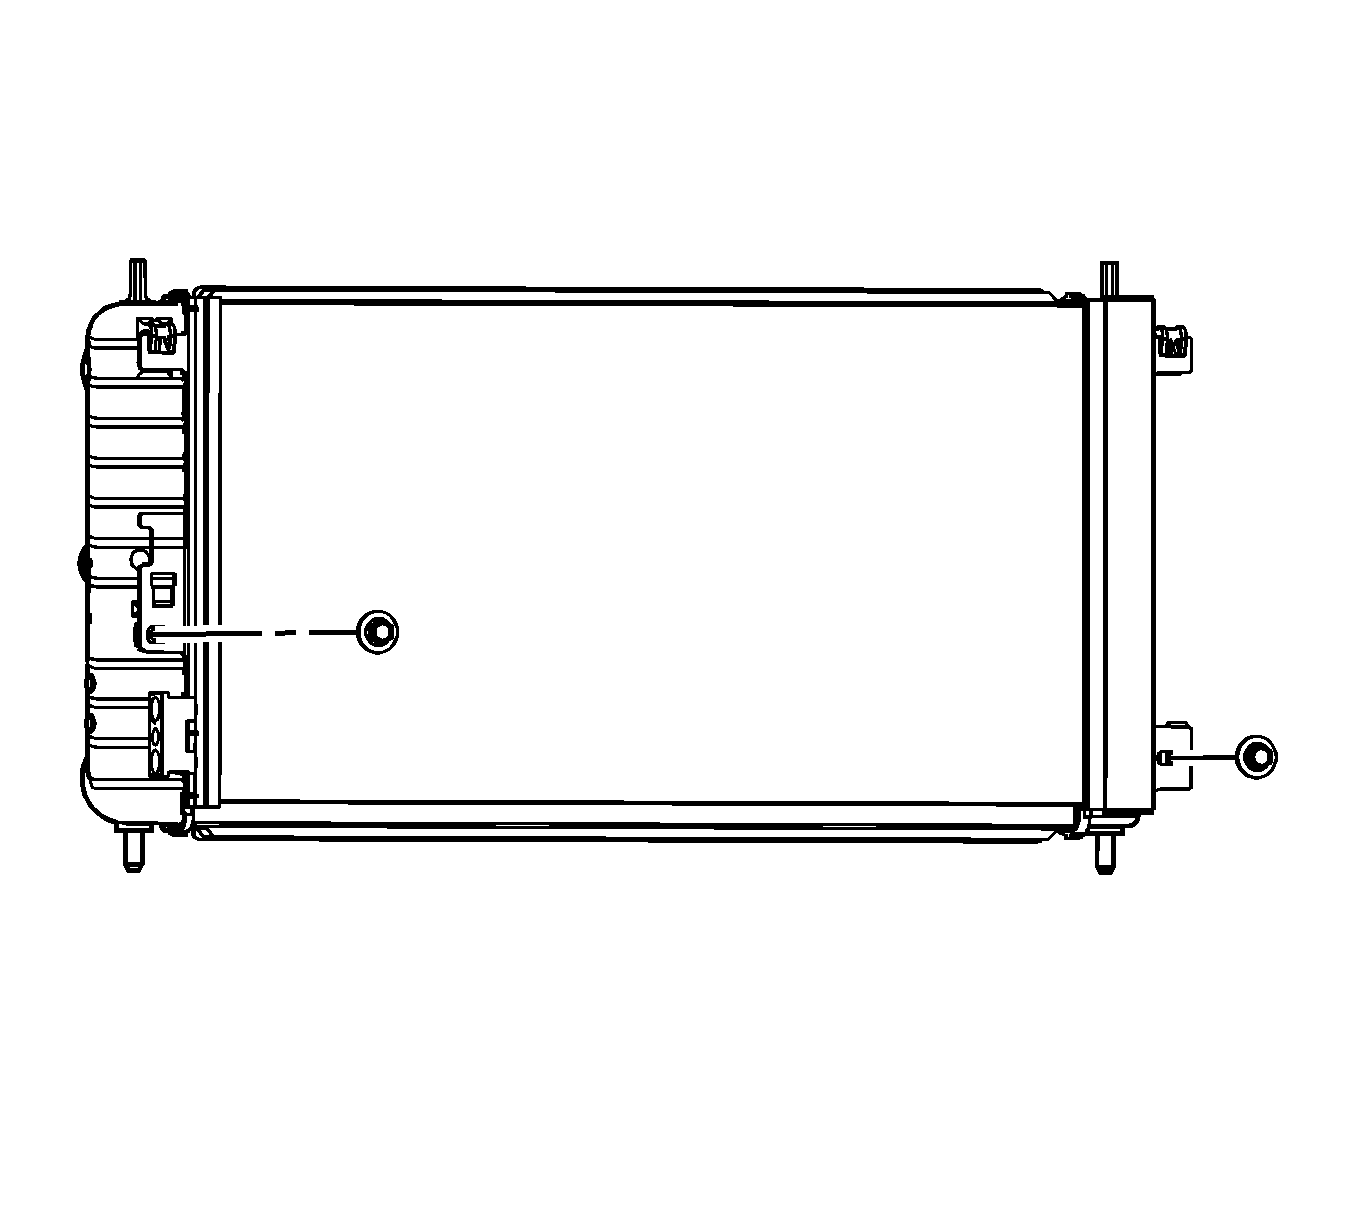
- Remove and discard the condenser mounting bolts from the radiator.
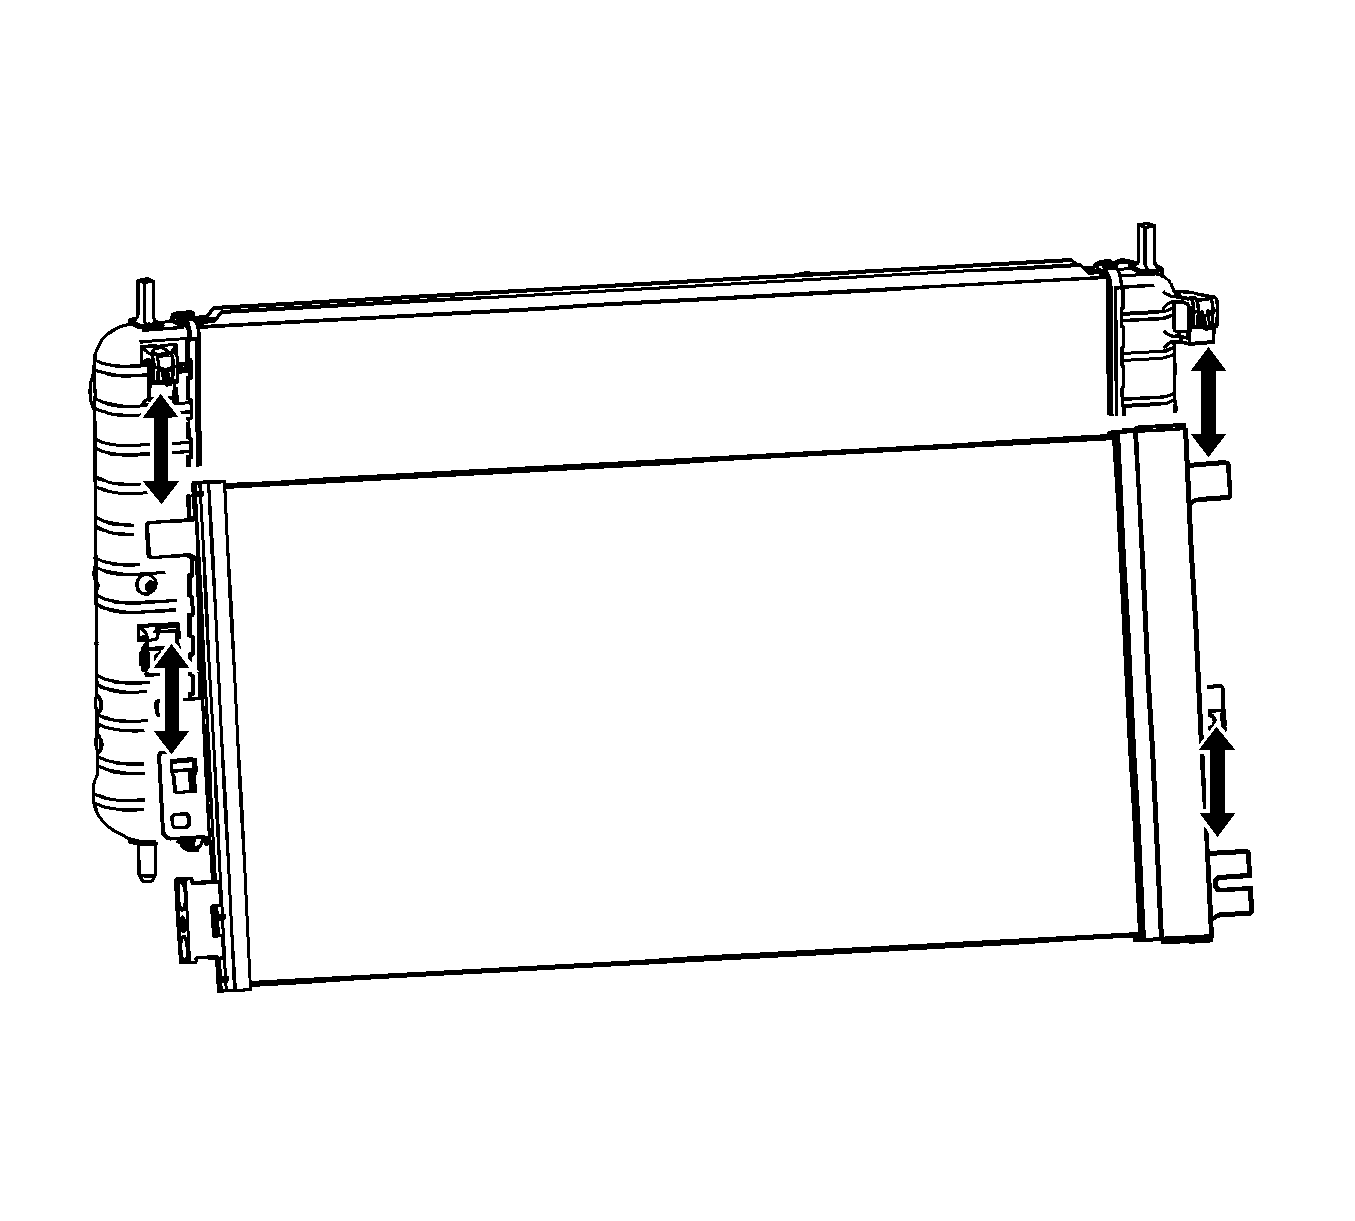
- Push upward on the radiator and downward on the condenser to unsnap the condenser mounting tabs from the radiator clips.
- Remove and discard the condenser mounting nuts from the radiator.
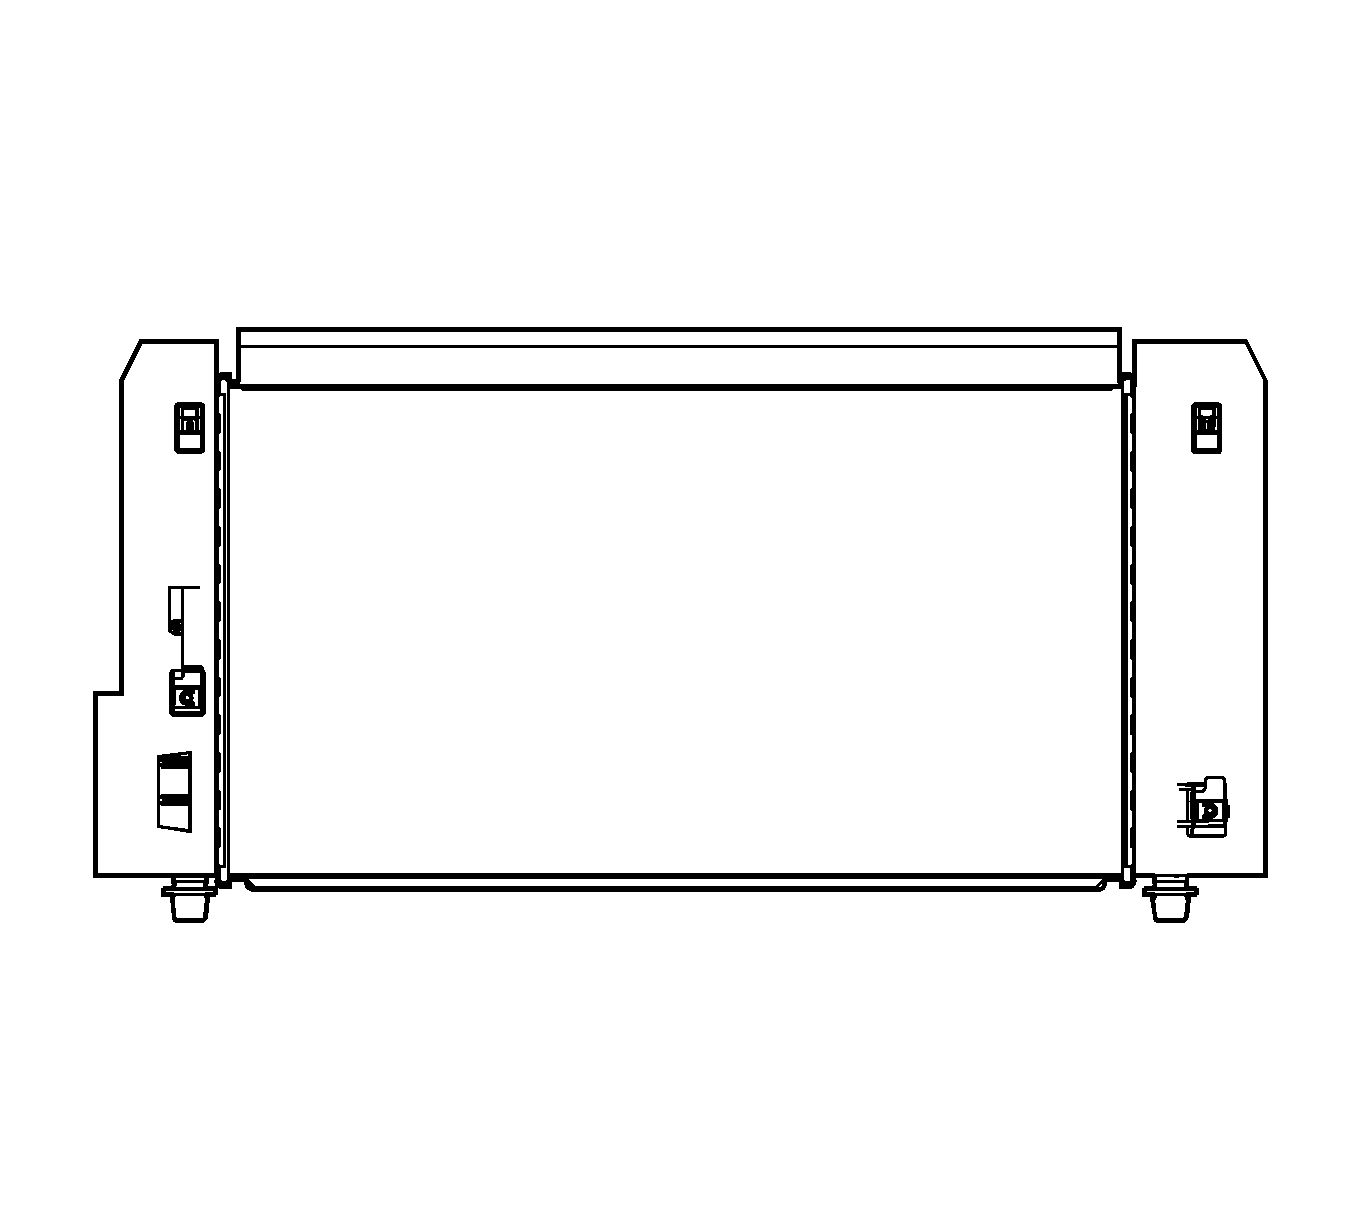
- Remove the radiator air side seals.
- Remove the radiator and cooling fan shroud assembly from the vehicle.
- Pry upward on the fan shroud tabs at the radiator clips.
- Remove the cooling fan and shroud assembly from the radiator.





Installation Procedure
- Install the cooling fan and shroud assembly to the radiator.
- Snap the fan shroud tabs into the radiator clips.
- Install the radiator and cooling fan shroud assembly to the vehicle.
- Install the radiator air side seals onto the condenser mounting tabs on the radiator.
- Install the condenser mounting nuts to the radiator.
- Insert the condenser mounting tabs into the radiator clips.
- Install the condenser to the radiator bolts.
- Bend the radiator air side seals and insert the seals into the channel of the intake air splash shields.
- The radiator air side seals must be in the proper position for proper air flow.
- Install the radiator lower mounts.
- Install the lower radiator support brackets.
- Install the lower radiator support bracket bolts.
- Install the transmission oil cooler pipes to the transmission. Refer to Transmission Fluid Cooler Hose/Pipe Quick-Connect Fitting Disconnection and Connection for the 4T45 transaxle or Transmission Fluid Cooler Hose/Pipe Quick-Connect Fitting Disconnection and Connection for the 4T65 transaxle.
- Install the radiator outlet hose to the radiator.
- Reposition the radiator outlet hose clamp at the radiator using the J 38185 .
- Install the left engine splash shield.
- Install the left engine splash shield retainers.
- Install the right engine splash shield.
- Install the right engine splash shield retainers.
- Install the front air dam. Refer to Front Air Dam Replacement.
- Lower the vehicle.
- Install the radiator inlet hose to the radiator.
- Reposition the radiator inlet hose clamp at the radiator using the J 38185 .
- Remove the rope attached to the condenser and upper tie bar.
- Install the upper radiator support brackets. Refer to Radiator Support Bracket Replacement.
- Fill the coolant. Refer to Cooling System Draining and Filling.
- Inspect the transmission fluid level. Refer to Transmission Fluid Check for the 4T45 transaxle or Transmission Fluid Check for the 6T45 transaxle.


Caution: The bolt retaining the condenser to the radiator end tank is a special length and should be the ONLY bolt used upon reinstallation. The use of a longer bolt will damage the radiator end tank.
Note: Replace the condenser mounting bolts and nuts.

Caution: Refer to Fastener Caution in the Preface section.

Tighten
Tighten the bolts to 6 N·m (53 lb in).
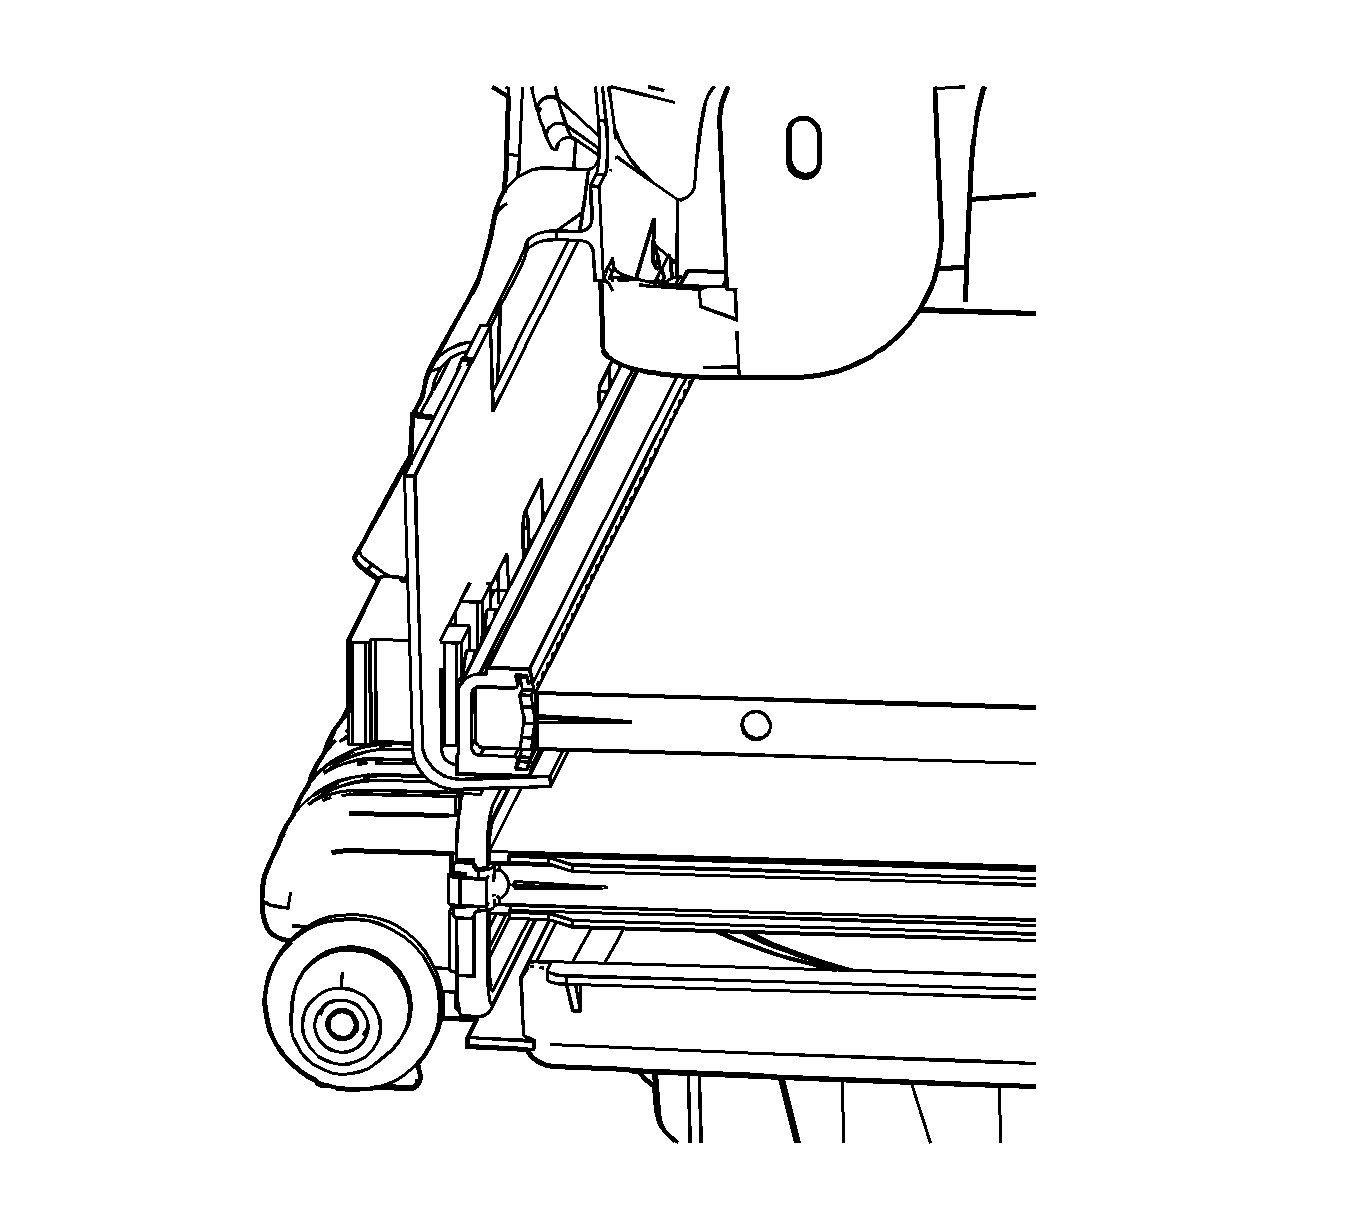
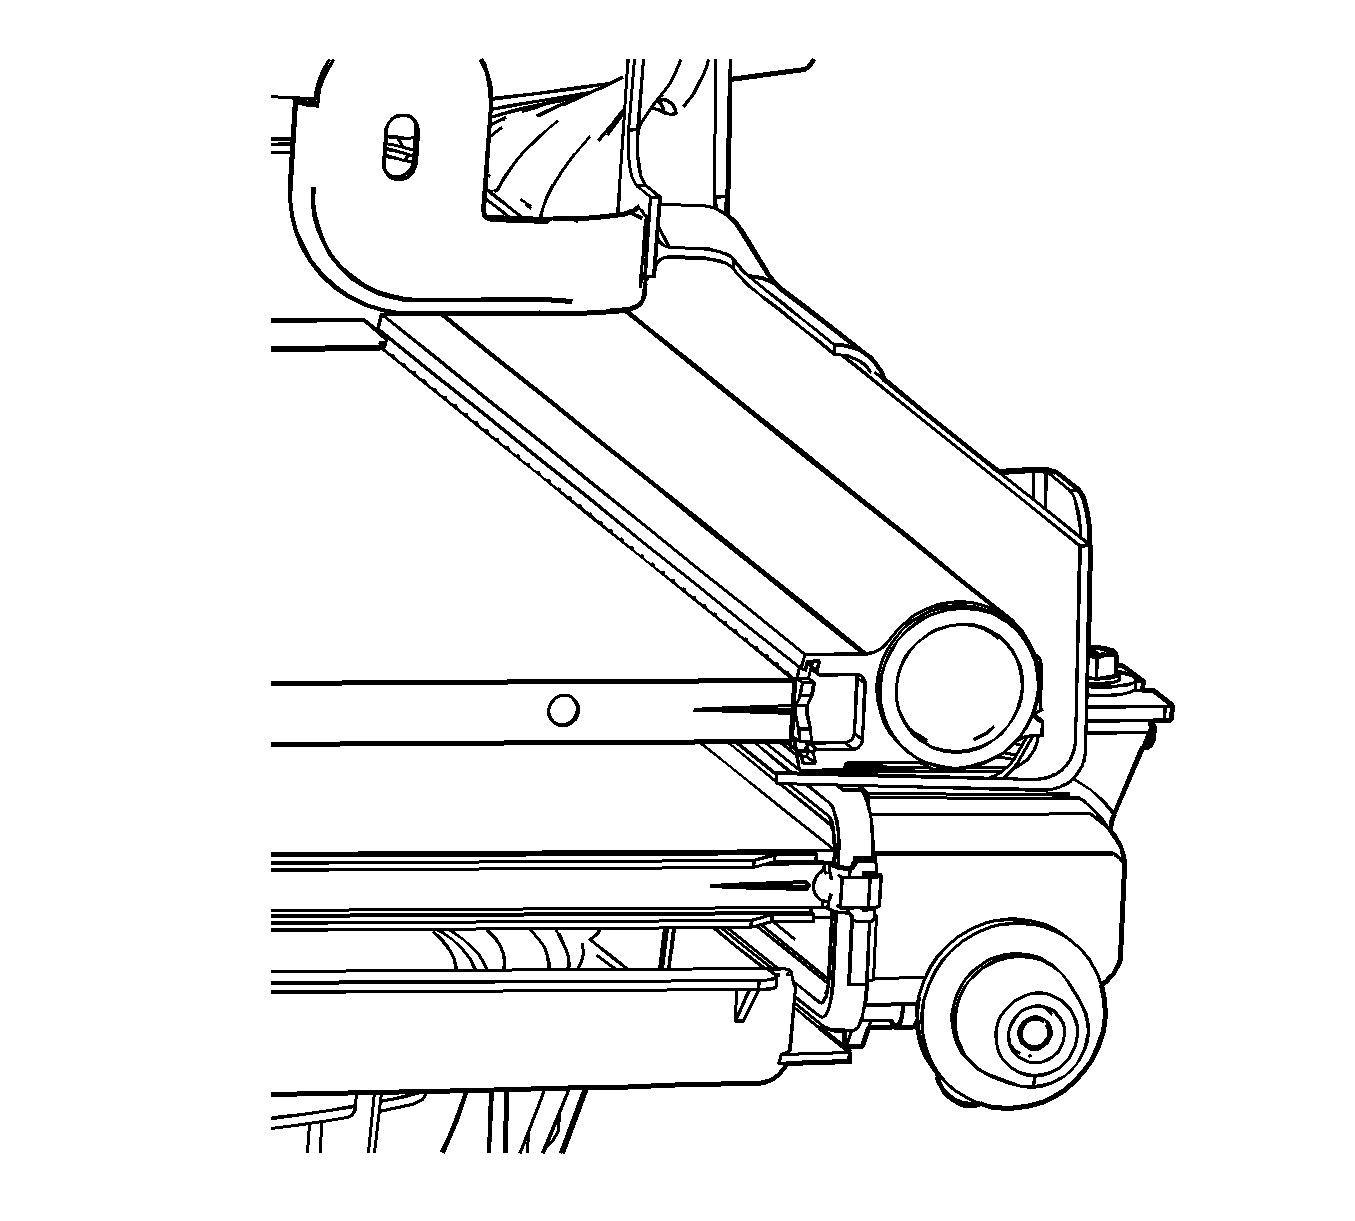
Note: Replace the radiator lower mounts as a pair or vibration may result.

Tighten
Tighten the bolts to 60 N·m (44 lb ft).


Note: Engine splash shields must be properly installed or reduced A/C and engine cooling system performance could occur.


Radiator Replacement LY7
Special Tools
J 38185 Hose Clamp Pliers
Removal Procedure
- Drain the coolant. Refer to Cooling System Draining and Filling.
- Loop a rope around each of the upper 2 tabs of the condenser and tie the rope around the upper tie bar.
- Remove the upper radiator support brackets. Refer to Radiator Support Bracket Replacement
- Reposition the radiator inlet hose clamp at the radiator using the pliers J 38185 .
- Remove the radiator inlet hose from the radiator.
- Remove the front air dam. Refer to Front Air Dam Replacement.
- Remove the right engine splash shield retainers.
- Remove the right engine splash shield.
- Remove the left engine splash shield retainers.
- Remove the left engine splash shield.
- Reposition the radiator outlet hose clamp at the radiator using the pliers J 38185 .
- Remove the radiator outlet hose from the radiator.
- Remove the transmission oil cooler pipes from the radiator.
- Remove the lower radiator support bracket bolts.
- Remove the lower radiator support brackets.
- Remove the radiator lower mounts.
- Remove and discard the condenser mounting bolts from the radiator.
- Push upward on the radiator and downward on the condenser to unsnap the condenser mounting tabs from the radiator clips.
- Remove and discard the condenser mounting nuts from the radiator.
- Remove the radiator air side seals.
- Remove the radiator and cooling fan shroud assembly from the vehicle.
- Pry upward on the fan shroud tabs at the radiator clips.
- Remove the cooling fan and shroud assembly from the radiator.

.

.


Installation Procedure
- Install the cooling fan and shroud assembly to the radiator.
- Snap the fan shroud tabs into the radiator clips.
- Install the radiator and cooling fan shroud assembly to the vehicle.
- Install the radiator air side seals onto the condenser mounting tabs on the radiator.
- Install the condenser mounting nuts to the radiator.
- Insert the condenser mounting tabs into the radiator clips.
- Install the condenser to the radiator bolts and tighten to 6 N·m (53 lb in).
- Bend the radiator air side seals and insert the seals into the channel of the intake air splash shields.
- The radiator air side seals must be in the proper position for proper air flow.
- Install the radiator lower mounts.
- Install the lower radiator support brackets.
- Install the lower radiator support bracket bolts and tighten to 60 N·m (44 lb ft).
- Install the transmission oil cooler pipes to the radiator.
- Install the radiator outlet hose to the radiator.
- Reposition the radiator outlet hose clamp at the radiator using the pliers J 38185 .
- Install the left engine splash shield.
- Install the left engine splash shield retainers.
- Install the right engine splash shield.
- Install the right engine splash shield retainers.
- Install the front air dam. Refer to Front Air Dam Replacement.
- Lower the vehicle.
- Install the radiator inlet hose to the radiator.
- Reposition the radiator inlet hose clamp at the radiator using the pliers J 38185 .
- Remove the rope attached to the condenser and upper tie bar.
- Install the upper radiator support brackets. Refer to Radiator Support Bracket Replacement.
- Fill the coolant. Refer to Cooling System Draining and Filling.
- Inspect the transmission fluid level. Refer to Transmission Fluid Check.


Caution: The bolt retaining the condenser to the radiator end tank is a special length and should be the ONLY bolt used upon reinstallation. The use of a longer bolt will damage the radiator end tank.
Note: Replace the condenser mounting bolts and nuts.
Caution: Refer to Fastener Caution in the Preface section.


Note: Replace the radiator lower mounts as a pair or vibration may result.


Note: Engine splash shields must be properly installed or reduced A/C and engine cooling system performance could occur.


Radiator Replacement LE5
Removal Procedure
- Remove the cooling fan and shroud assembly. Refer to Cooling Fan and Shroud Replacement.
- Remove and discard the condenser mounting bolts.
- Push upward on the condenser and downward on the radiator to unsnap the condenser mounting tabs from the radiator clips.
- Remove and discard the condenser mounting nuts from the radiator.
- Remove the radiator from the vehicle.


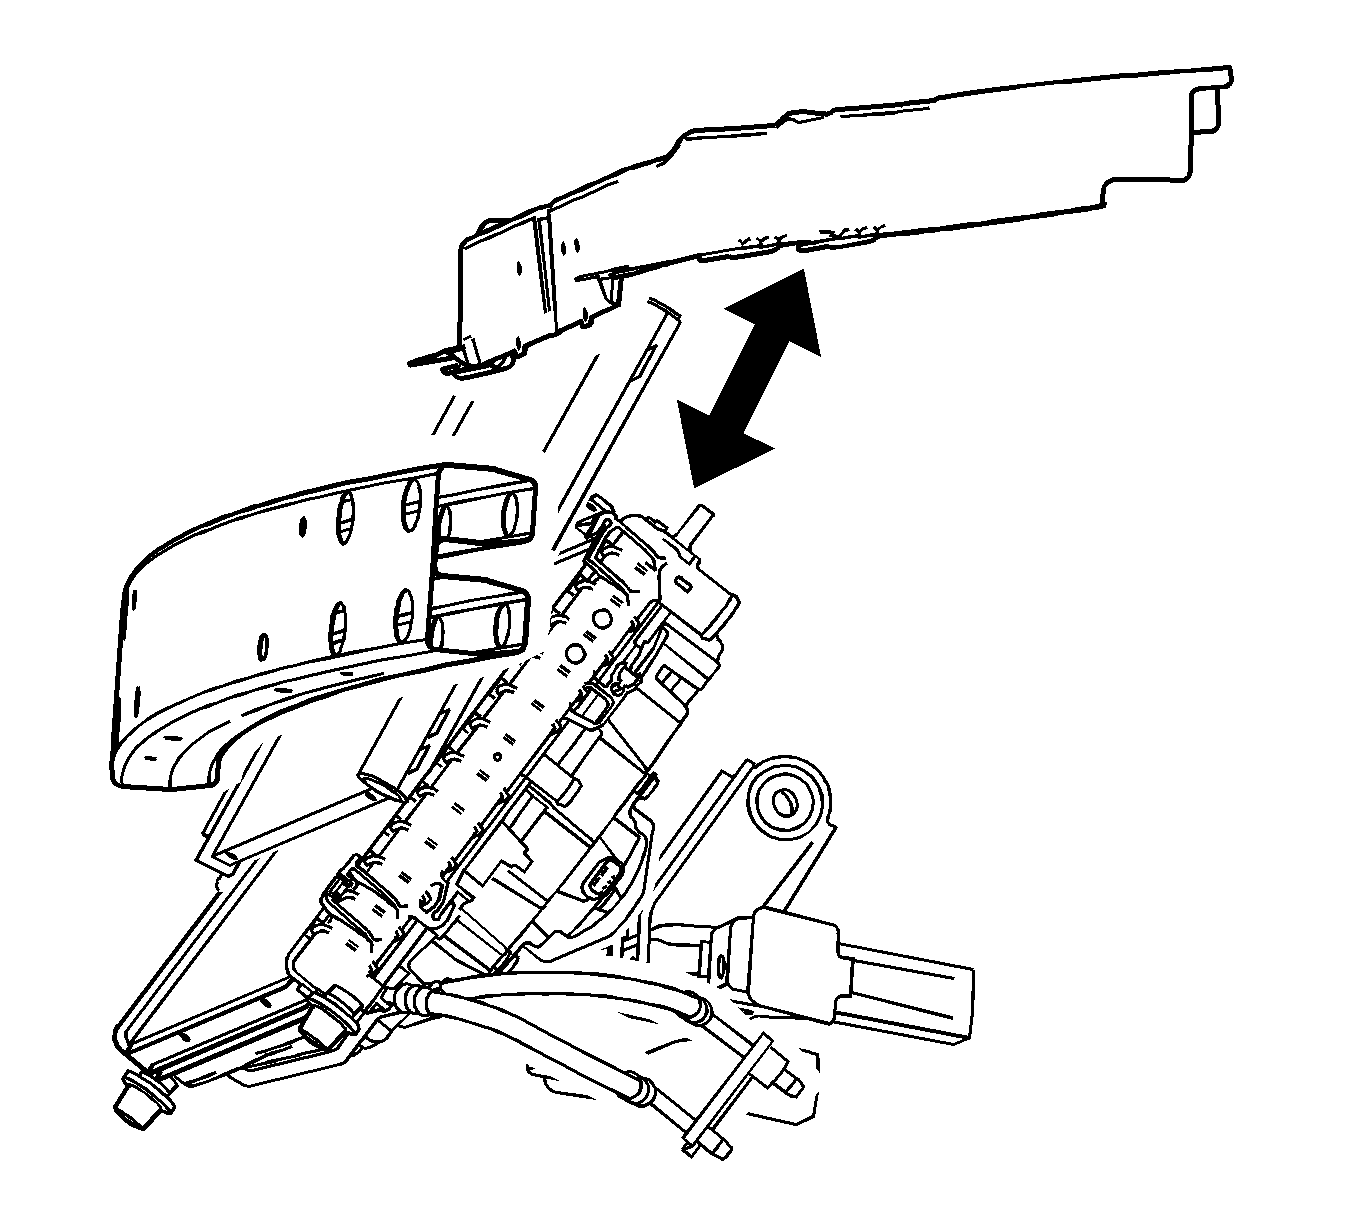
Installation Procedure
- Install the radiator to the vehicle.
- Push upward on the radiator and downward on the condenser to snap the condenser mounting tabs into the radiator clips.
- Install new condenser mounting nut to the radiator and tighten the nut to 6 N·m (53 lb in).
- Install new condenser mounting bolts and tighten to 6 N·m (53 lb in).
- Install the cooling fan and shroud assembly. Refer to Cooling Fan and Shroud Replacement.


Caution: Refer to Fastener Caution in the Preface section.

