Removal Procedure - G8
- Using a heat gun, apply heat to the badge (1) to reduce the adhesion between the badge (1) and the rear compartment lid (2).
- Using a suitable tool, carefully prise the badge (1) from the rear compartment lid (2).
- Remove any remaining adhesive from the rear compartment lid (2).
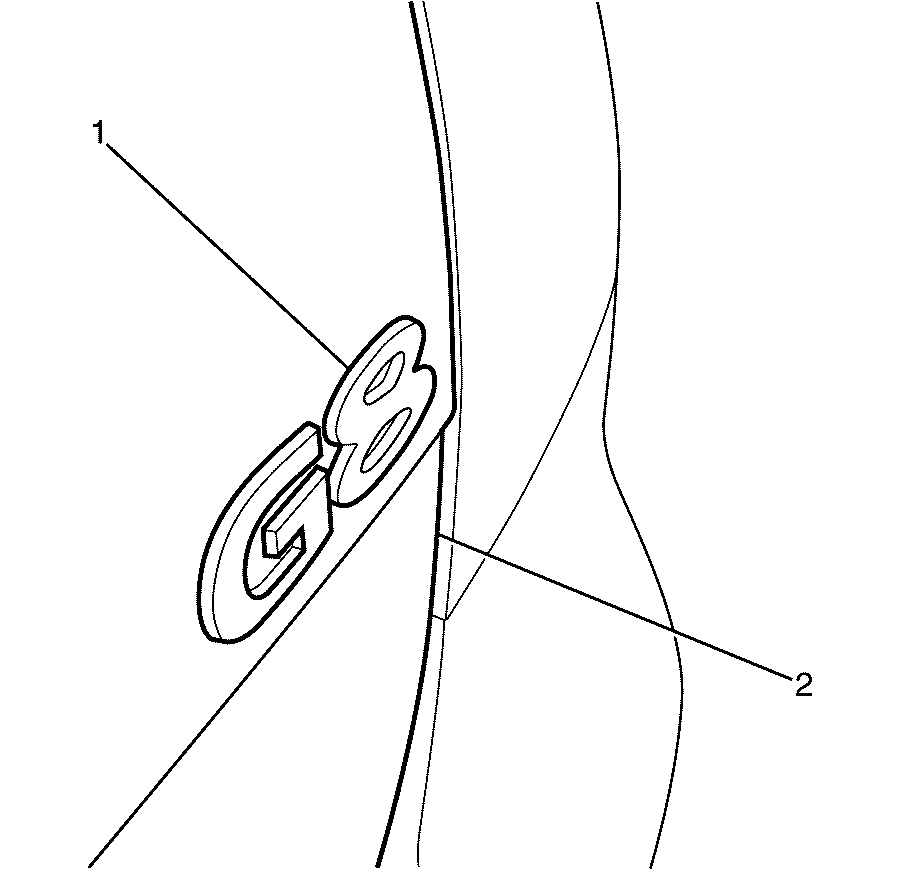
Important: Protect the paint and body work with tape or a clean cloth. Failure to do so may result in damage to painted surfaces.
Important: Take care not to damage the paint work when prying the badge (1) from the rear compartment lid (2).
Important: Clean the surface with a suitable cleaning solution and a lint free cloth to remove any remaining adhesive from the rear compartment lid (2)
Installation Procedure - G8
- Apply NEW approved polythene double sided tape (2) to the back of the badge (1).
- Trim back the polythene double sided tape (2) to the inner edge of the badge (1).
- Peel the backing from the polythene double sided tape (2)
- Apply the badge (1) to the rear compartment lid (2) and apply suitable fixing pressure. Refer to Fastener Tightening Specifications.
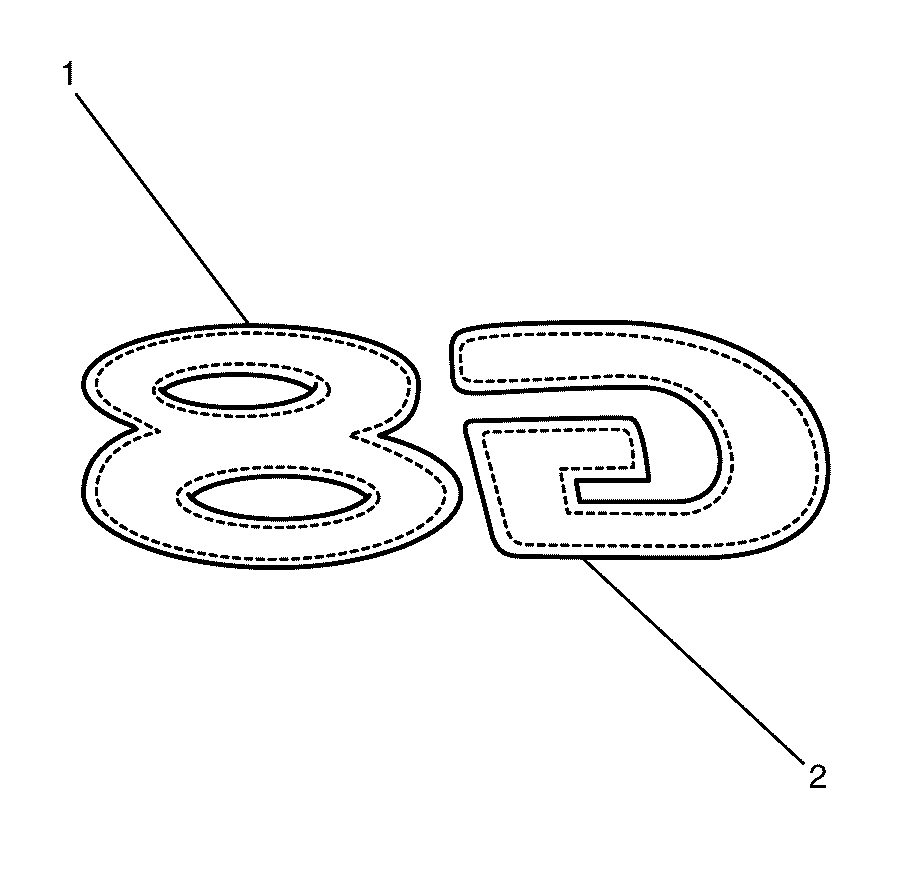
Important: The broken line (2) represents the polythene double sided tape and should be only used as a reference.
Important: If reusing the badge (1), clean the badge (1) with suitable cleaning solution using a lint free cloth.
Important: Do not allow the double sided tape (2) to come into contact with any dirt or foreign matter.

Important: Pressure must be applied to the badge (1) for no less than 30 seconds to ensure correct adhesion of the badge (1) to the rear compartment lid (2).
Removal Procedure - GT
- Using a heat gun, apply heat to the badge (1) to reduce the adhesion between the badge (1) and the rear compartment lid (2).
- Using a suitable tool, carefully prise the badge (1) from the rear compartment lid (2).
- Remove any remaining adhesive from the rear compartment lid (2).
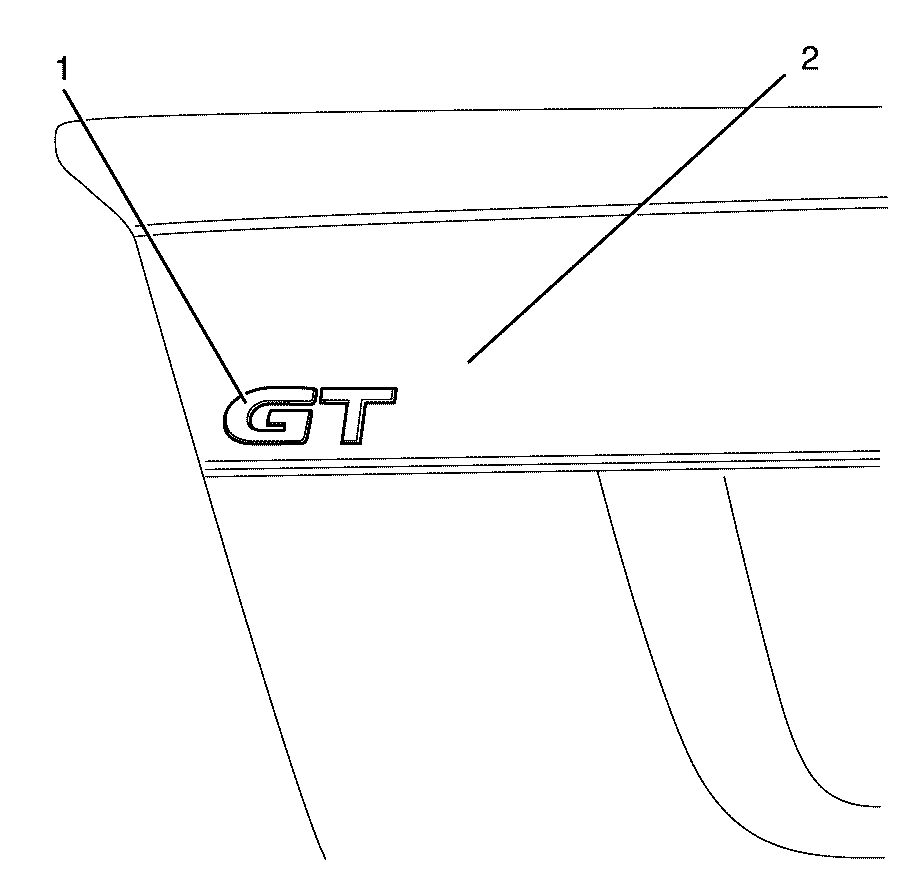
Important: Protect the paint and body work with tape or a clean cloth. Failure to do so may result in damage to painted surfaces.
Important: Take care not to damage the paint work when prying the badge (1) from the rear compartment lid (2).
Important: Clean the surface with a suitable cleaning solution and a lint free cloth to remove any remaining adhesive from the rear compartment lid (2)
Installation Procedure - GT
- Apply NEW approved polythene double sided tape (2) to the back of the badge (1).
- Trim back the polythene double sided tape (2) to the inner edge of the badge (1).
- Peel the backing from the polythene double sided tape (2)
- Apply the badge (1) to the rear compartment lid (2) and apply suitable fixing pressure. Refer to Fastener Tightening Specifications.

Important: The broken line (2) represents the polythene double sided tape and should be only used as a reference.
Important: If reusing the badge (1), clean with it with a suitable cleaning solution using a lint free cloth.
Important: Do not allow the polythene double sided tape (2) to come into contact with any dirt or foreign matter.

Important: Pressure must be applied to the badge (1) for no less than 30 seconds to ensure correct adhesion of the badge (1) to the rear compartment lid (2).
Removal Procedure - Emblem
- Using a heat gun, apply heat to the rear emblem (1) to reduce the adhesion between the rear emblem (1) and the rear compartment lid (2).
- Using a suitable tool, remove the rear emblem (1) from the rear compartment lid (2).
- Remove any remaining adhesive from the rear compartment lid (2).
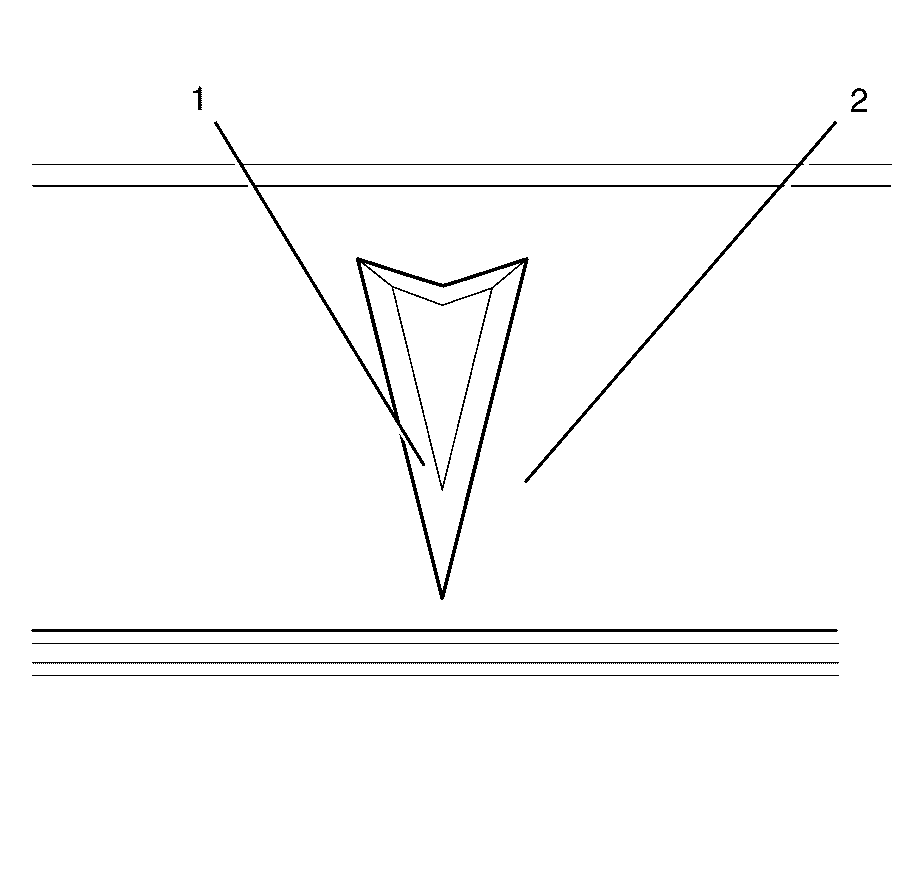
Important: Protect the paint and body work with tape or a clean cloth. Failure to do so may result in damage to painted surfaces.
Important: After removing the rear emblem (1) from the rear compartment lid (2) use a suitable cleaning solution and a lint free cloth to remove any remaining adhesive from the rear compartment lid (2).
Installation Procedure - Emblem
- Apply NEW approved polythene double sided tape (2) to the back of the rear emblem (1).
- Trim back the polythene double sided tape (2) to the inner edge of the rear emblem (1).
- Peel the backing from the polythene double sided tape (2)
- Apply the rear emblem (1) to the rear compartment lid (2) and apply suitable fixing pressure. Refer to Fastener Tightening Specifications.
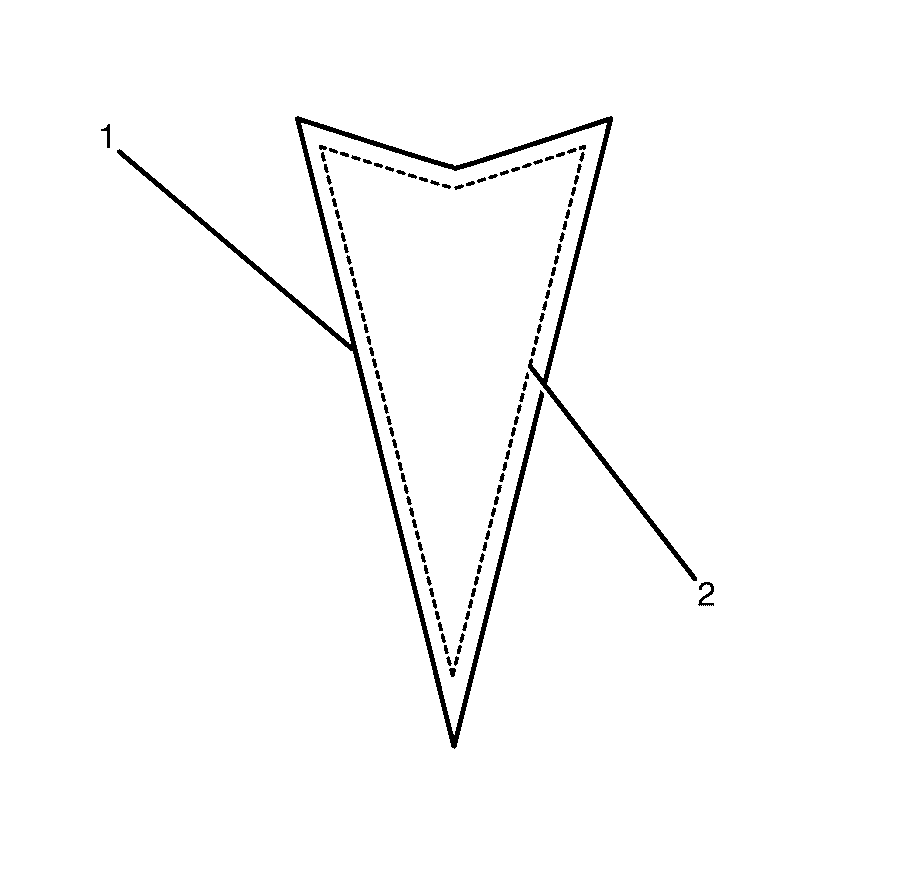
Important: The broken line (2) represents the polythene double sided tape and should be only used as a reference.
Important: If reusing the emblem (1), clean the emblem (1) with suitable cleaning solution using a lint free cloth.
Important: Do not allow the polythene double sided tape (2) to come into contact with any dirt or foreign matter.
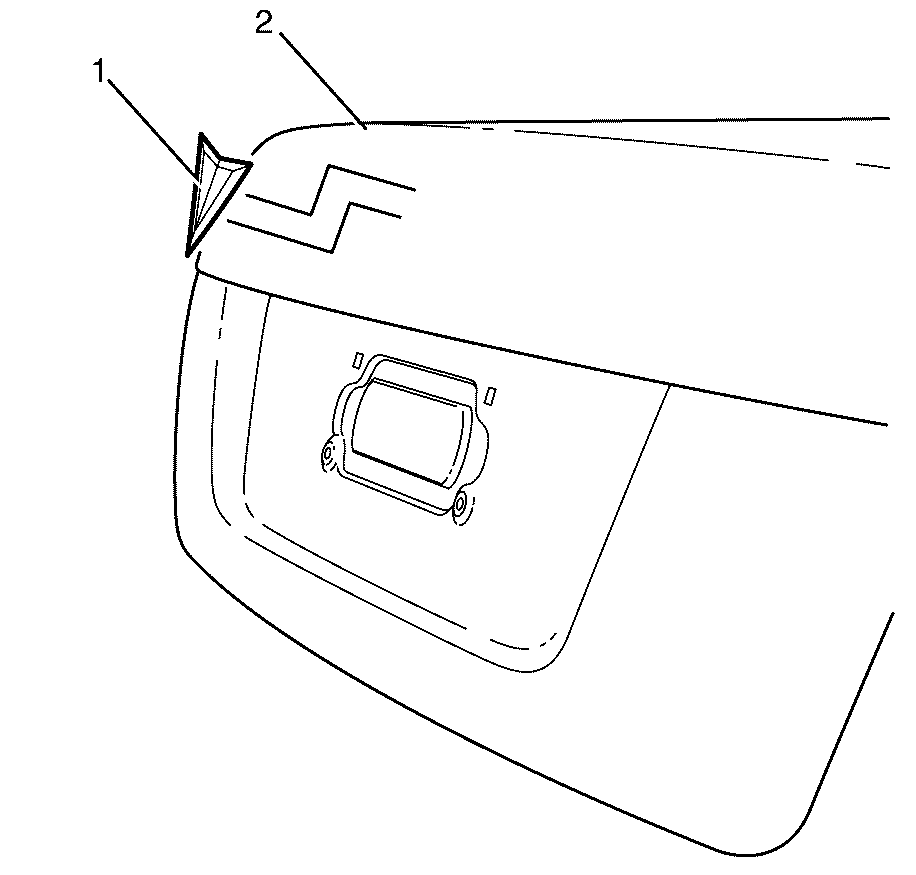
Important: Upon application of the rear emblem (1) to the rear compartment lid (2), apply suitable pressure to the rear emblem (1) for no less than 30 seconds to ensure correct adhesion of the rear emblem (1) to the rear compartment lid (2).
Removal Procedure - Nameplate
- Using a heat gun, apply heat to the rear nameplate (1) to reduce the adhesion between the rear nameplate (1) and the rear compartment lid (2).
- Using a suitable tool, carefully prise the rear nameplate (1) from the rear compartment lid (2).
- Remove any remaining adhesive from the rear compartment lid (2).
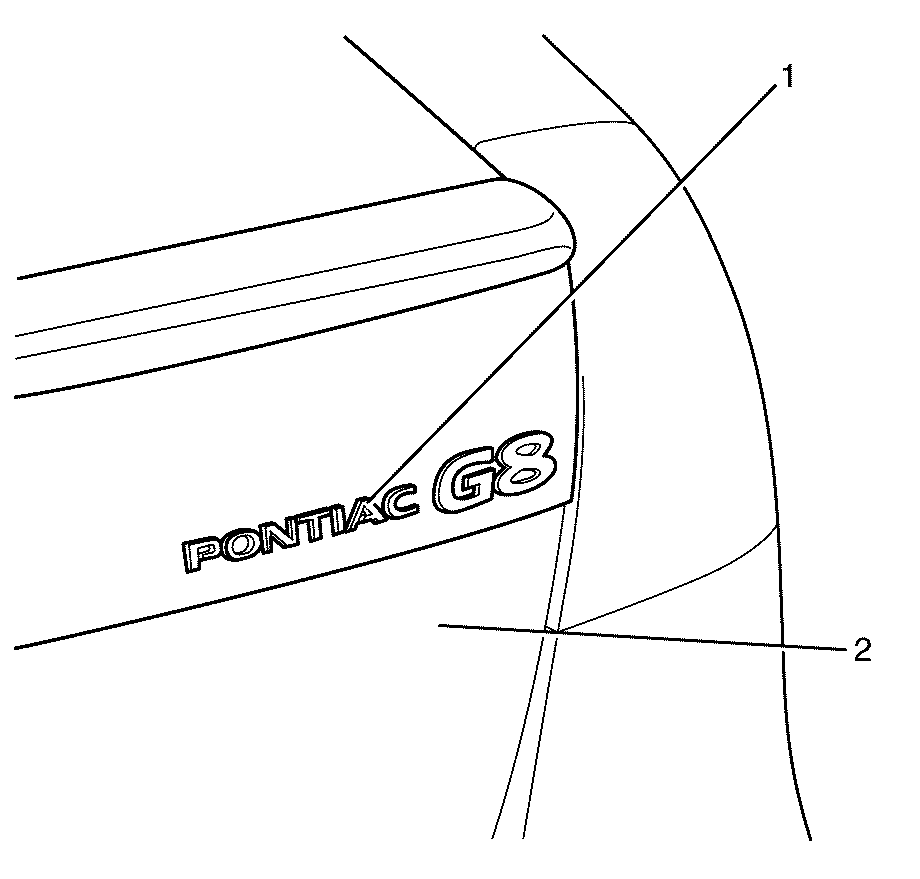
Important: Protect the paint and body work with tape or a clean cloth. Failure to do so may result in damage to painted surfaces.
Important: Take care not to damage the paint work when prying the rear nameplate (1) from the rear compartment lid (2).
Important: Clean the surface with a suitable cleaning solution and a lint free cloth to remove any remaining adhesive from the rear compartment lid (2)
Installation Procedure - Nameplate
- Apply NEW approved polythene double sided tape (2) to the back of the rear nameplate (1).
- Trim back the polythene double sided tape (2) to the inner edge of the rear nameplate (1).
- Peel the backing from the polythene double sided tape (2)
- Apply the rear nameplate (1) to the rear compartment lid (2) and apply suitable fixing pressure. Refer to Fastener Tightening Specifications.

Important: The broken line (2) represents the polythene double sided tape and should be only used as a reference.
Important: If reusing the rear nameplate (1), clean the rear nameplate (1) with suitable cleaning solution using a lint free cloth.
Important: Do not allow the polythene double sided tape (2) to come into contact with any dirt or foreign matter.

Important: Firmly press the rear nameplate (1) for 30 seconds to ensure correct adhesion of the rear nameplate (1) to the rear compartment lid (2).
