Removal Procedure
Caution: Refer to Approved Equipment for Collision Repair Caution in the Preface section.
Important:
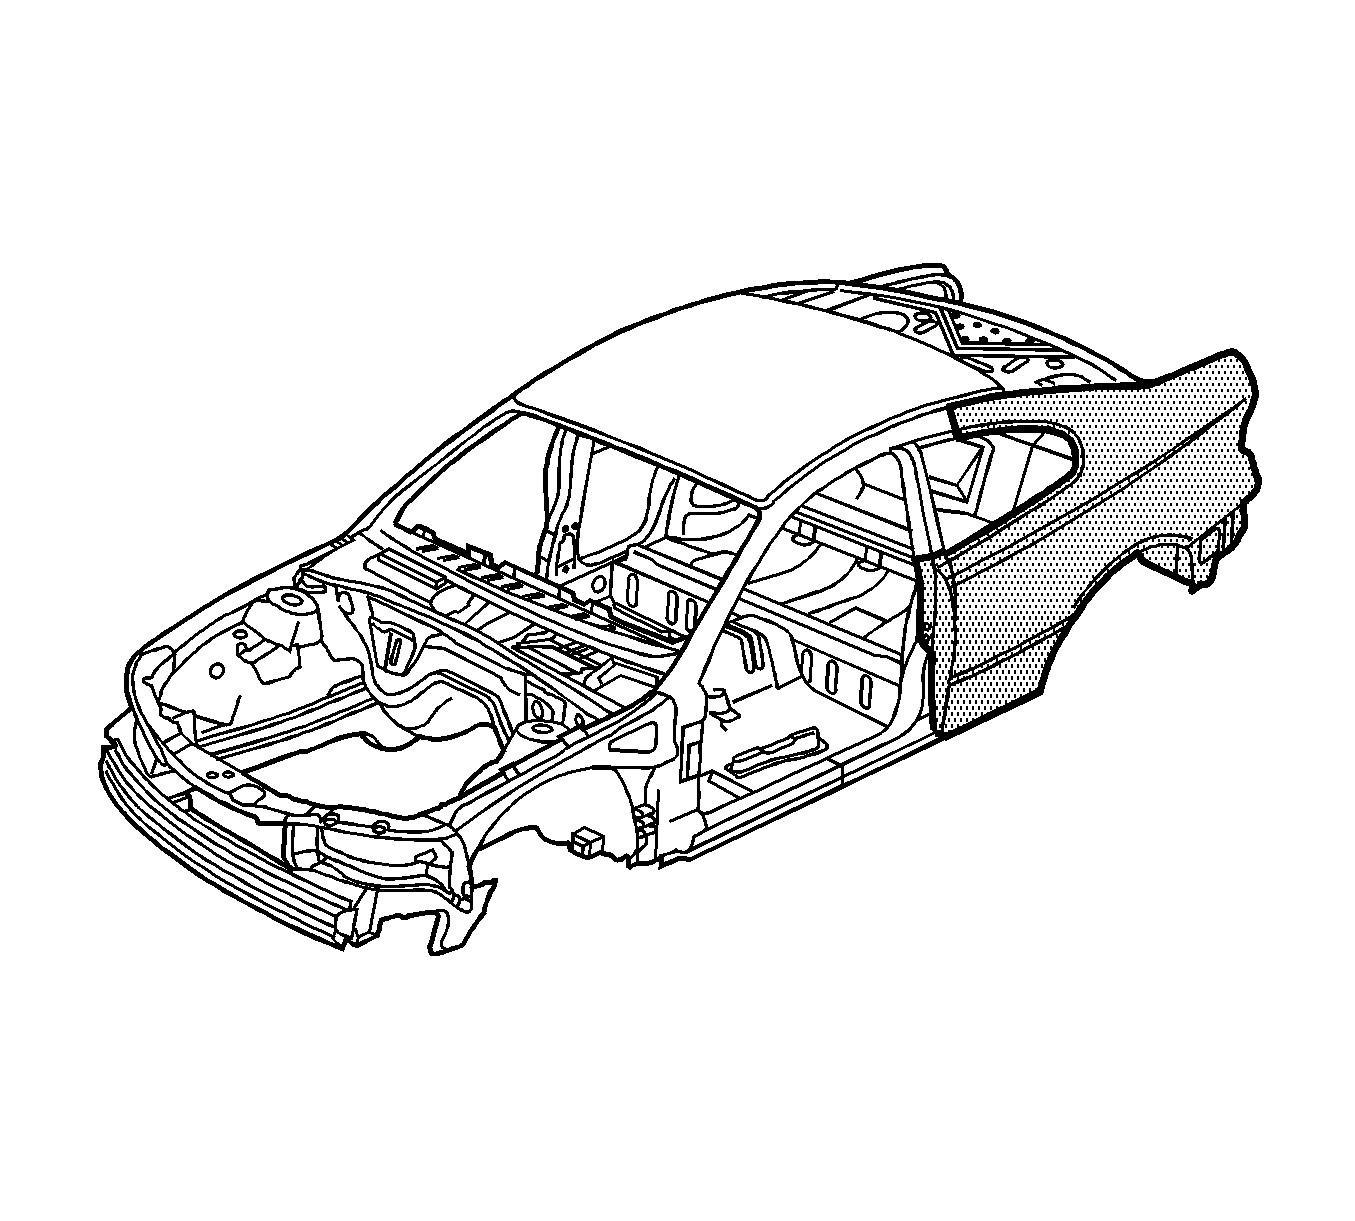
• The quarter panel is serviced with the outer door frame opening. Replacement of the quarter panel requires removal of the quarter glass and the back glass. Refer to
Rear Window Replacement
and
Quarter Window Replacement
in Stationary Windows. A special sectioning procedure has been developed for improved serviceability. • Do not damage any inner panels or reinforcement.
- Remove the fuel tank. Refer to Fuel Tank Replacement in Engine Controls.
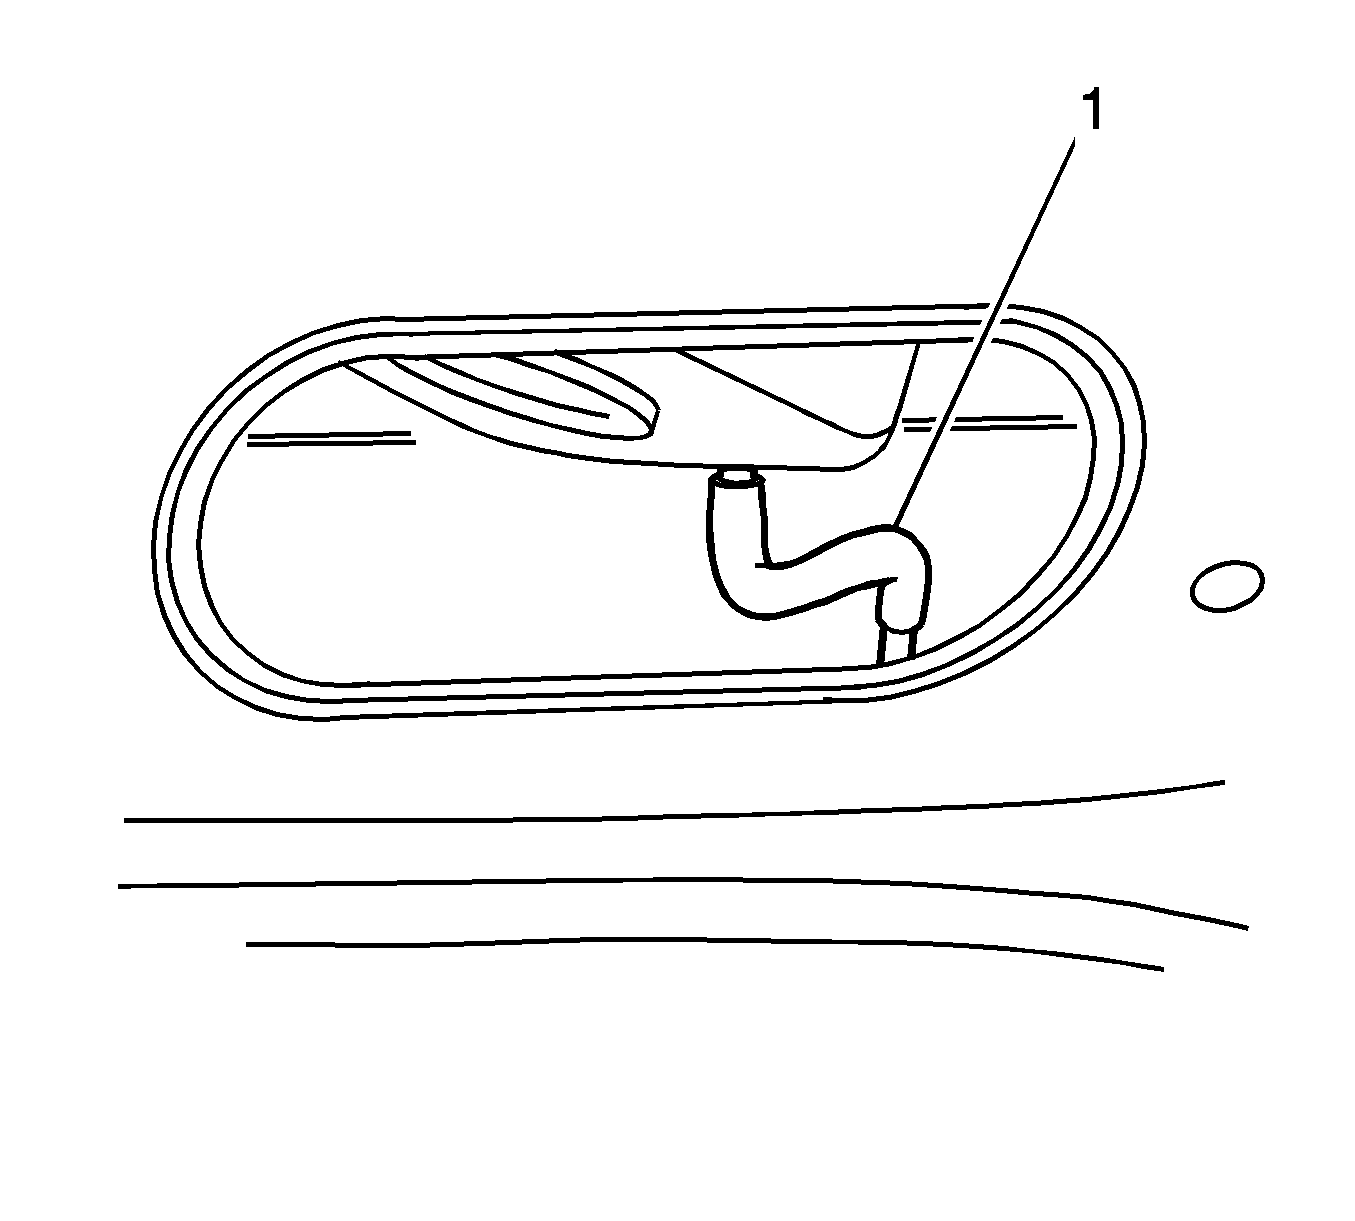
- Disconnect the fuel pipe filler housing drain tube connector (1), if replacing the right-side quarter panel.
- Visually inspect and restore as much of the damage as possible to factory specifications.
- Remove all related panels and components.
- Remove sealers and anti-corrosion materials as necessary.
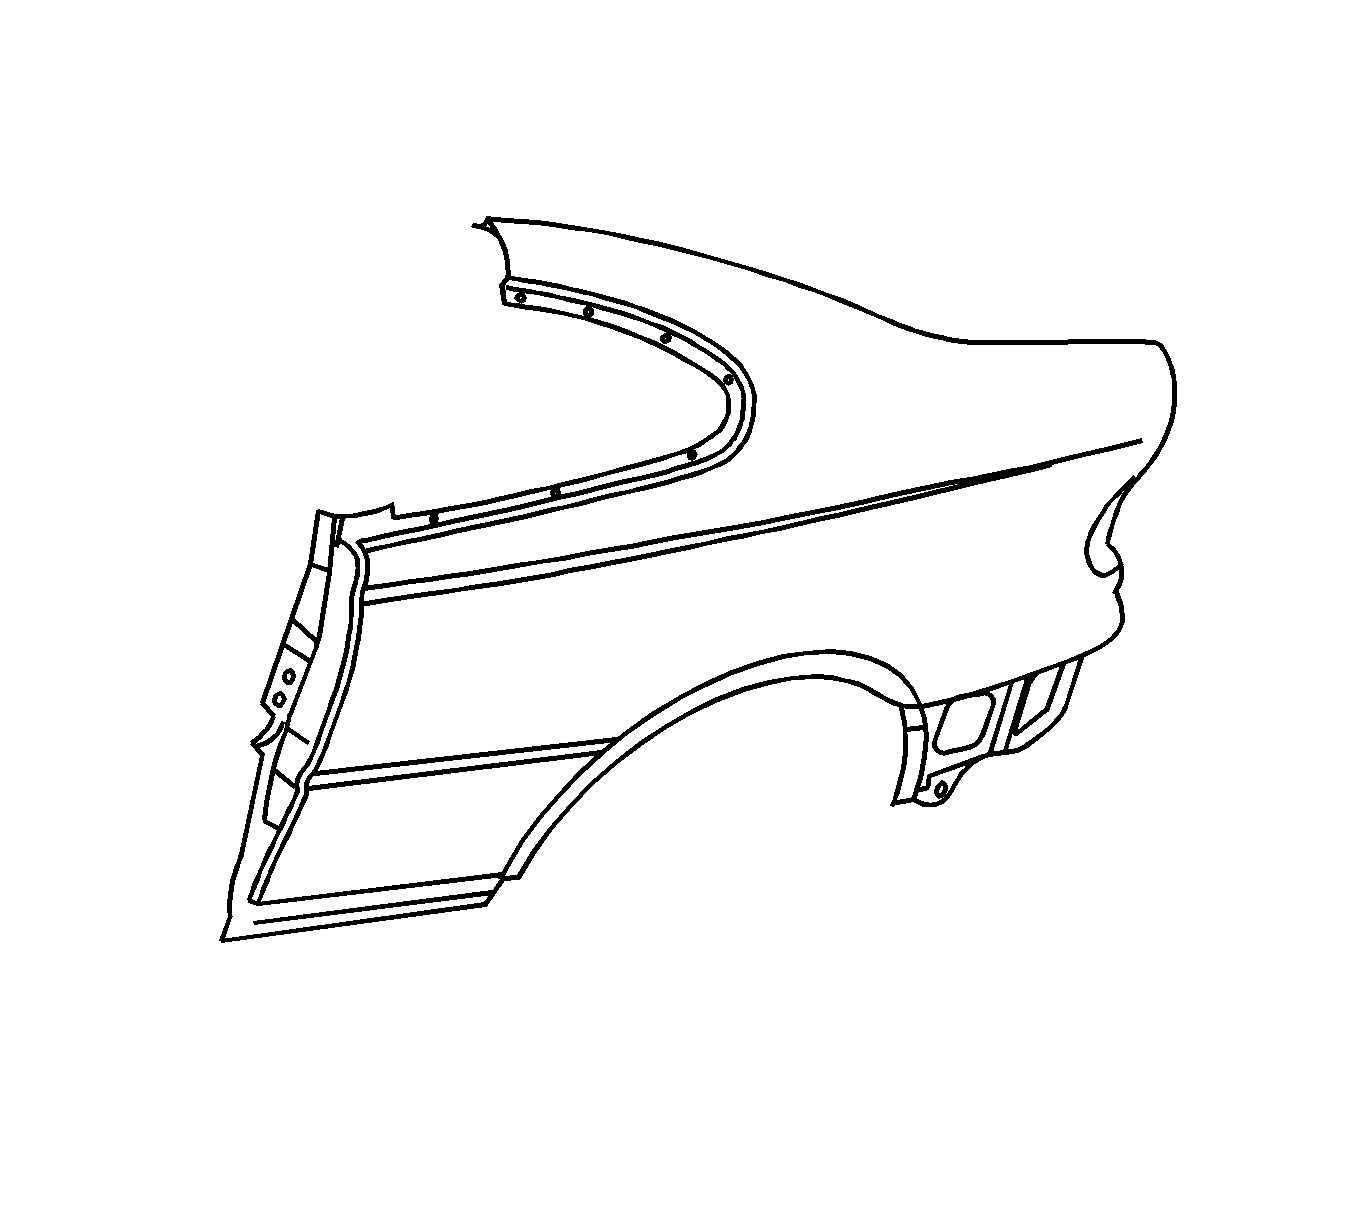
- Scribe a cut line in the upper quarter area.
- Cut the panel where sectioning is to be performed.
- Locate and mark all factory welds. Note the number and location of welds for installation of the service assembly.
- Drill out all factory welds.
- Note the location of the sound deadening foam for installation.
- Remove the damaged quarter panel.
Installation Procedure
- Prepare the mating surfaces as necessary.
- On the service part, locate where to cut the upper quarter area. Leave extra length in this area for trimming.
- Trim the quarter panel to leave a gap of 1½ the space times the thickness of the metal at the sectioning joints.
- Check for proper fit and alignment.
- Apply 3M Weld-Thru Coating P/N 05916, or equivalent, to all mating surfaces.
- Plug weld accordingly.
- Clean and prepare all welded surfaces.
- Prime with 2-part catalyzed primer.
- Apply sealers and anti-corrosion materials as necessary.
- Reconnect the fuel pipe filler housing drain tube connector (1), if replacing the right-side quarter panel.
- Install the fuel tank. Refer to Fuel Tank Replacement in Engine Controls.
- Install the rear window. Refer to Rear Window Replacement in Stationary Windows.
- Install the quarter glass. Refer to Quarter Window Replacement in Stationary Windows.
- Install all related panels and components.
Important: The glass bonding area should be a primer surface ONLY, and NOT an aftermarket top-coated (paint, or color coated) surface. Materials such as BASF DE17, Dupont 2610, or PPG DP40, or equivalent, are appropriate for this application.
Important: Prior to refinishing, refer to GM 4901MD-99 Refinish Manual for recommended products. Do not combine paint systems. Refer to paint manufacturer's recommendation.
Important: It is important to apply the sound deadening foam in the locations noted from removal.
