For 1990-2009 cars only
Special Tools
| • | J 45059 Angle Meter |
| • | J-42094-A Remover/Installer Kit |
| • | DT-46853 Pinion Oil Seal Installer |
| • | DT-47735 Flange Holder |
| • | DT-47736 Flange Remover |
Removal Procedure
- Raise and support the vehicle. Refer to Lifting and Jacking the Vehicle .
- Remove the left and right mufflers. Refer to Muffler Replacement .
- Remove the propeller shaft. Refer to Two-Piece Propeller Shaft Replacement .
- Place a drain pan under the pinion flange.
- Remove the rear axle housing drain plug from the axle housing.
- Remove the rear axle housing fill plug from the axle housing.
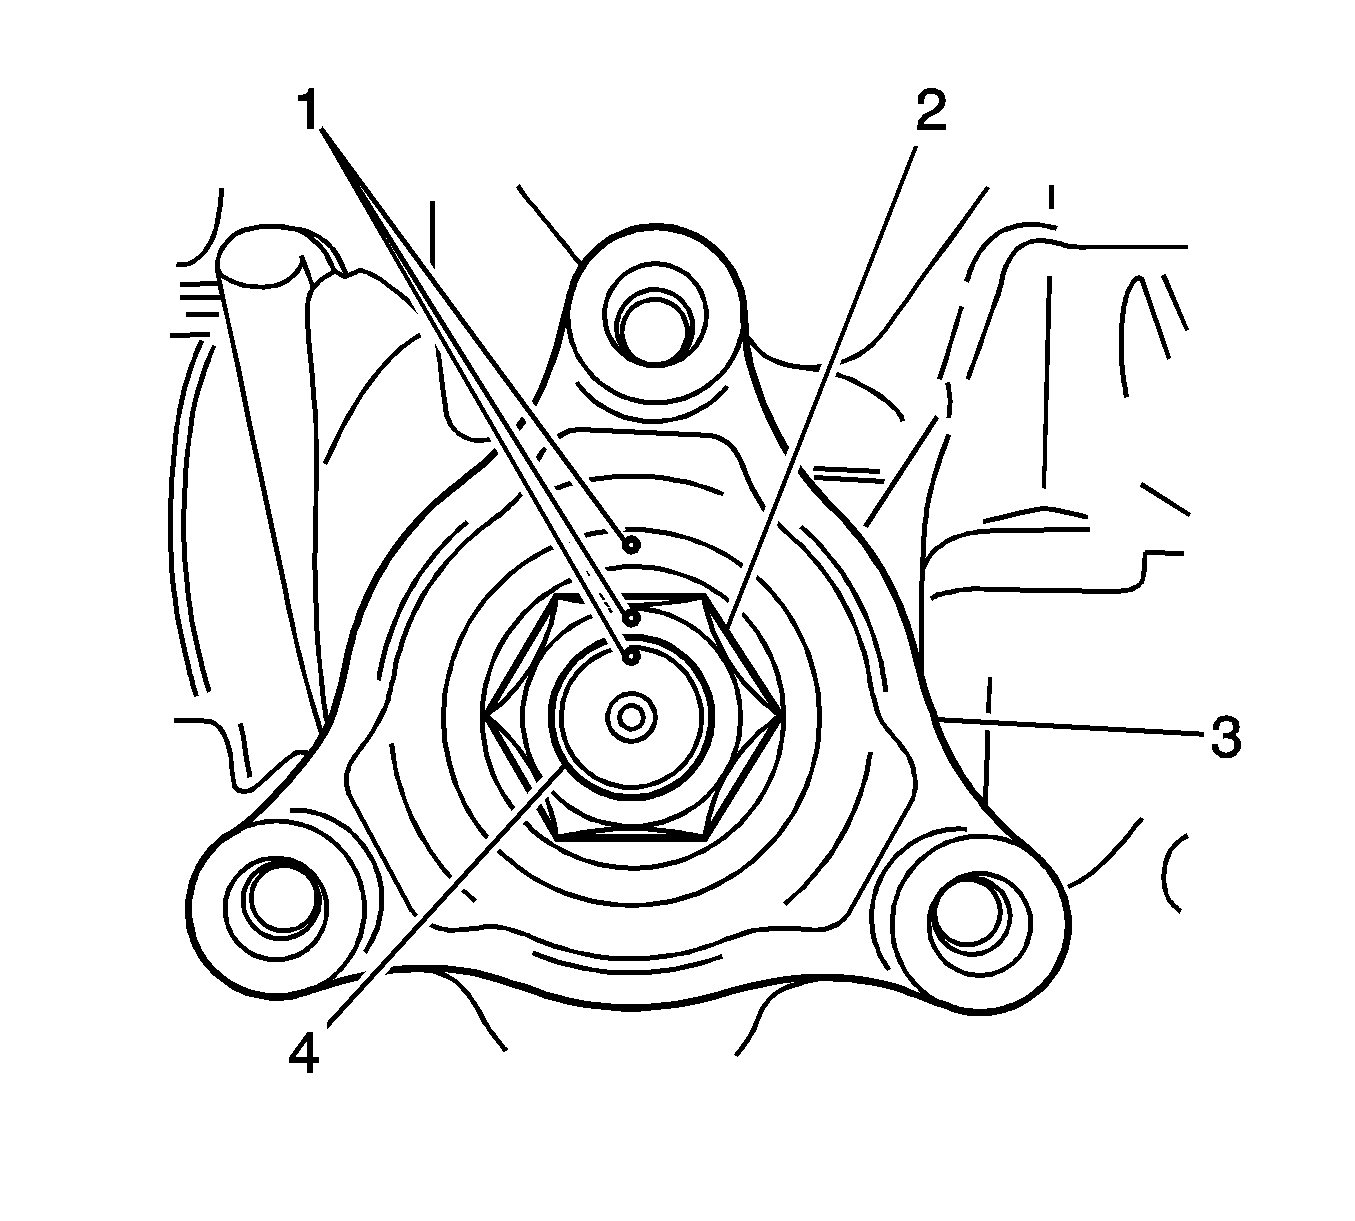
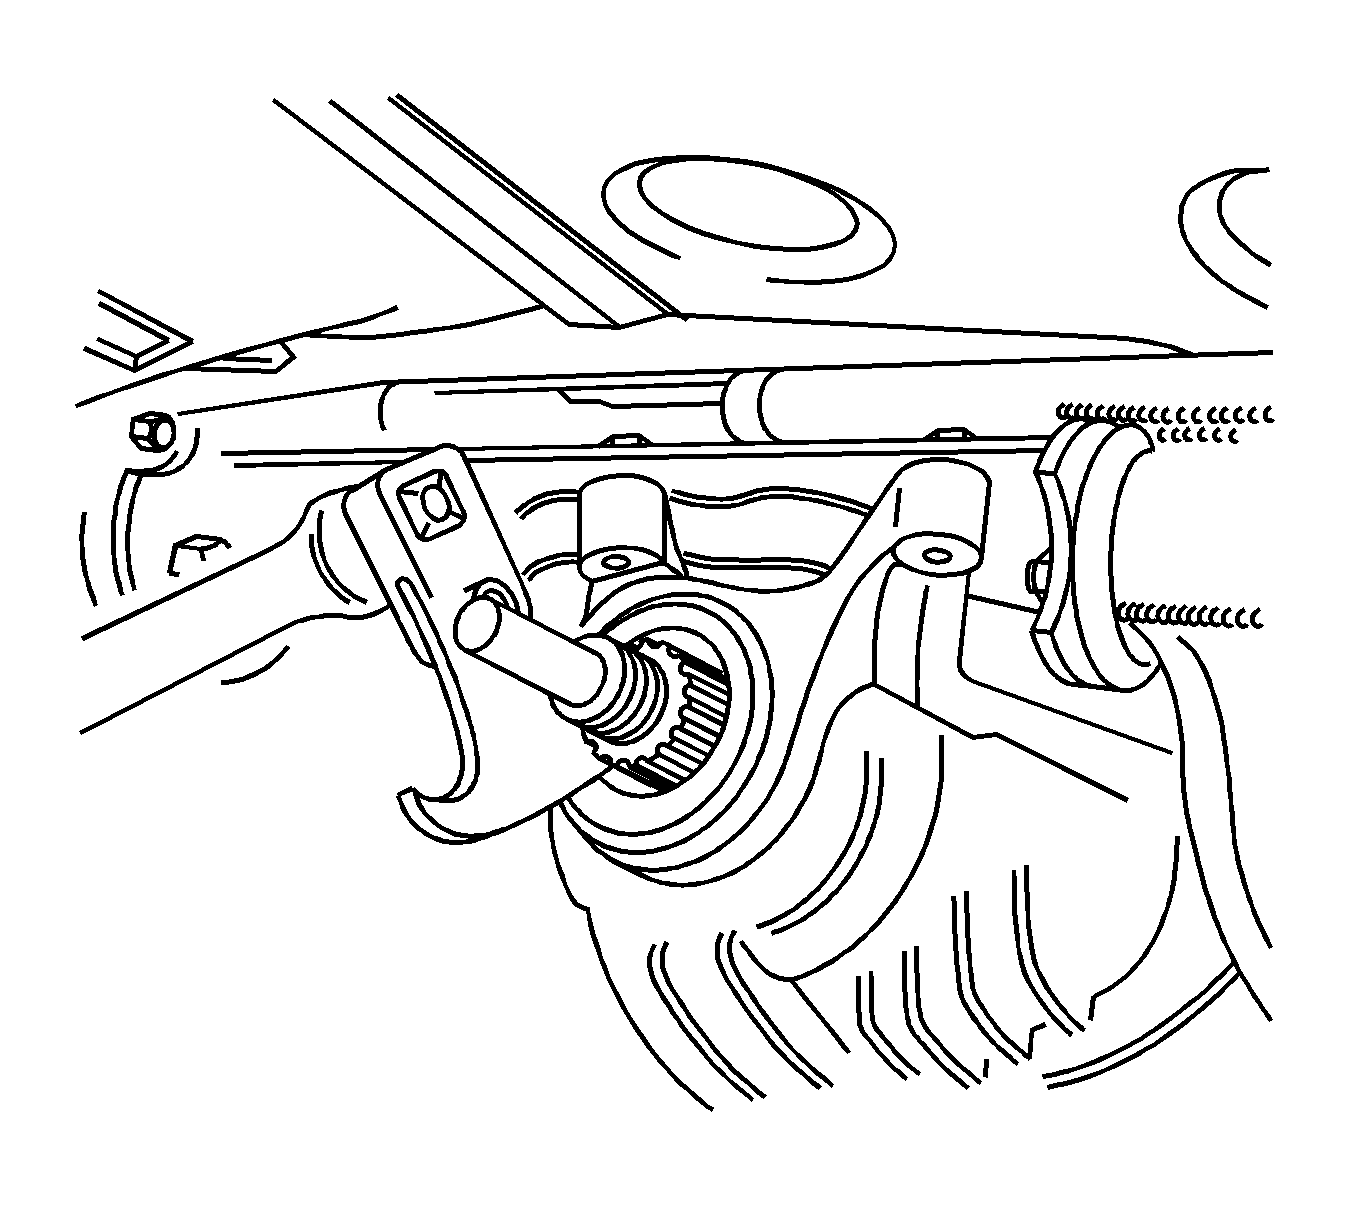
- Center punch alignment marks (1) on the pinion flange, the pinion flange nut (2), and the pinion shaft end .
- Using an inch pound torque wrench, check and record the rotational torque on the pinion shaft. Torque should be between 2 and 4 lb in.
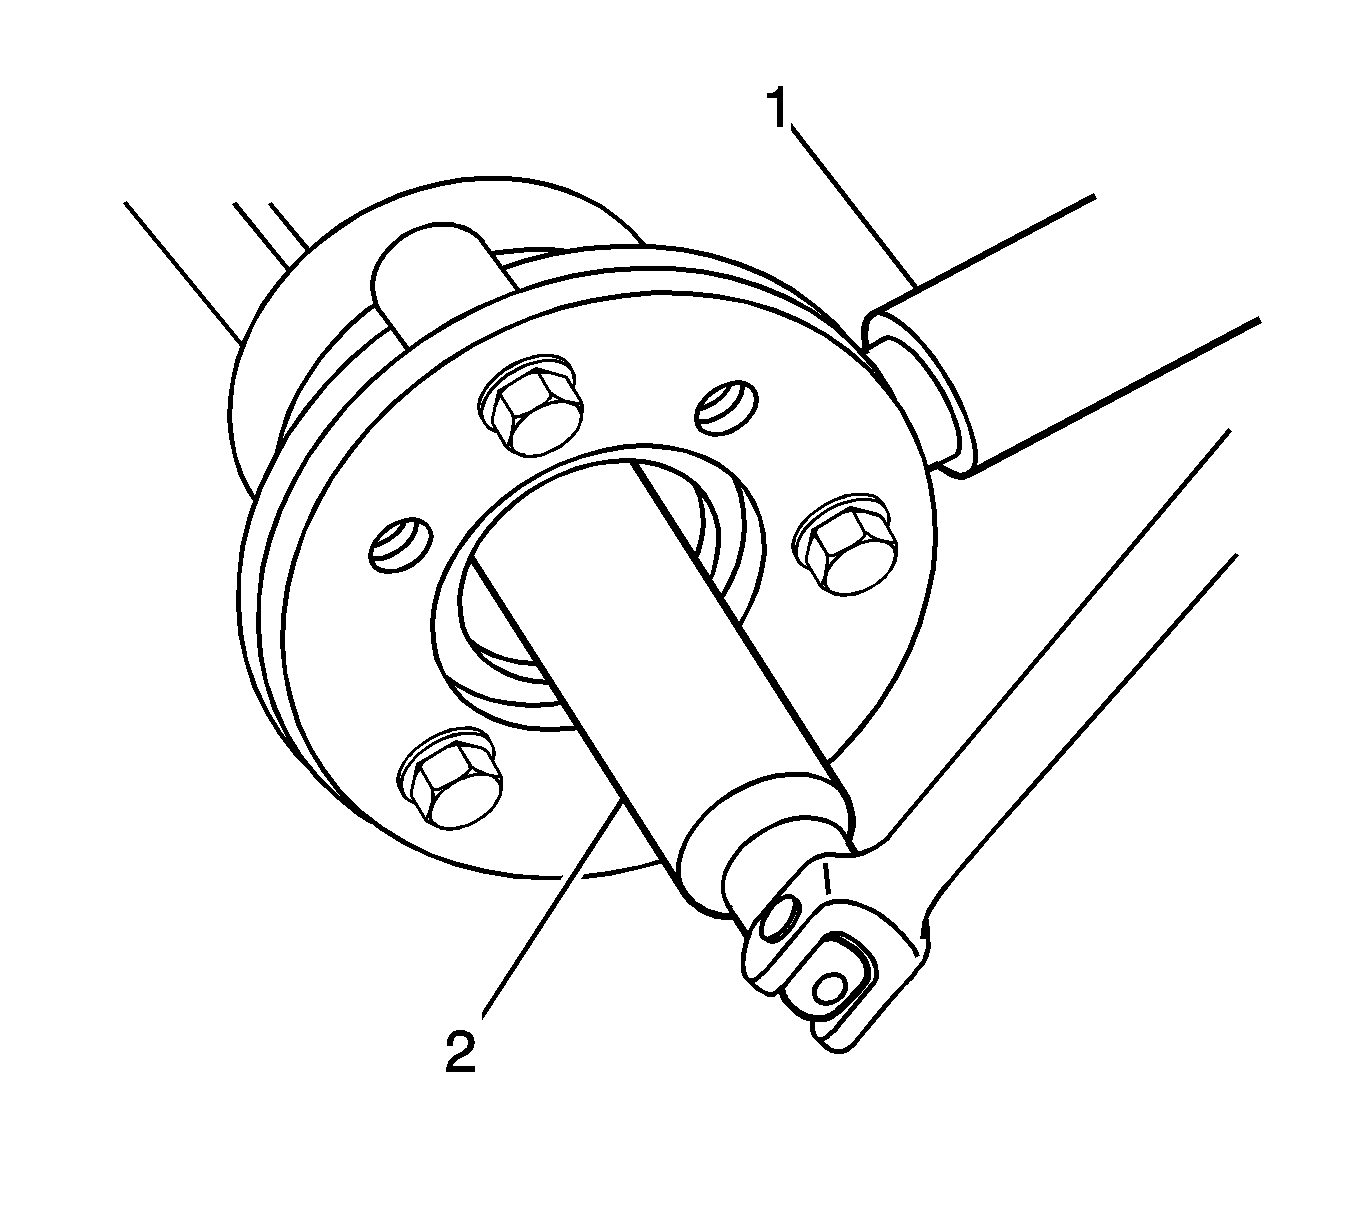
- Install the DT-47735 (1) on the pinion flange.
- Remove the pinion flange nut.
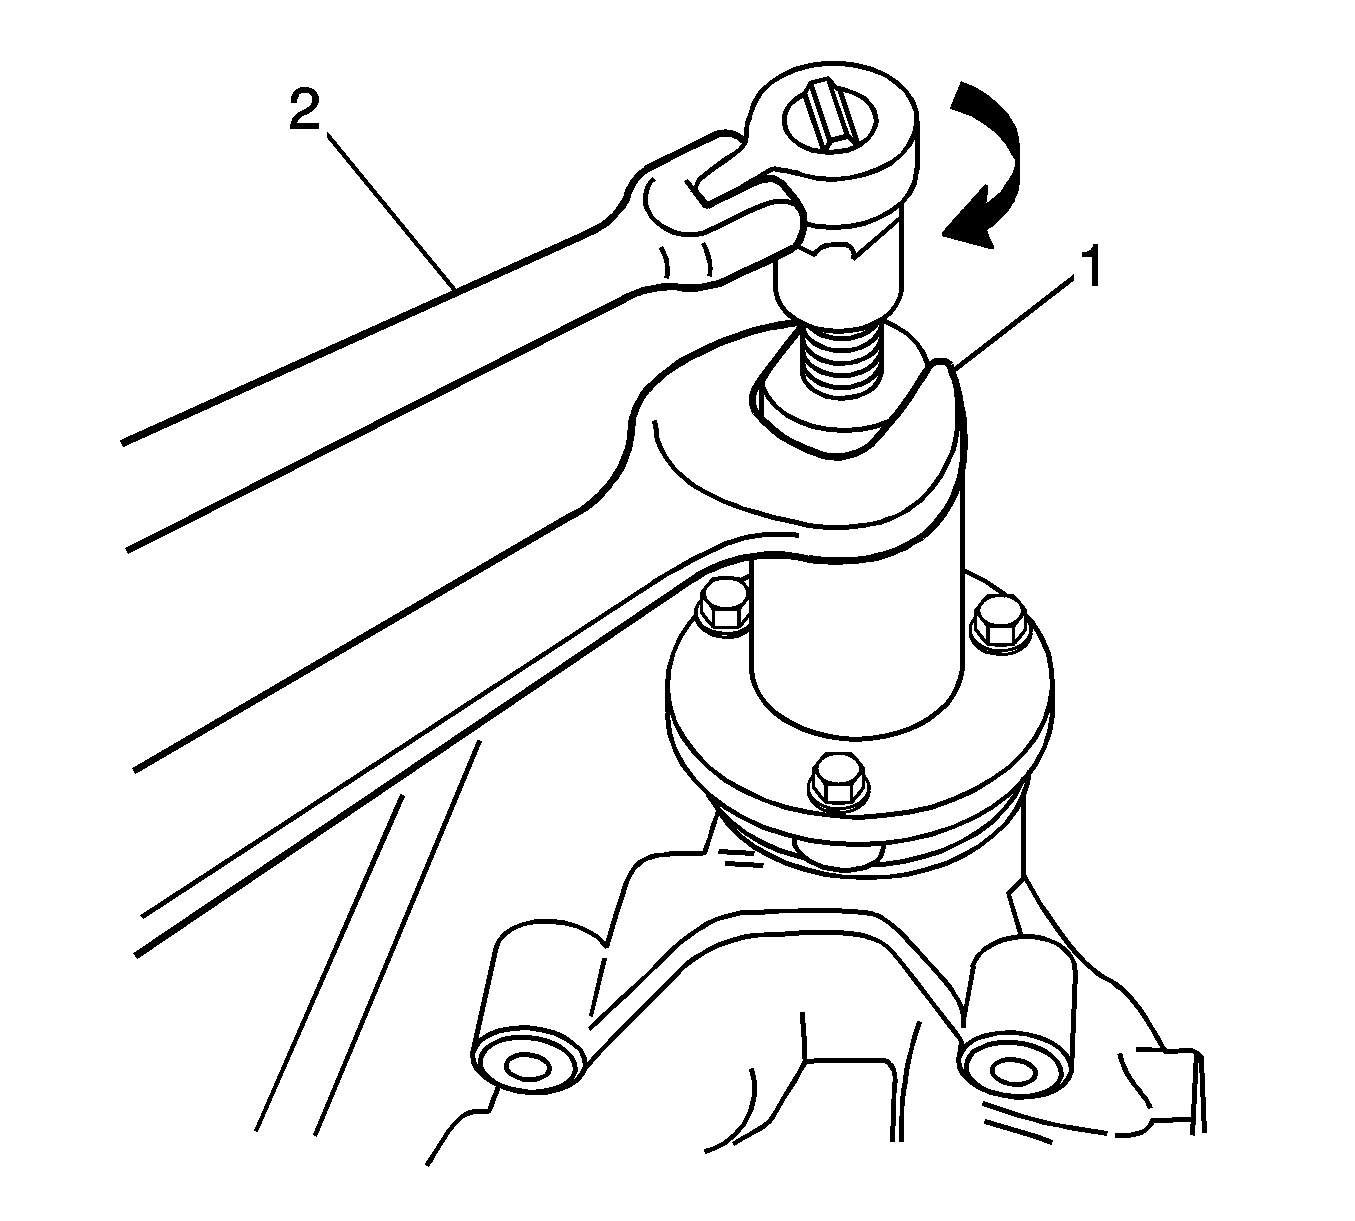
- Using the DT-47736 (1), remove the pinion flange.
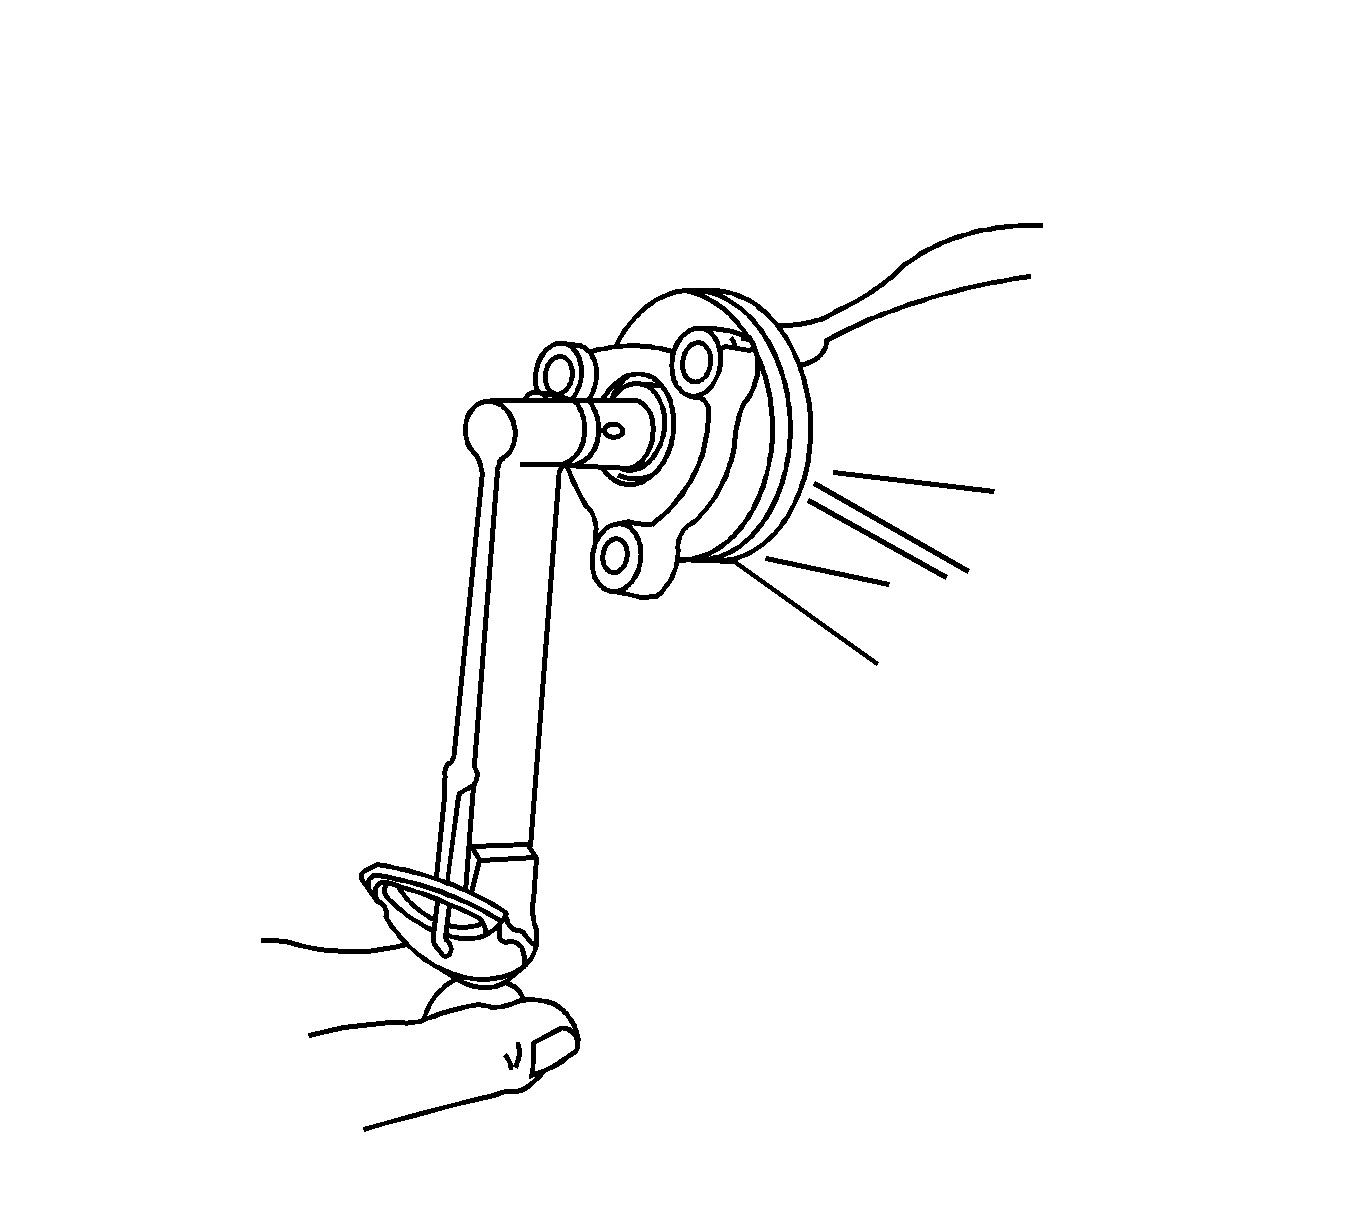
- Using a seal puller, remove the pinion seal.
Important: The rear axle lubricant must be completely drained to ensure the proper friction modifier fill specification.
Installation Procedure
- Inspect the pinion shaft seal surface for nicks and burrs. Minor nicks and burrs can be removed with crocus cloth. If damaged, replace the pinion flange.
- Clean the threads on the pinion shaft and pinion nut.
- Coat the pinion shaft splines with recommended gear oil.
- Lubricate the seal with the recommended gear oil.
- Using DT-46853 , install the new pinion shaft seal until the seal is flush with the differential housing.
- Install the pinion flange on to the pinion shaft aligning the punch marks.
- Install the DT-47735 (1) on the pinion flange.
- Apply thread locking compound onto the threads of the pinion shaft.
- Tighten the pinion nut until the three punch marks are aligned.
- Using a inch pound torque wrench, recheck the rotational torque on the pinion shaft. The torque should be between 2 and 4 lb in.
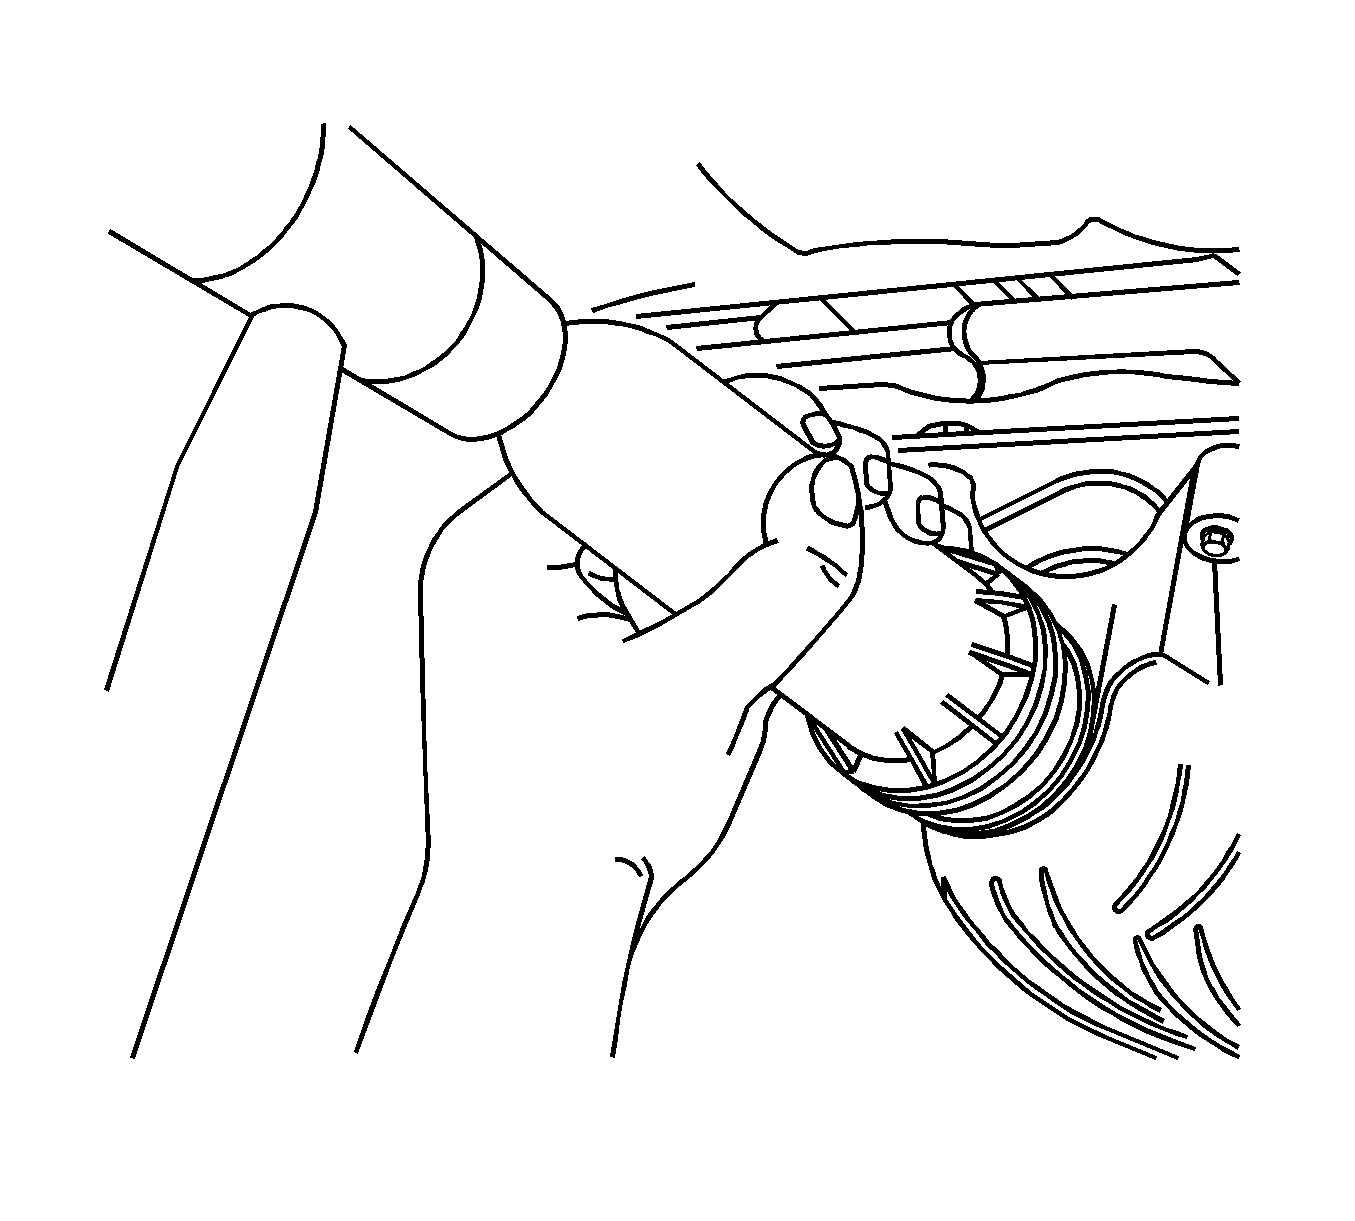
- Install the drain plug.
- Refill the rear axle housing with 1.0 liter (1.0 qt) of Synthetic Gear Oil 75W-140 GM P/N 89021809.
- Using a graduated measuring cup, add 25 ml (1.0 oz) of Limited Slip Differential Friction Modifier GM P/N 89021958 to the rear axle housing.
- Fill the rear axle housing with the remaining 0.575 liter (0.644 qt) of Synthetic Gear Oil 75W-140 GM P/N 89021809.
- Install the rear axle housing oil level fill plug with a new gasket and the lubricant tag into the rear axle housing.
- Remove the drain pan.
- Install the propeller shaft. Refer to Two-Piece Propeller Shaft Replacement .
- Install the left and right mufflers. Refer to Muffler Replacement .
- Lower the vehicle. Refer to Lifting and Jacking the Vehicle .

Notice: Refer to Fastener Notice in the Preface section.
Important: Do not overtighten the pinion nut. If the nut is overtightened the preload will be exceeded and the differential will have to be changed.

Tighten
Using
J 45059
, tighten the nut to a position no more than 5 degrees past the punch marks (1).

Tighten
Tighten the drain plug to 27 N·m (20 lb ft).
The oil level should be even with the bottom of the rear axle housing filler plug hole.
Tighten
Tighten the fill plug to 27 N·m (20 lb ft).
